
Note: Since I have a Windows machine this tutorial will focus on that platform.
Java Development Kit
You will need the JDK to develop in Java. You can get the latest JDK at the Oracle website. Make sure you download the Java SE 8u201 / Java SE 8u202 and make sure you download the JDK (not the JRE).
IDE – Eclipse
The IDE (Integrated Development Environment) is where you will write all your code. You will need an IDE for Java development. You can use any IDE you like, but most tutorials use Eclipse, and since I like Eclipse I will follow suit.
If you download the Eclipse Installer and run it you will be given an option on which IDE to install.
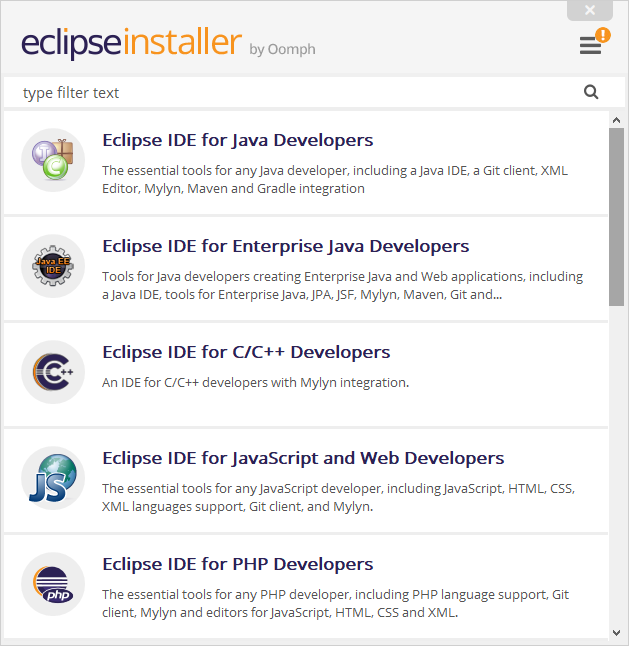
We need to choose Eclipse IDE for Java Developers. You can then select a directory to use as your first workspace. If you have many hard drives you should choose the one that has the most free space.
Set Up Forge
You will need to download the Forge MDK to develop Forge Mods. Make sure to download the correct version you wish to develop mods for. Select the MDK on the right for downloading and NOT the Windows Installer:

At the time of writing 1.12.2 was the latest stable version that Forge supports. The following tutorials will focus on that version for modding Minecraft.
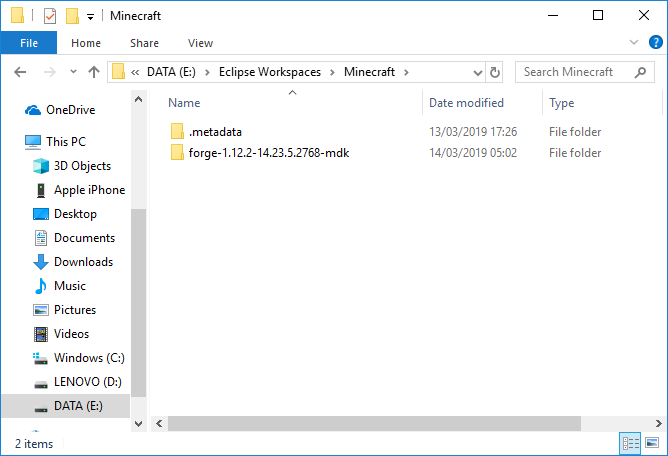
After downloading Forge, you can extract it to the folder where you created the workspace :
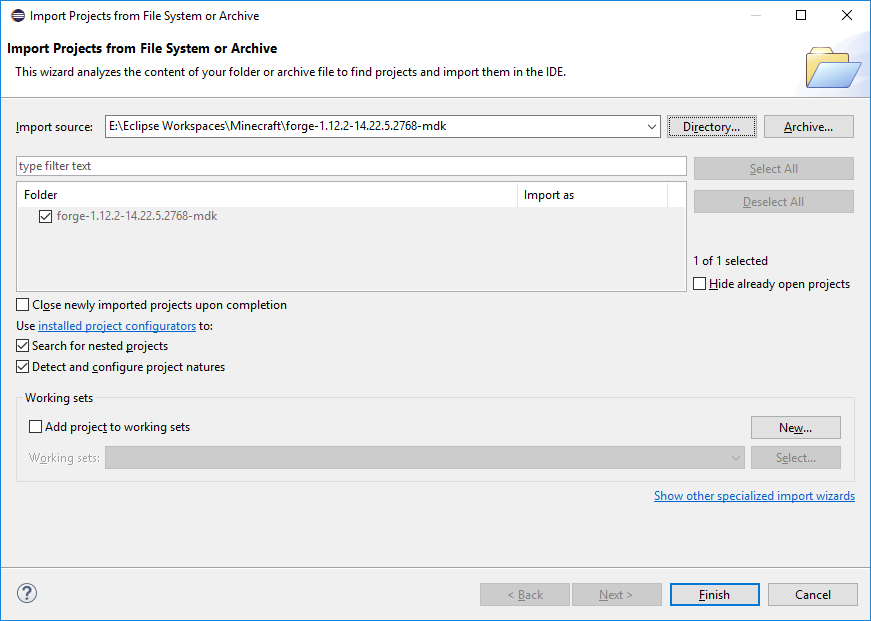
Open Eclipse and select File -> Open Projects from File System… and select Forge project folder:
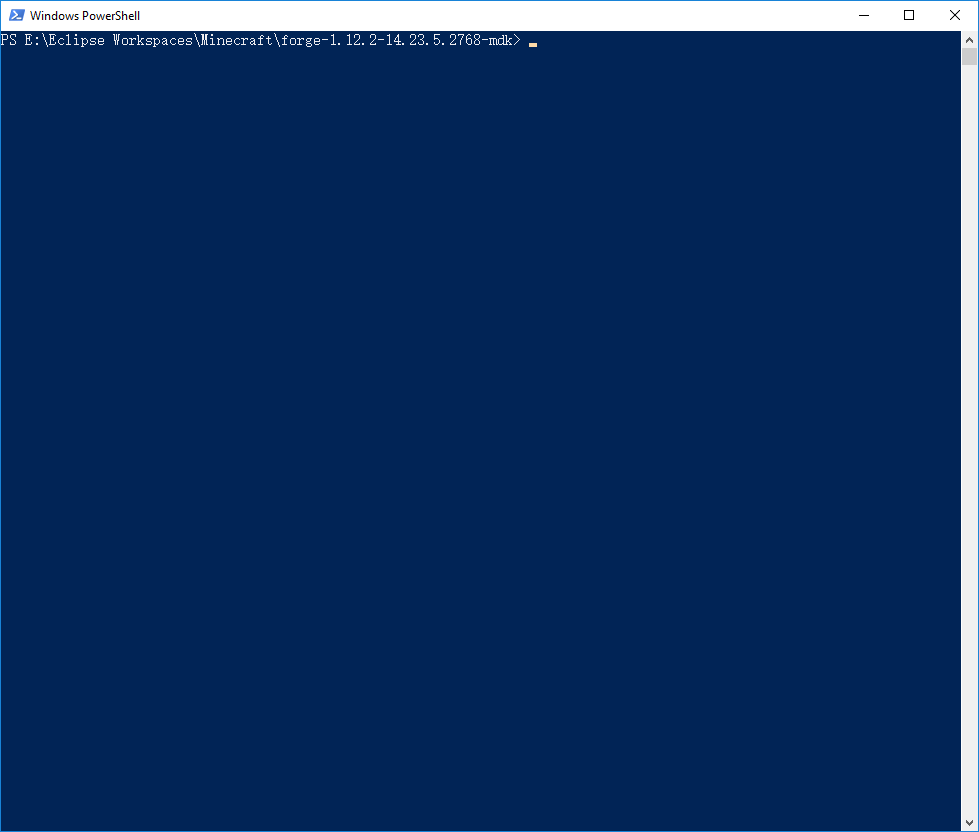
Now we need to decompile Minecraft. Navigate to the Forge folder in Explorer. Hold shift + right-click and select Open PowerShell window here. You should now see the following:
From here we need to run three commands. Some of these commands will take a while to run so be patient.
.\gradlew tasks
This will setup the project and give you a list of tasks you can run.
.\gradlew setupDecompWorkspace
This will decompile MineCraft and set up the project ready for modding. This command will take a while, especially if you have a slow internet connection.
.\gradlew eclipse
This will set up the Eclipse project.
And that’s it – we can now start modding Minecraft! But first we should think about Source Control.
Source Control: Github
Source control helps you track changes to projects over time. It can help you back up and revert changes that may have messed up your code. It’s vital for any development project, even if you work alone.
In my professional life I prefer Perforce, but Github is great for open source and solo projects.
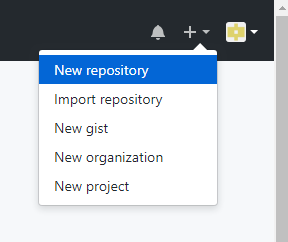
You can create a github account at their website. Once you have done so, click the + in the top right to create a new repository.
Give the project any name you like then note the URL of the project.
Next we need to download and install git. Once we have done so we can open up our PowerShell window on the Forge directory again:
You can then run the following commands to create a git repository:
git init
This will initialise a git repository.
git remote add origin <URL_TO_YOUR_REPO>
This will tell git which repository to upload your code. Replace <URL_TO_YOUR_REPO> with the repo you created in git. For example, https://github.com/doc-bok/DaggerMod is my repo.
git add .
This will add all files in the folder to the local repo. Don’t forget the dot at the end of this command.
git commit -m "My First Commit!"
This will commit the files to the local repo, saving their current state.
git push origin master
Finally this will upload your changes to the remote repo on github.
After this you can continue to use the command line to commit new changes. To do this you can use the last three commands in PowerShell:
git add .
git commit -m "<MY_CHANGE_DESCRIPTION>"
git push origin master
You could also download Git for Windows and use that instead.
References
Here are all the resources listed in this article:
- JDK on the Oracle website
- Eclipse Installer
- Forge website
- Github
- git
- My Mod Repo for the latest DaggerMod code
Here are a couple of tutorials I found useful for this. The Medium article sends you to an old version of Forge but it still contains useful information. Supergerrie2’s site contains many other tutorials for 1.12 modding that I’ve found useful so far.


