
In my attempt to actually play all the games in my Steam Library, I started at the top. 11-11 Memories Retold, a game set during the Great War that follows two characters, one a Canadian photographer who joins the war effort to impress a girl, and the other a German mechanic who is trying to find his missing son.
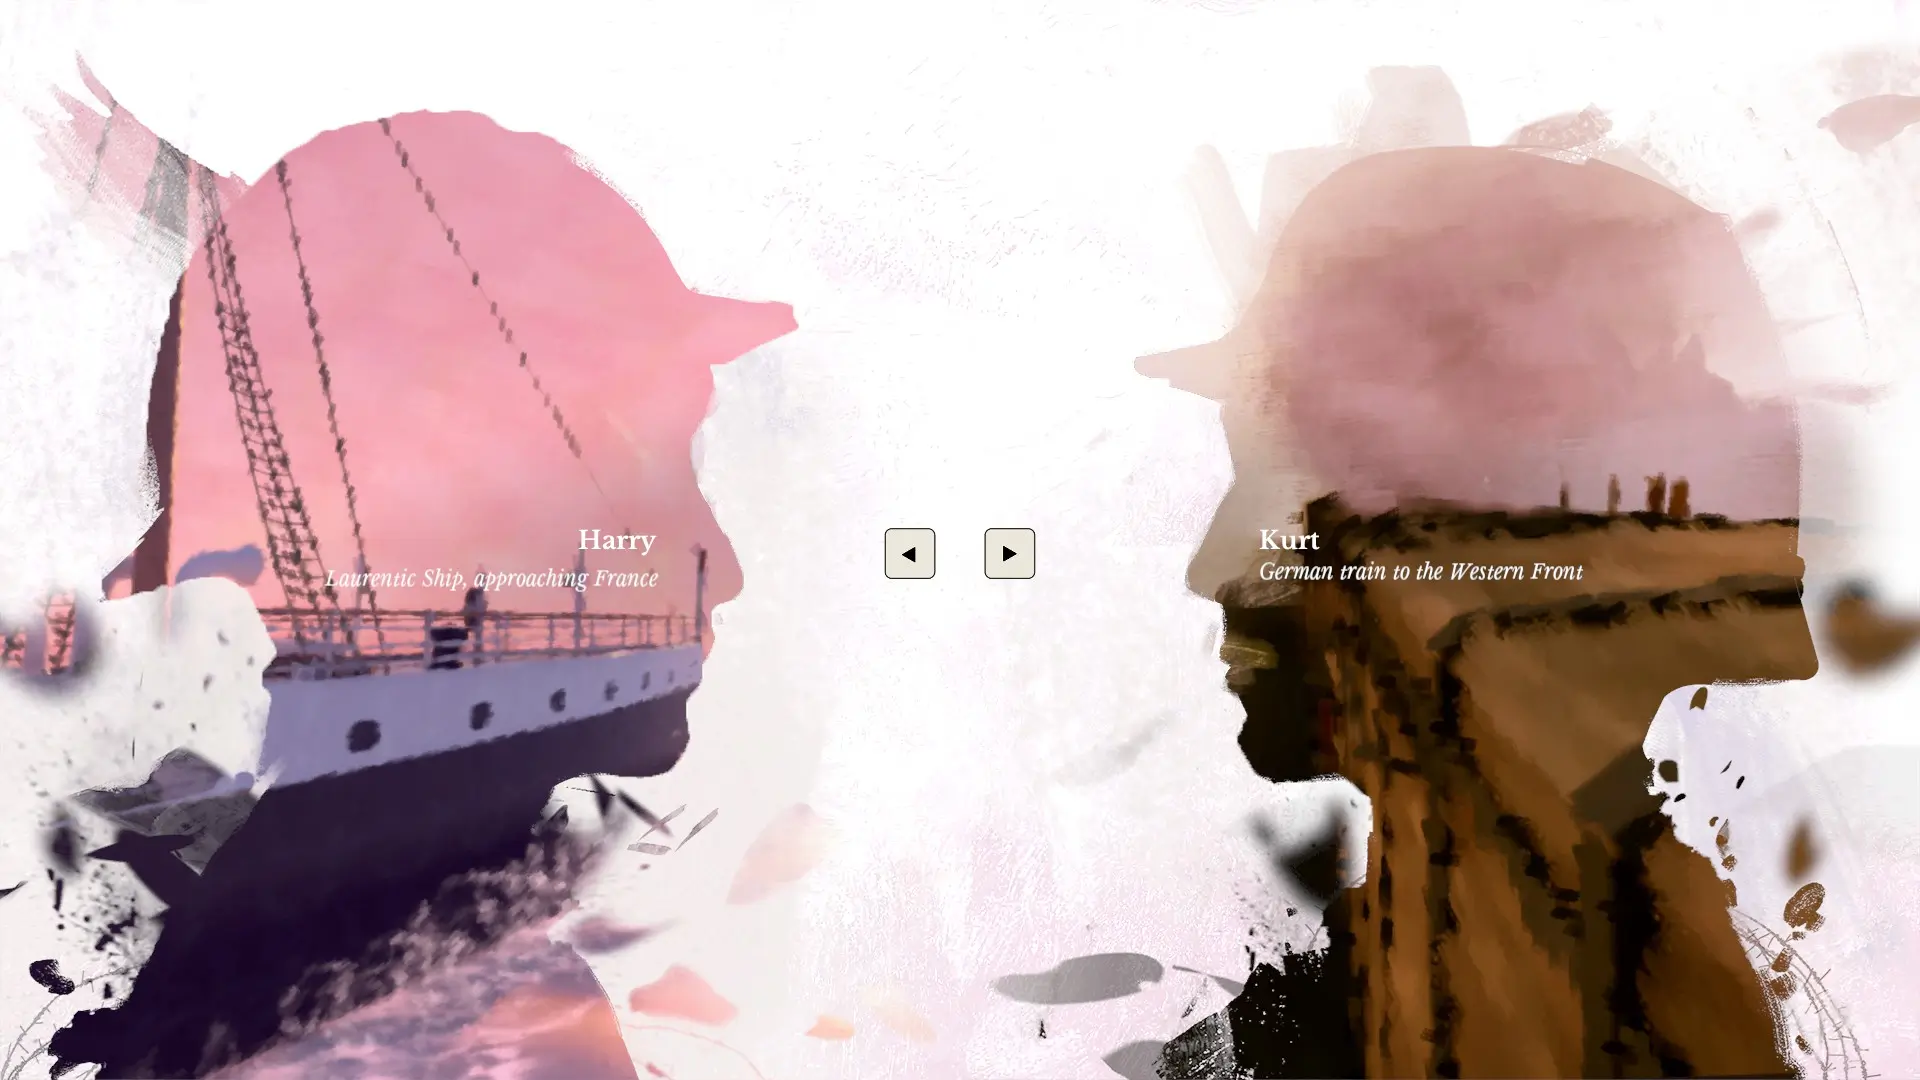
After loading back into a game we get a short cutscene covering both characters. It has been about a month since they both joined. We then get to choose which character we start with. I decide to start with Harry.
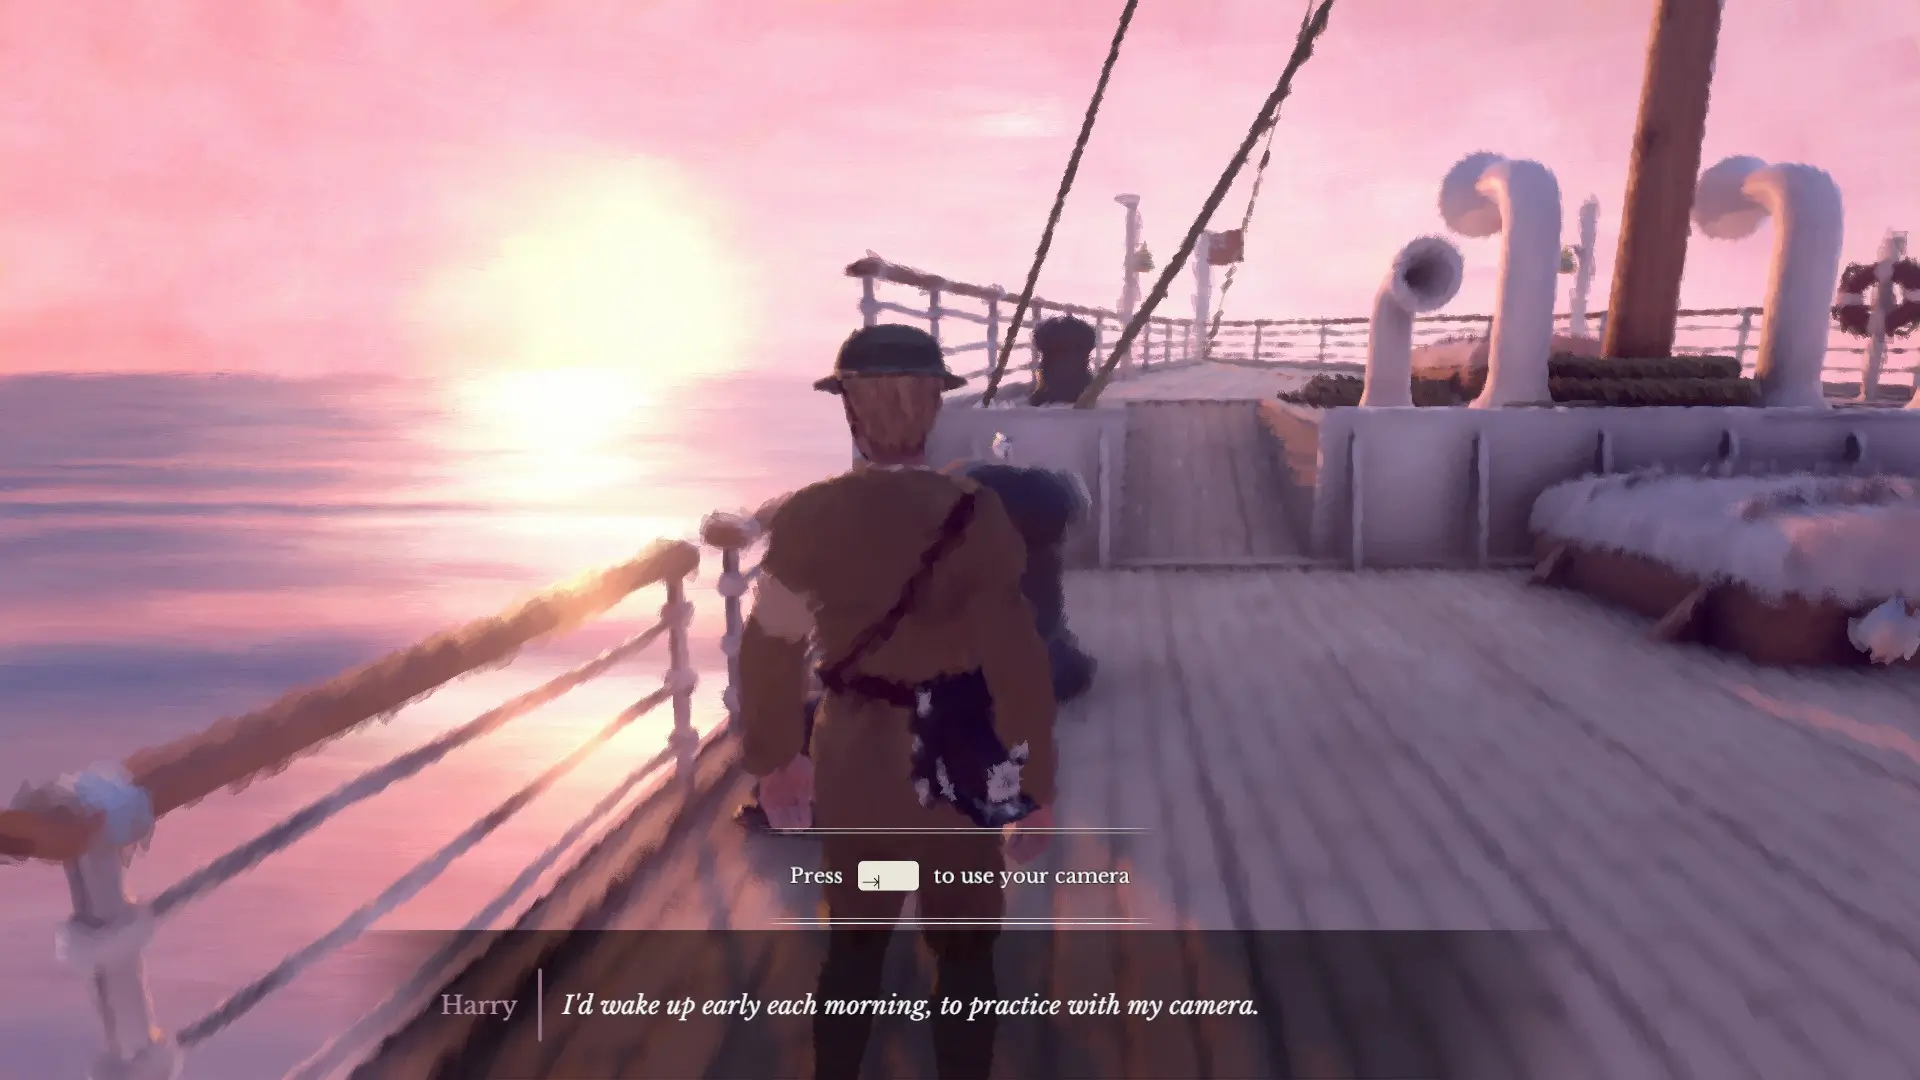
Harry is on a ship approaching France. He decides to practice his photography by taking pictures of a seagull. The game tells us that we can use the Tab key to pull out the camera.
I explore around a bit and manage to find a collectible before taking the pictures of the bird. The mechanics of the camera haven’t changed. After taking the pictures, we are taken to Kurt’s story.
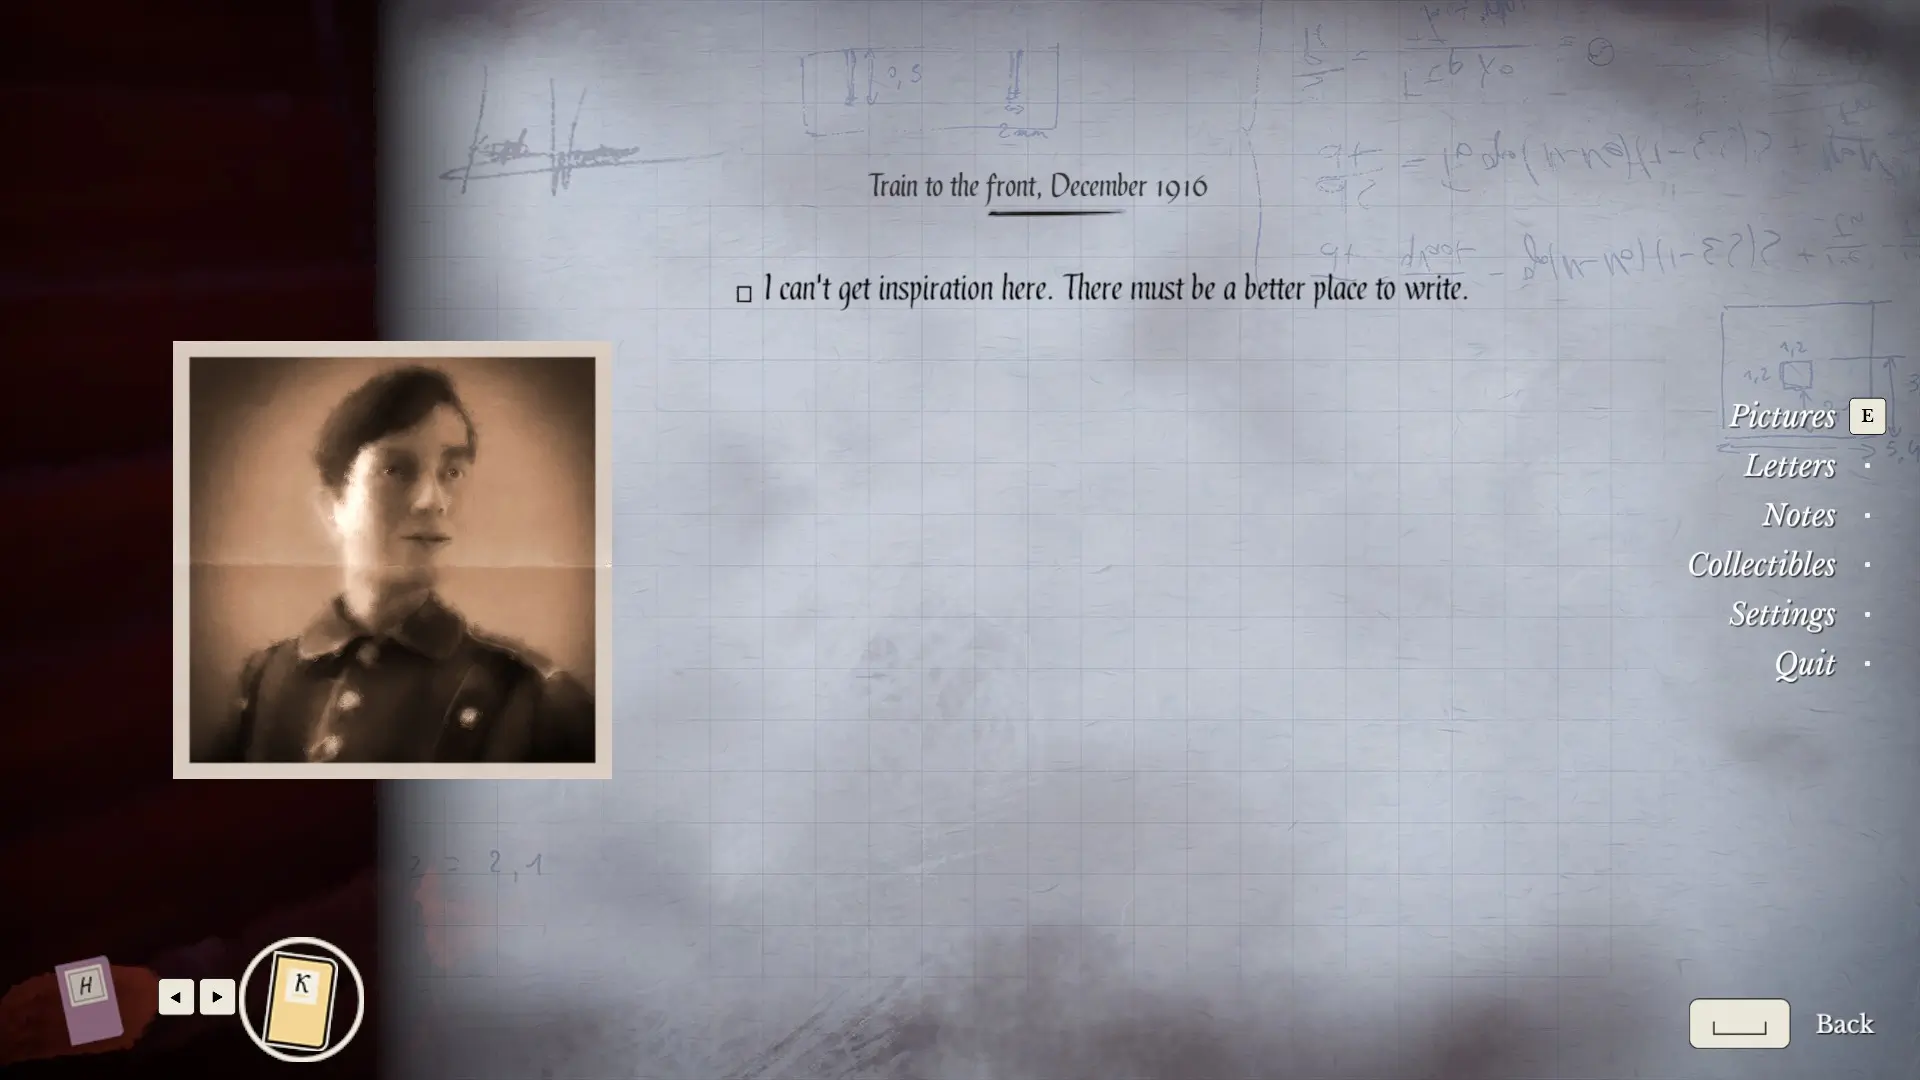
Kurt is writing letters to his family: one for his wife and another for his daughter Lucie. He can’t concentrate where he is, so our goal is to find a quiet place where he can write his letter.
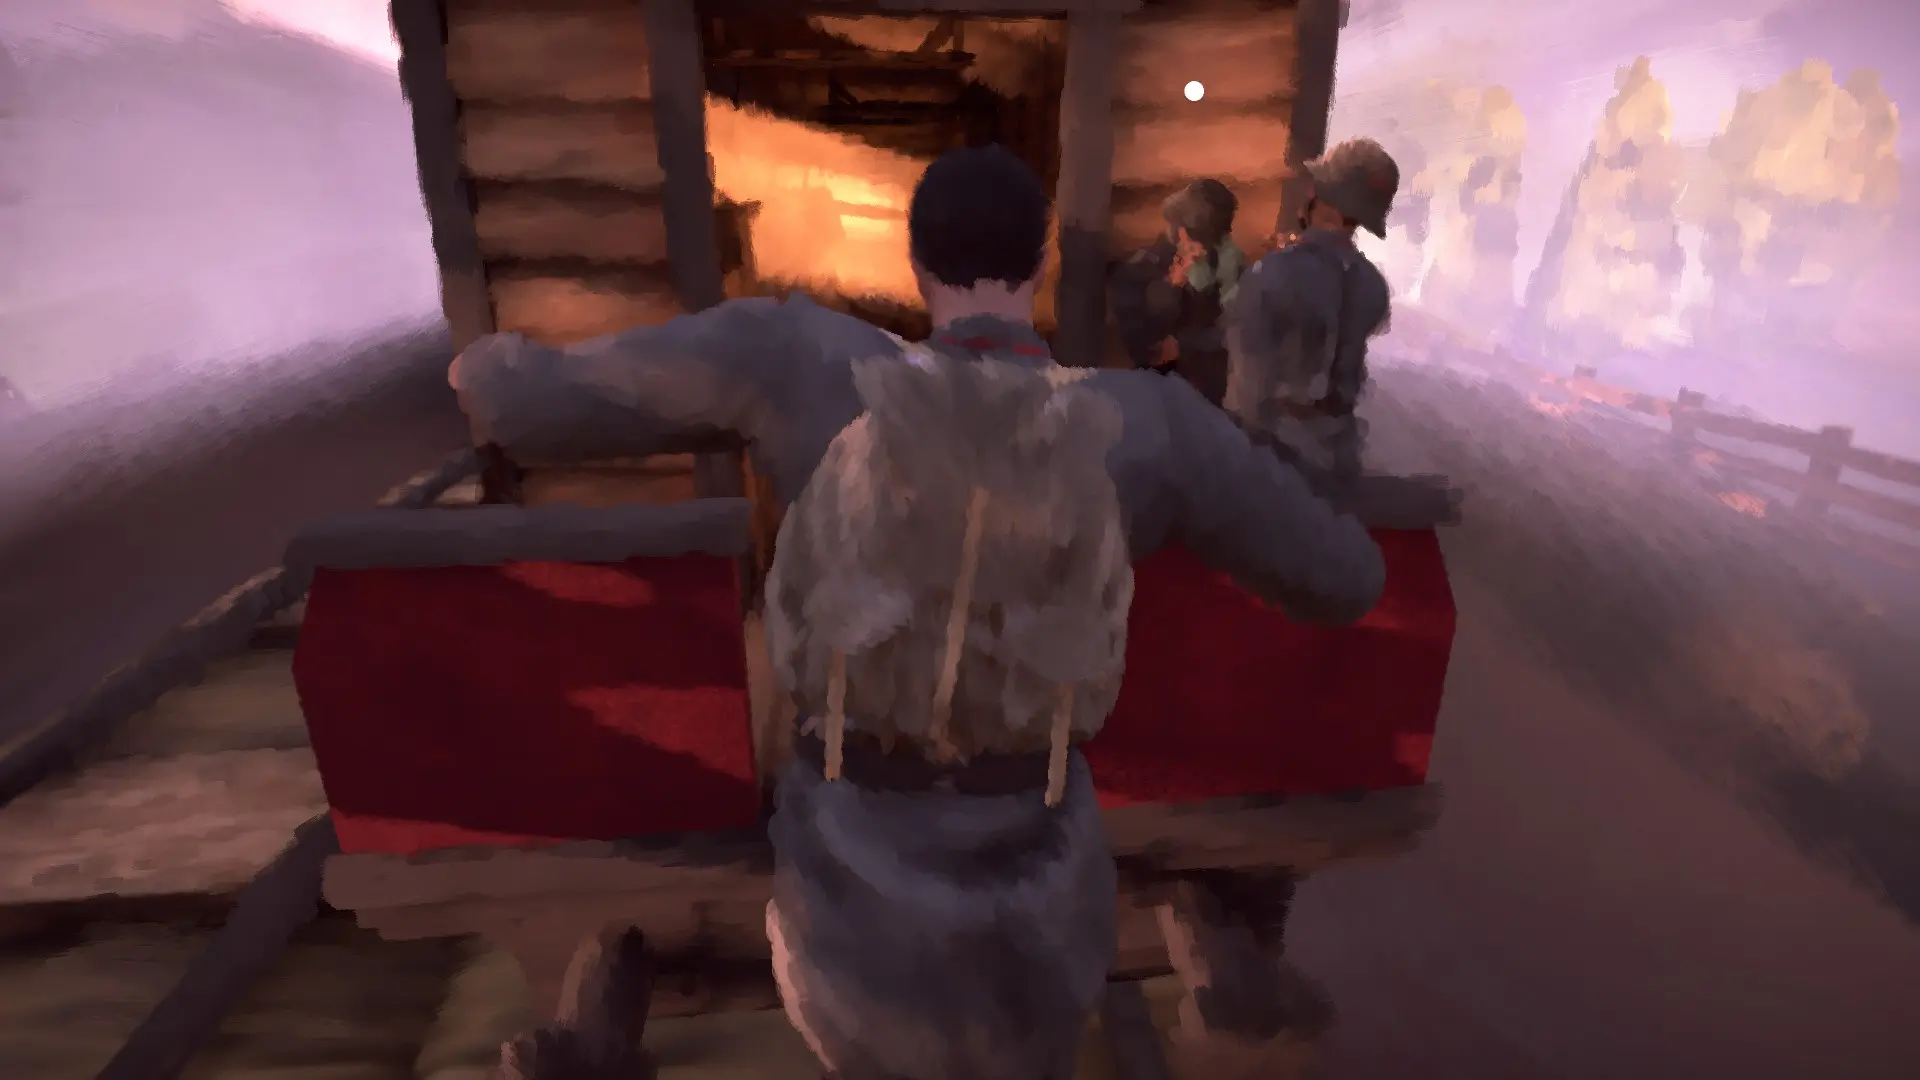
Moving through the train we can talk to more soldiers. As before, Kurt’s sections seem more maze-like, requiring Kurt to explore a bit more, moving carts, climbing ladders, or tightrope walking between trains. Eventually we get to a cabin where we find out the train is transporting mines.
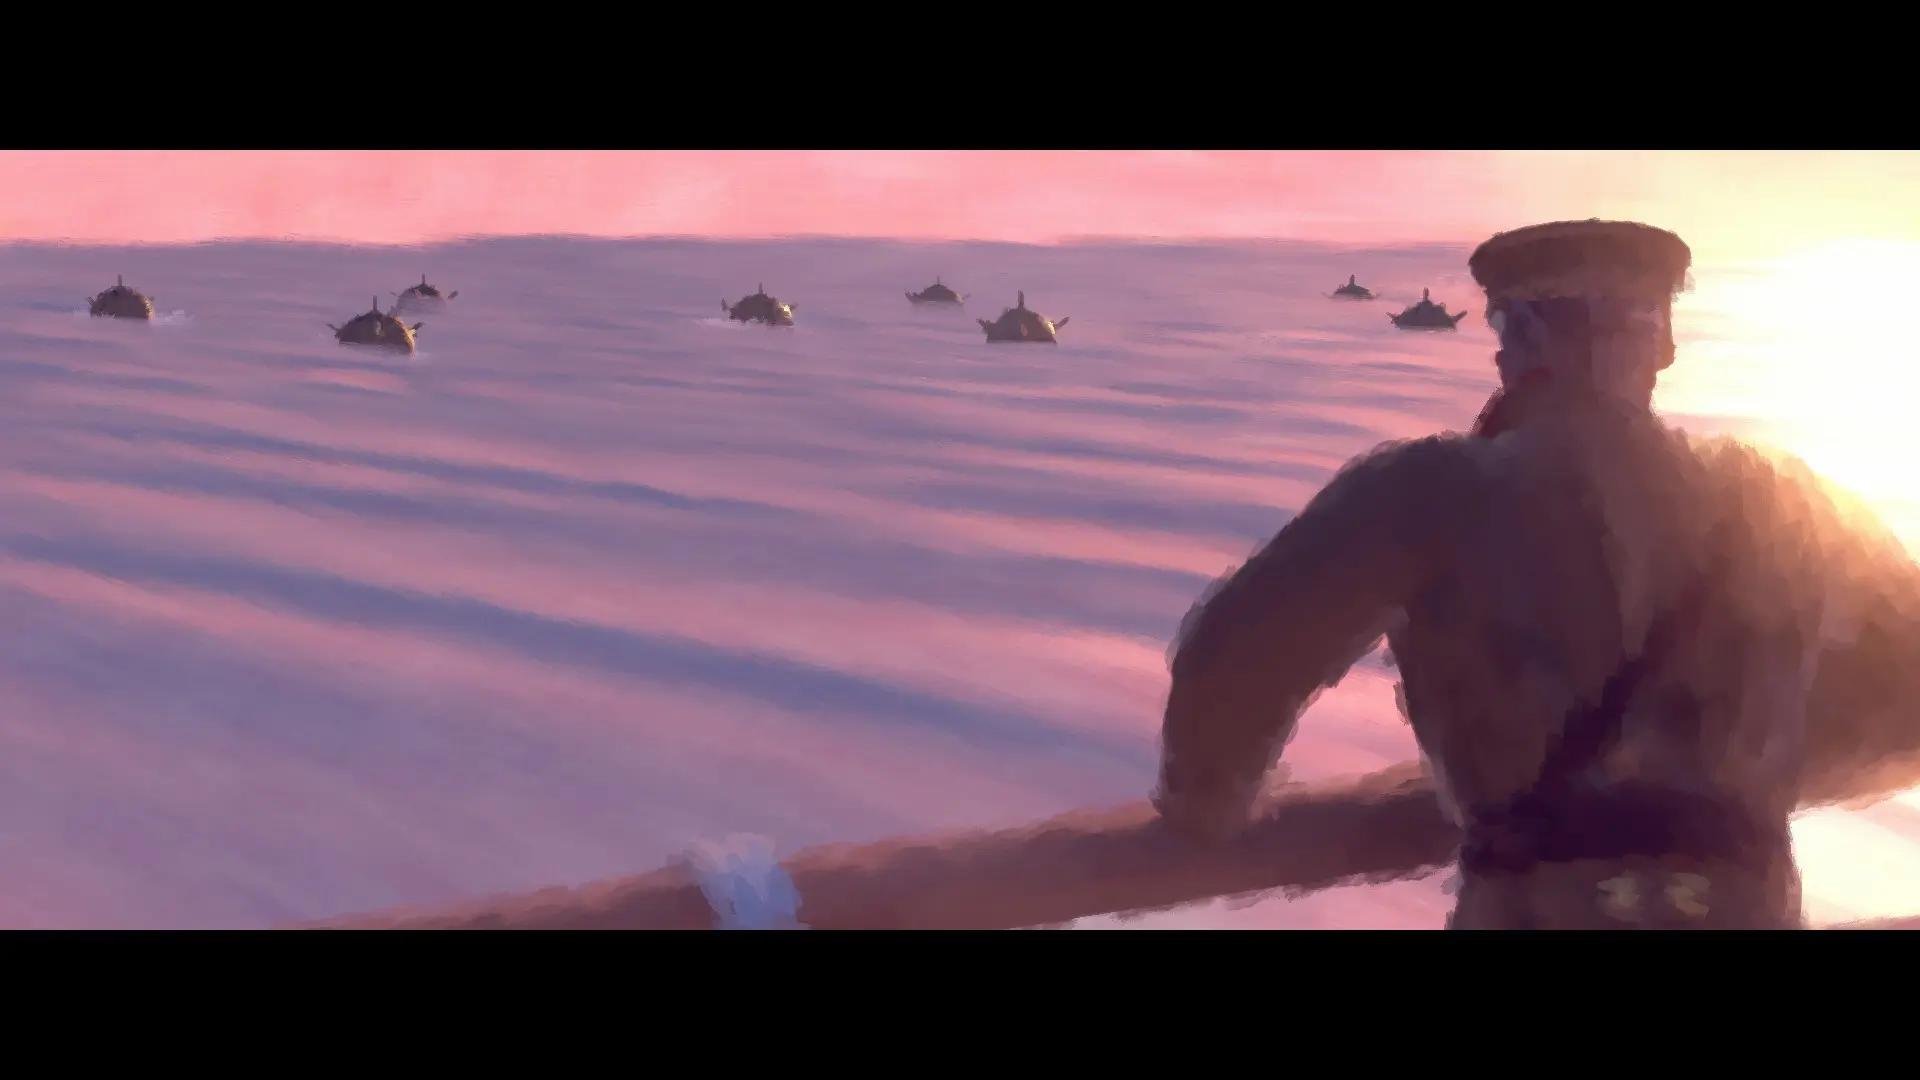
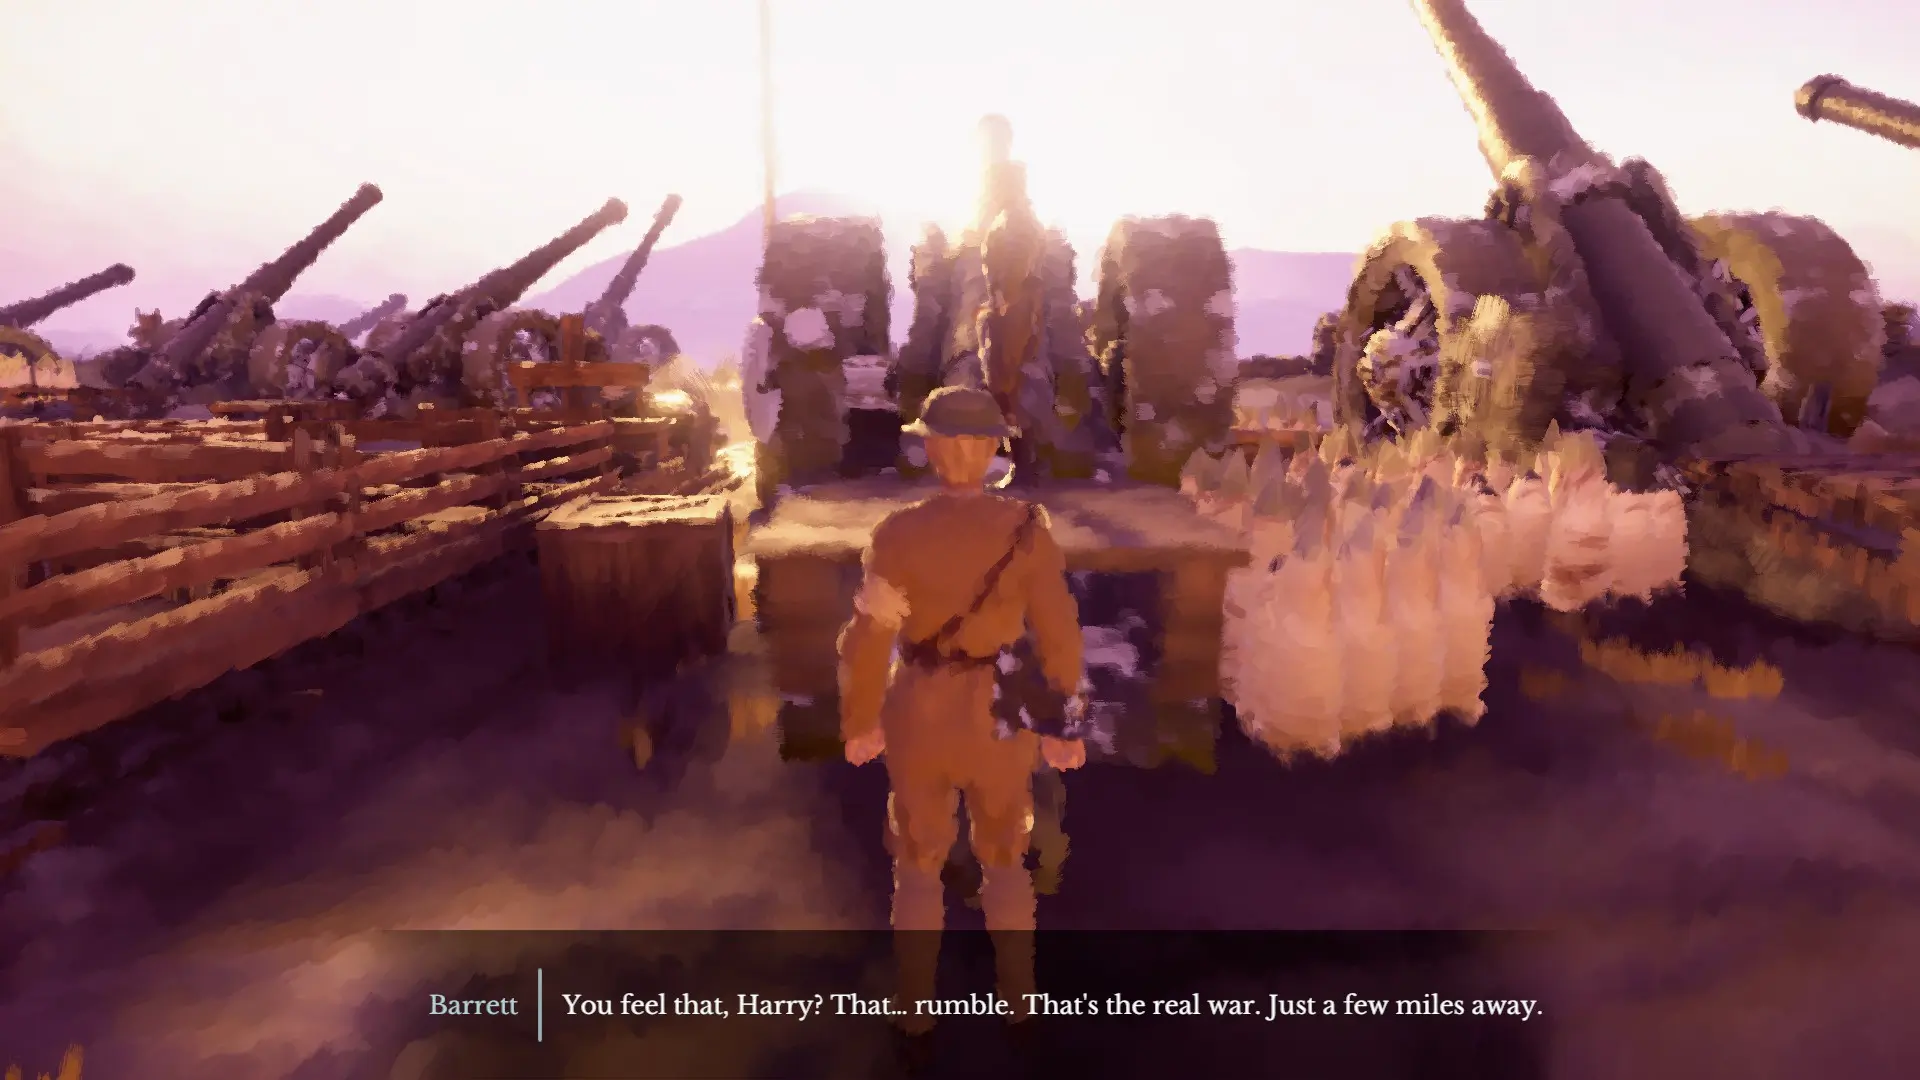
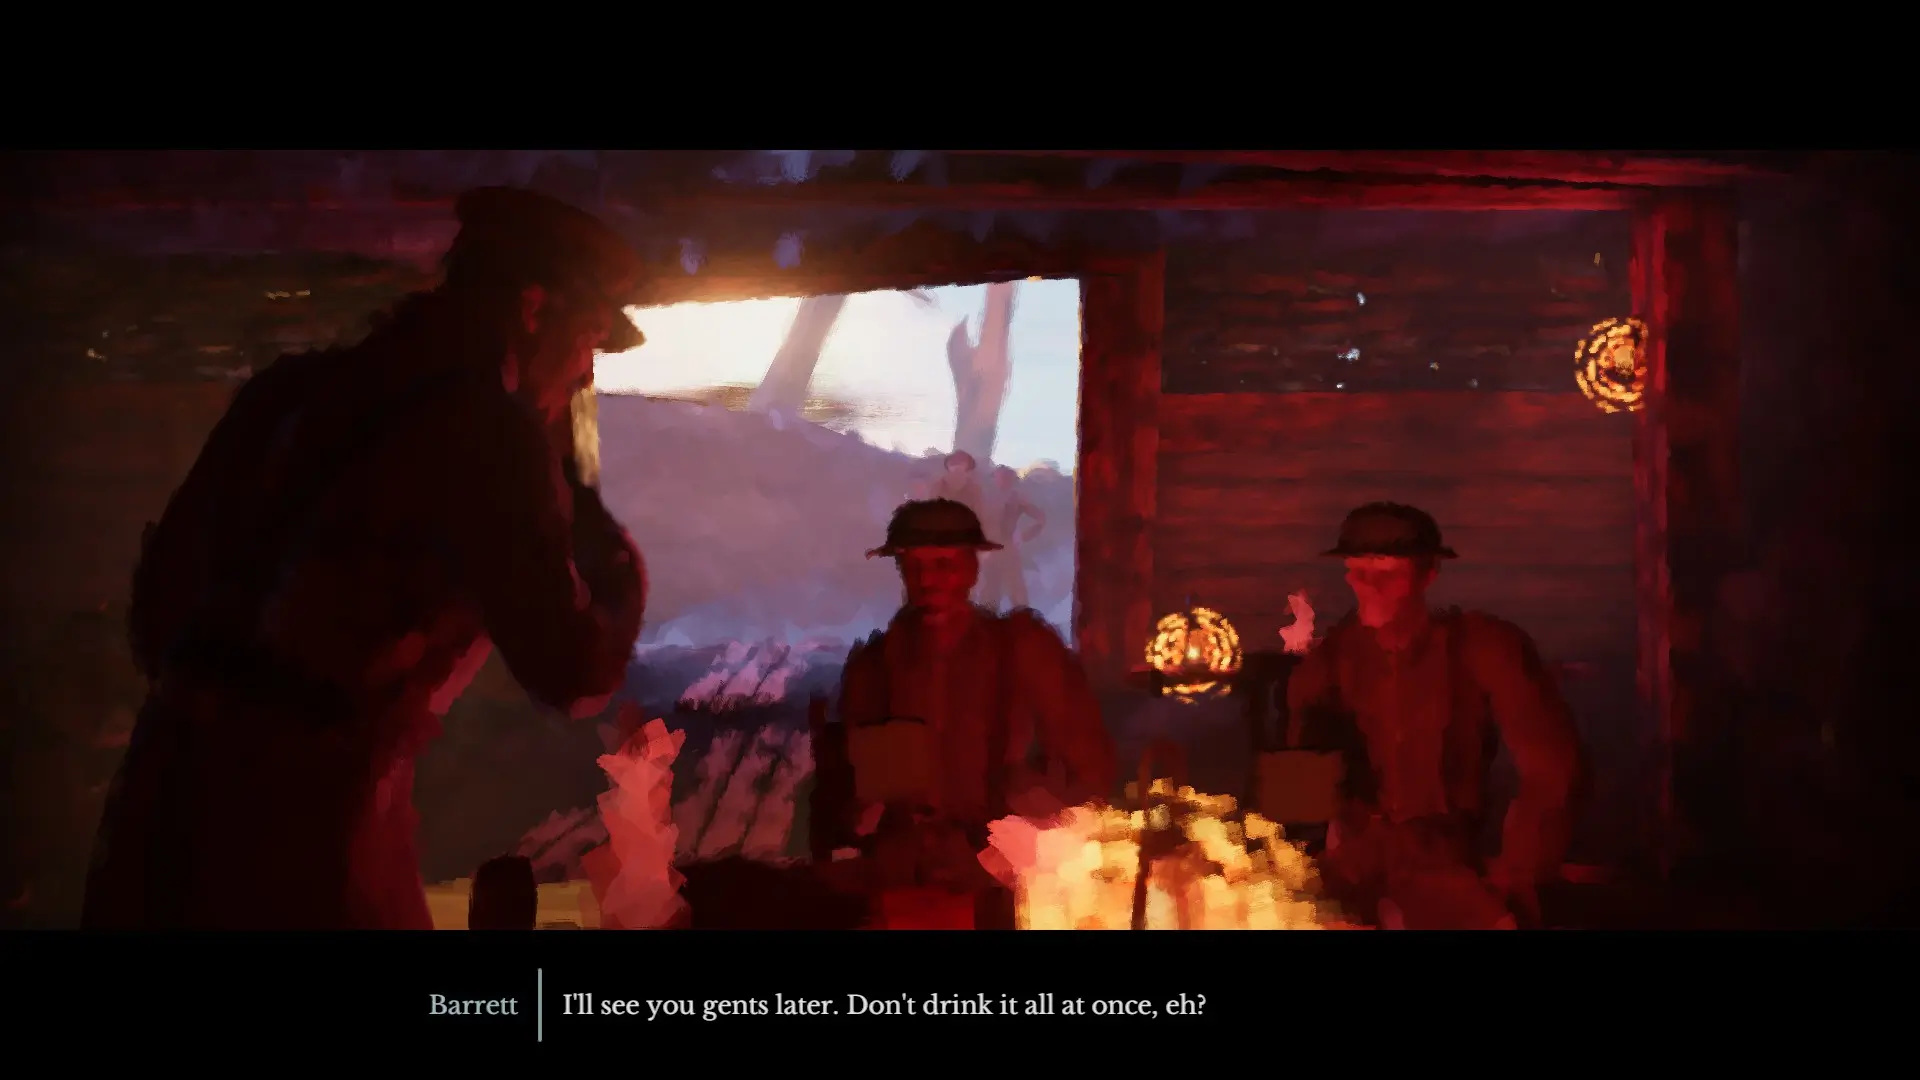
Back to Harry and we are tasked with taking some pictures of Major Barret for the papers. He sets up a few shots and then spots what will be our next challenge. Mines, just like the ones on Kurt’s train…
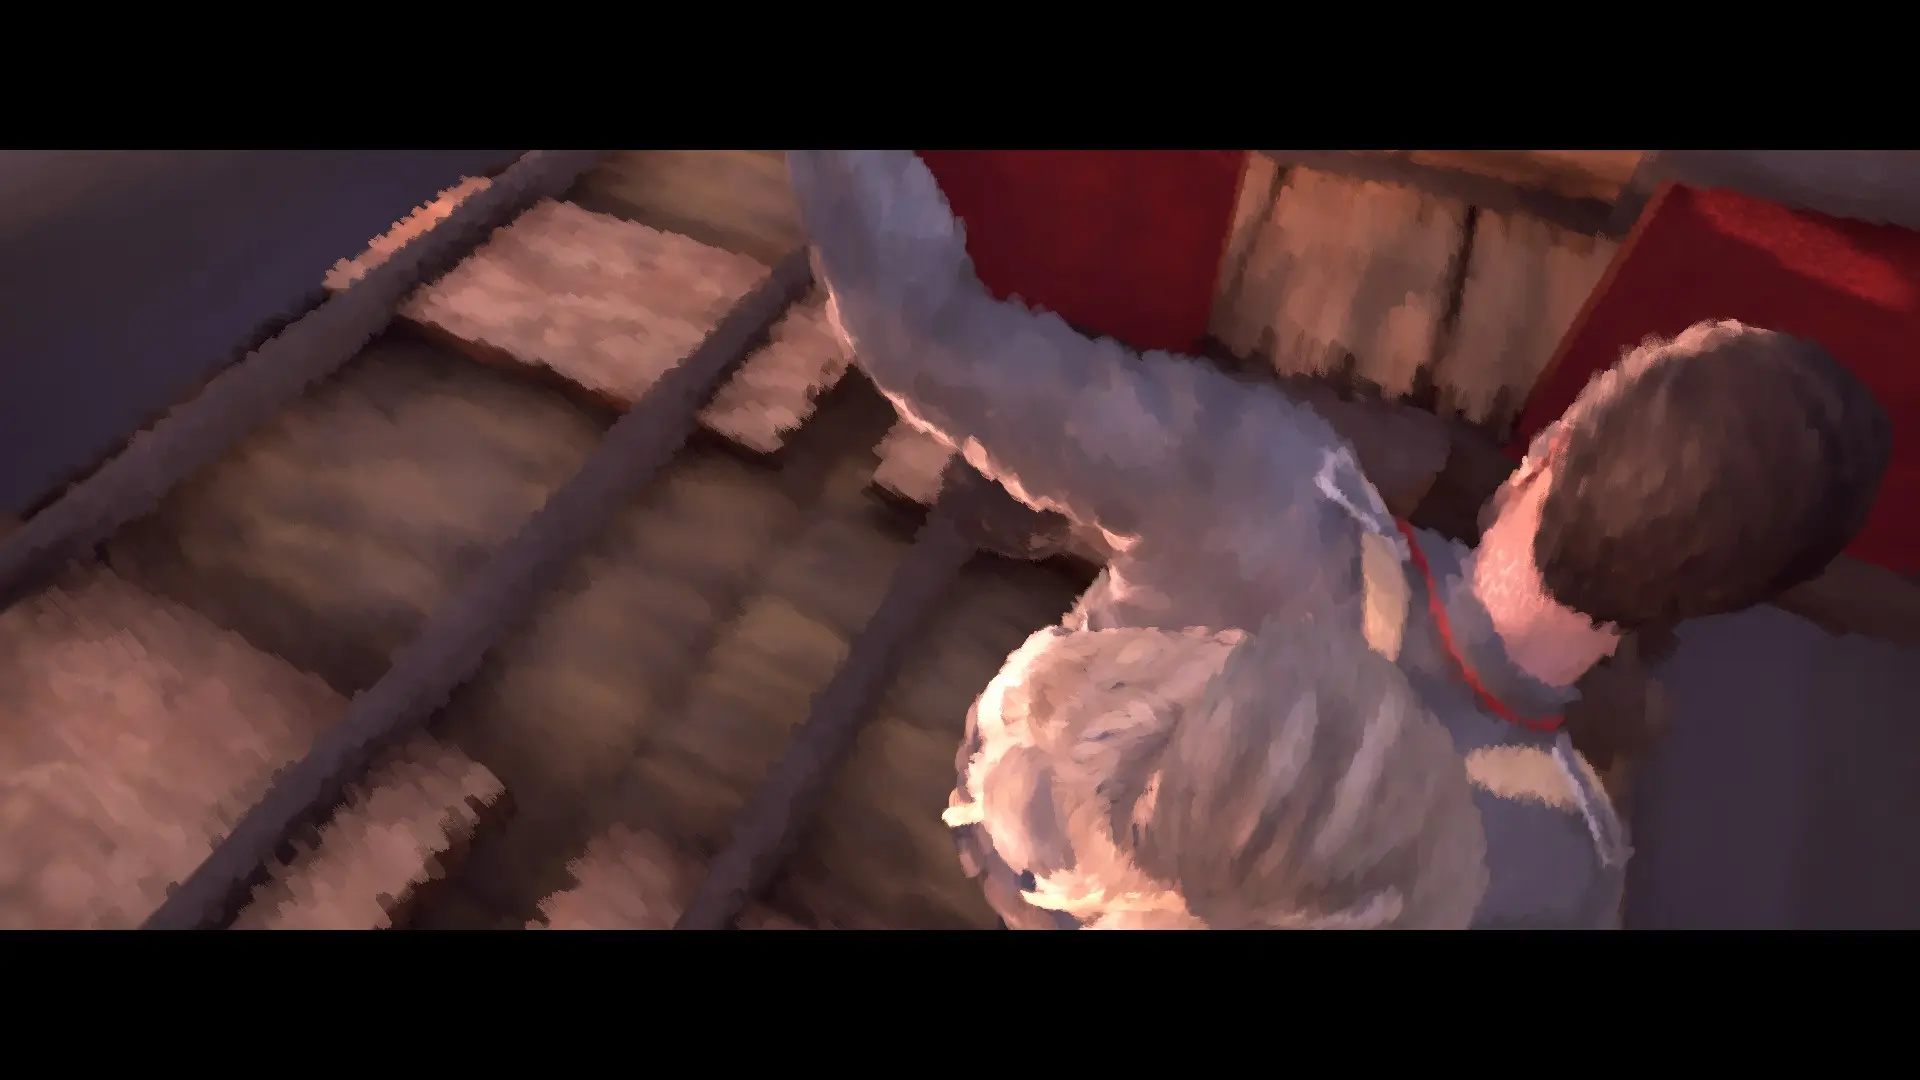
We go back to Kurt and continue moving toward the front of the train. I manage to find some collectibles along the way. As we move toward the front Kurt loses his balance as he moves between the cabins. Before we find out what happens, it’s back to Harry.
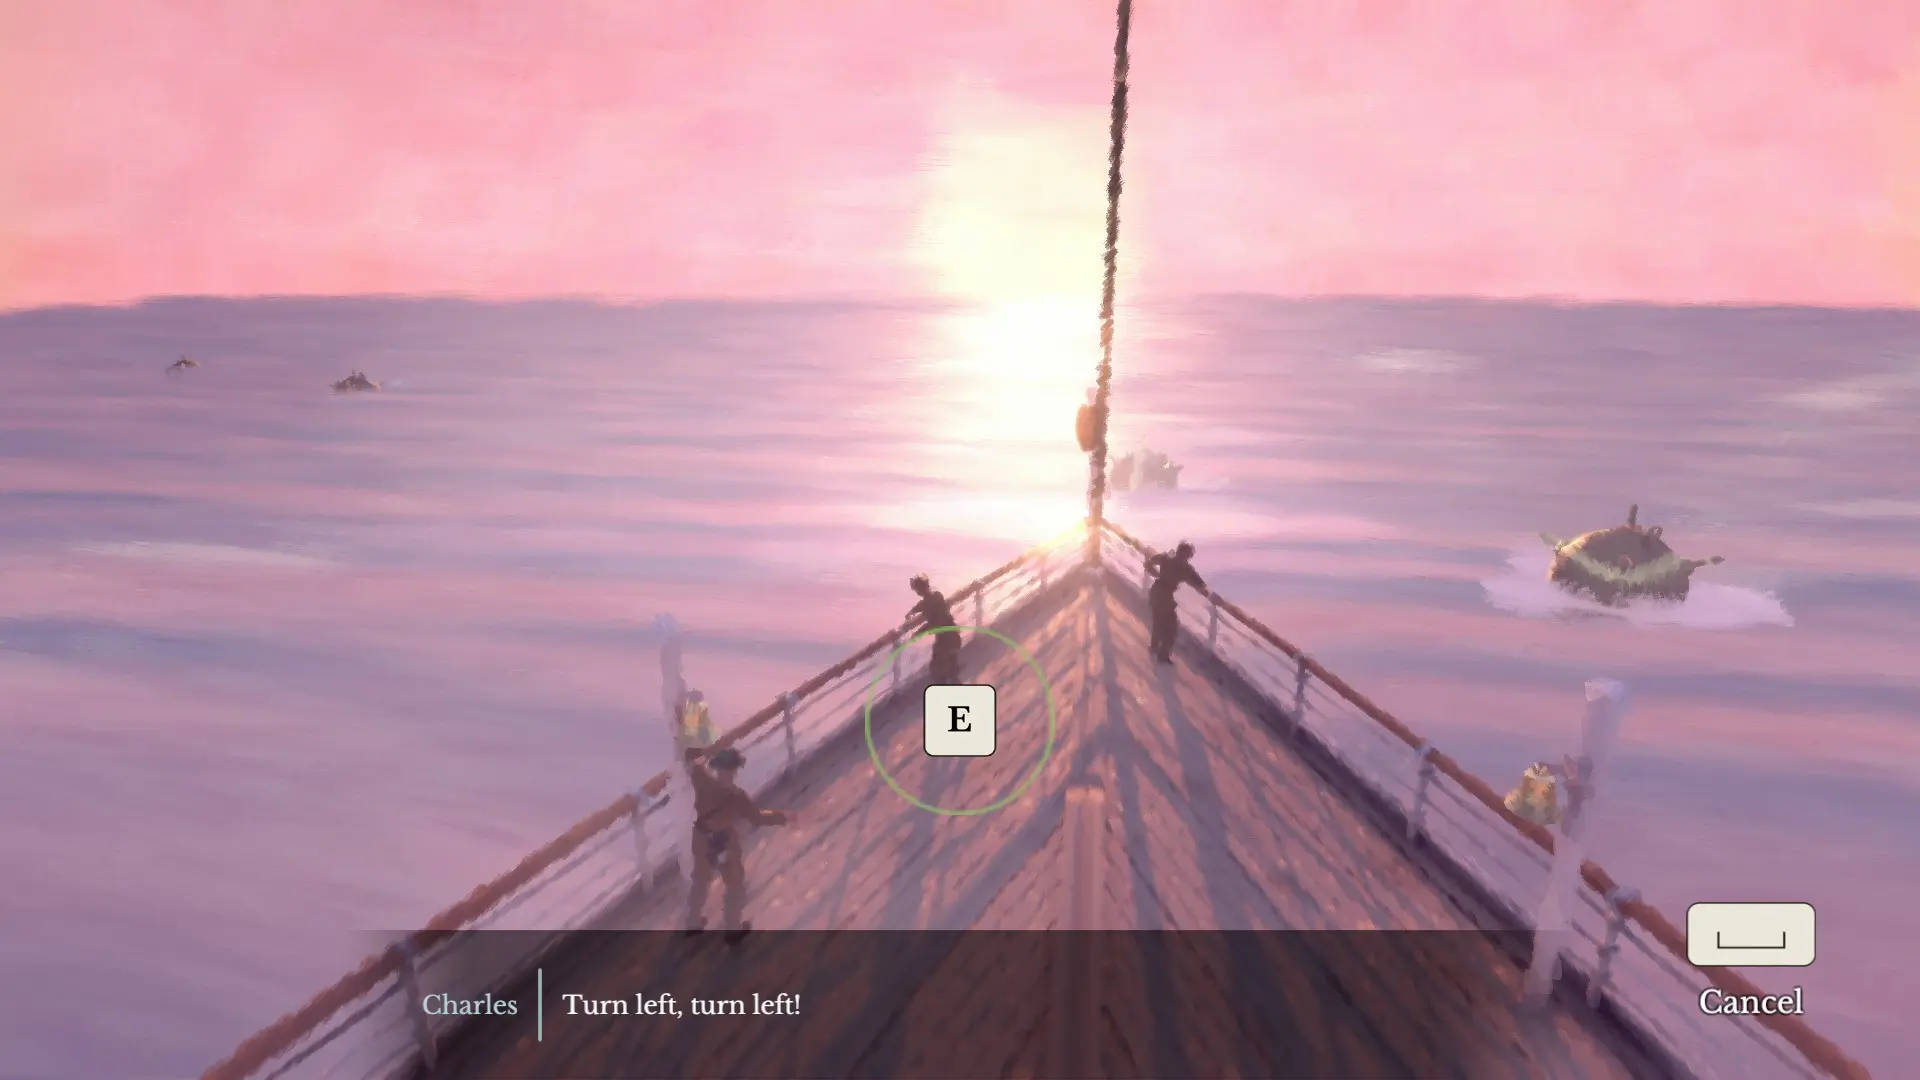
Here we have a minigame to play. In order to avoid the mines we need to steer the ship. We do this by ringing a bell on either side of the boat so the pilot know which way to steer.
We make it out of the mines and Barret arrives to congratulate us. We go back to Kurt’s story to learn another mechanic of the game.
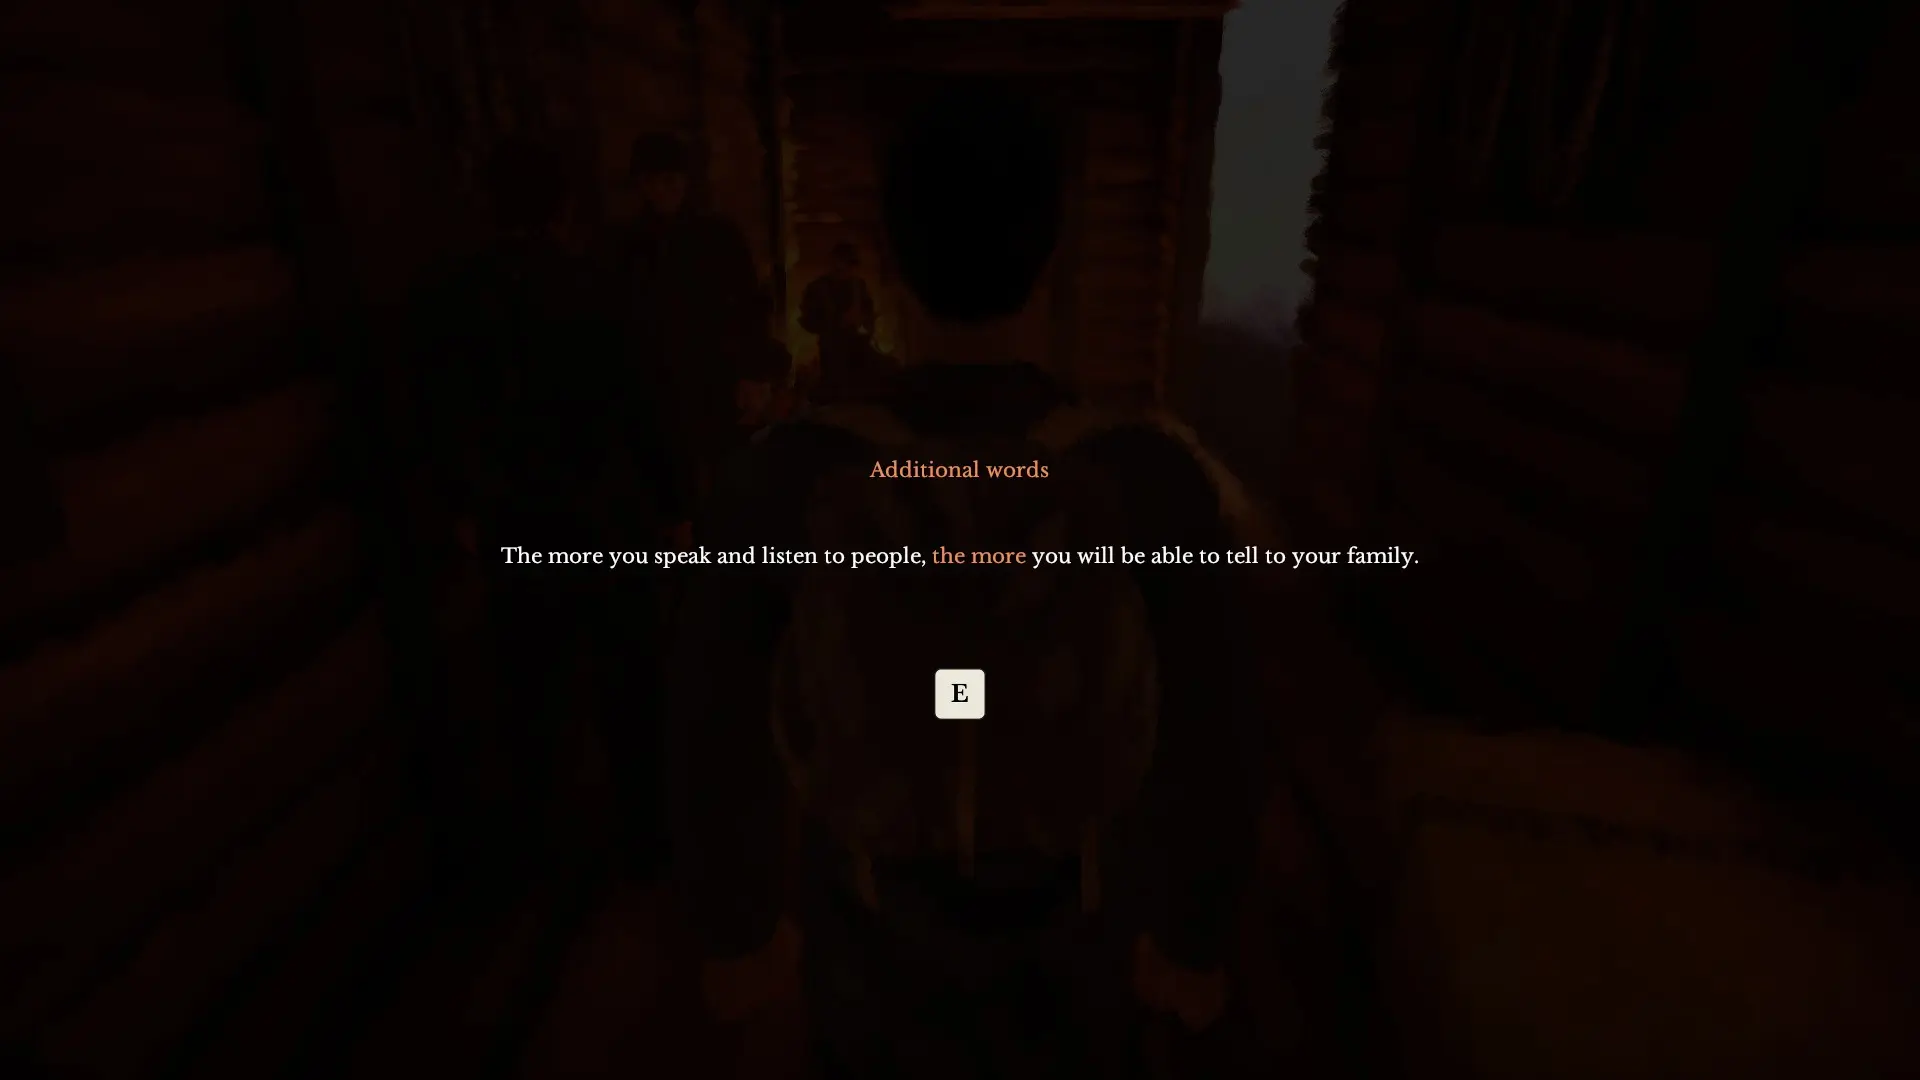
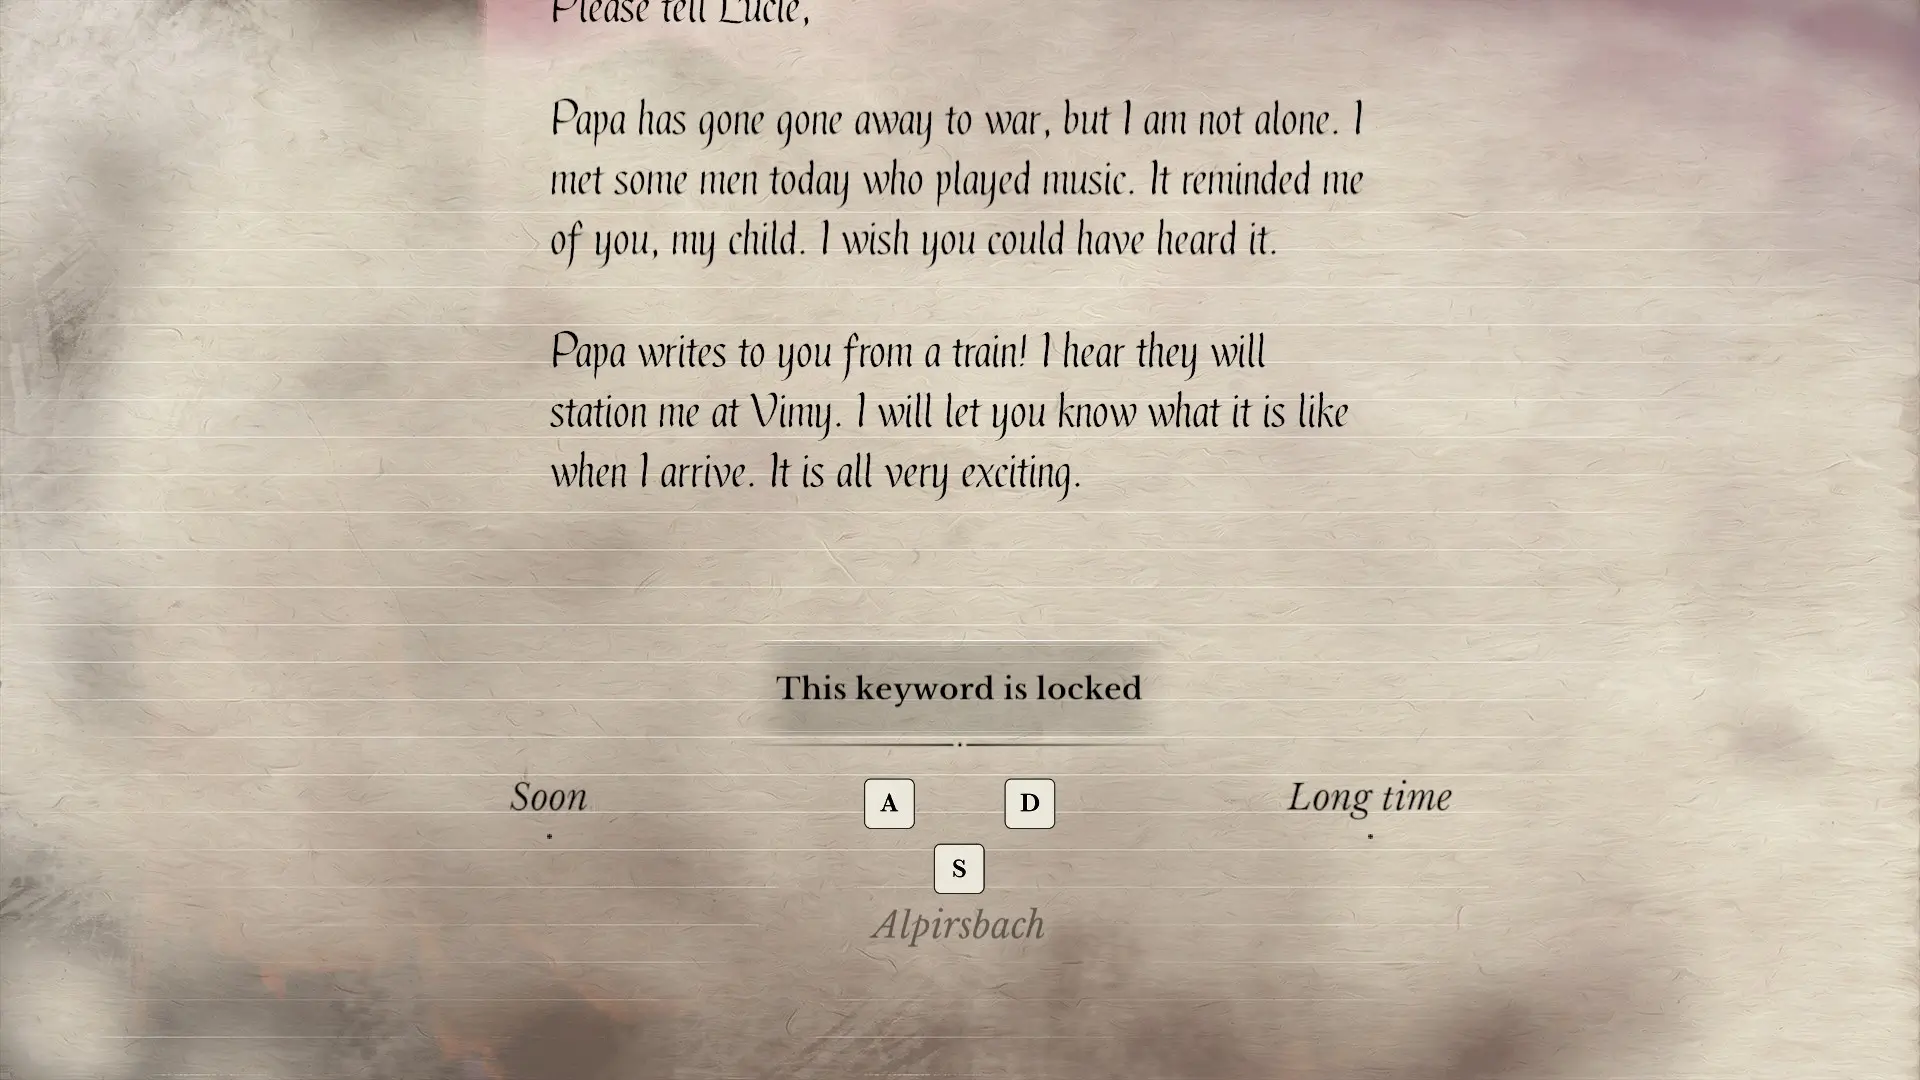
Kurt has found a relaxed cabin where one soldier sits playing guitar. But Kurt still needs some things to write about. The game tells us that the more we talk to people, the more topics Kurt can use in his letters.
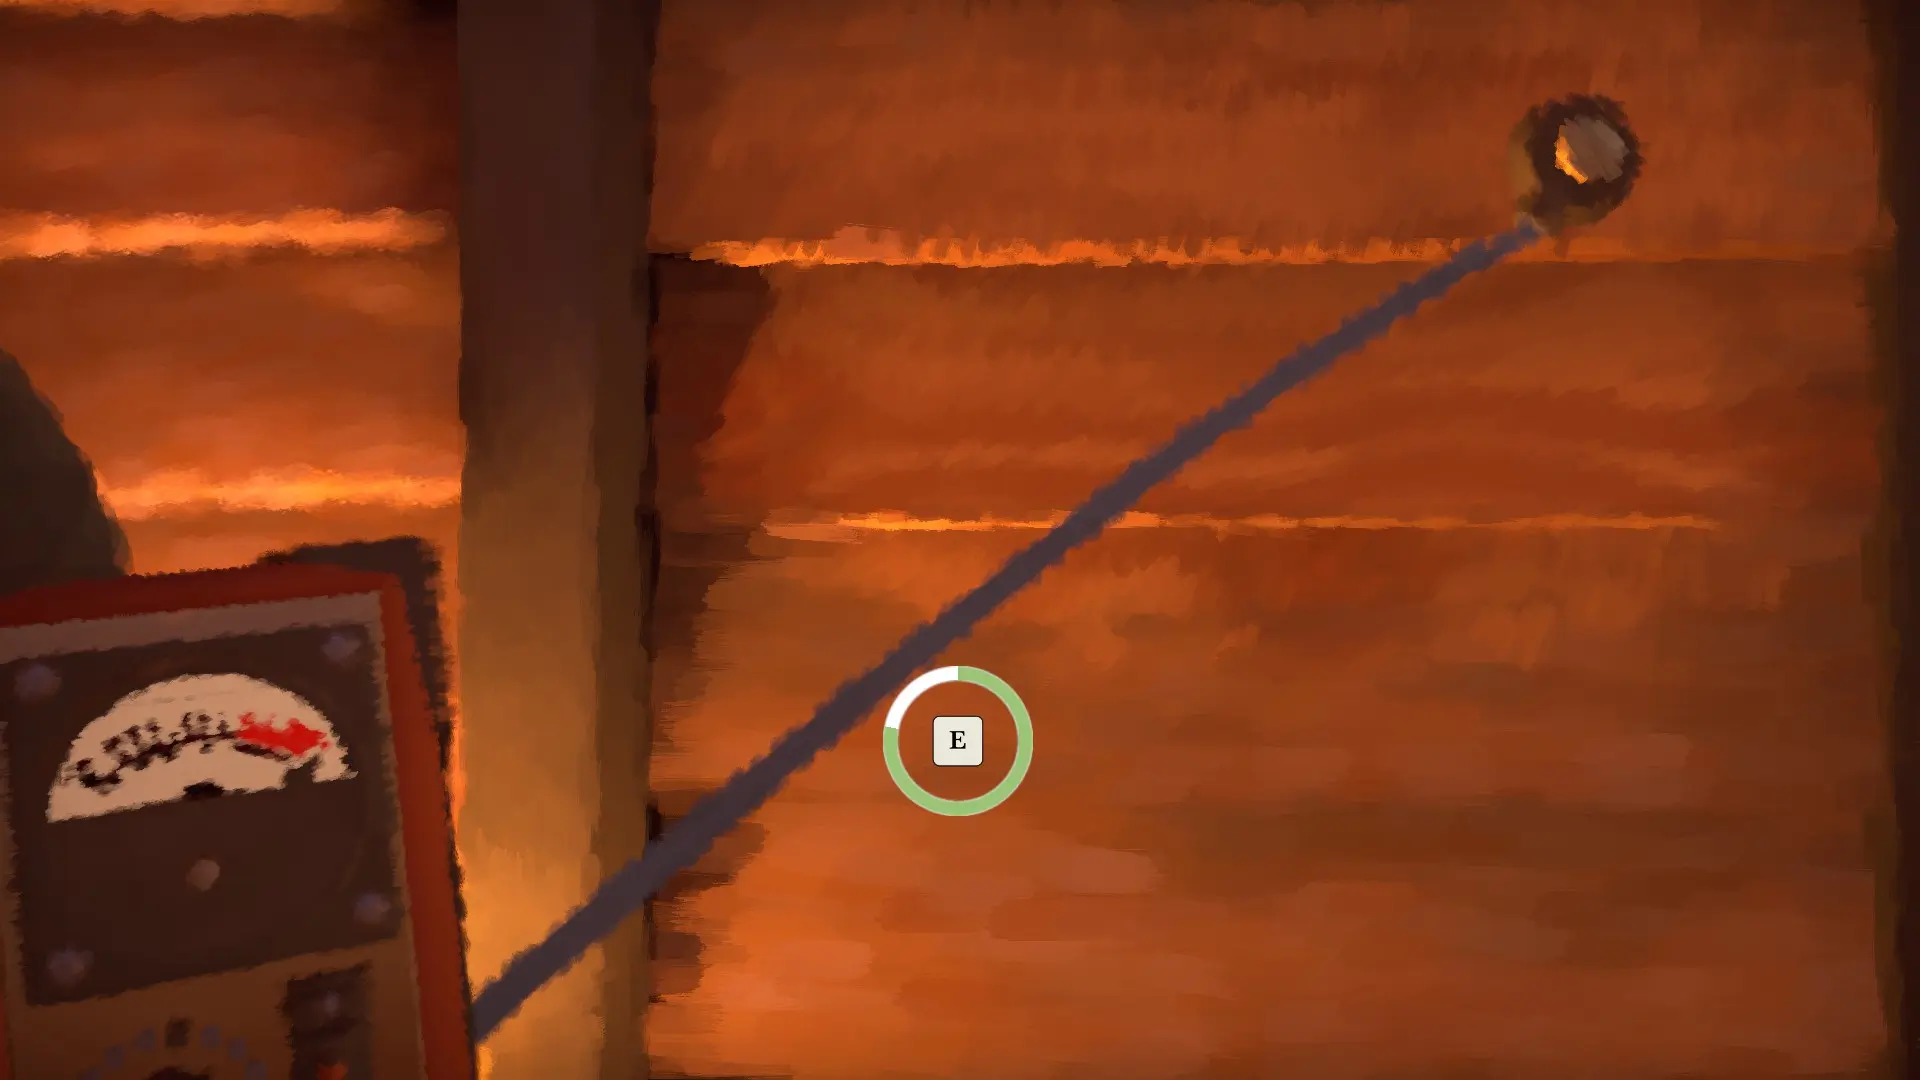
If we go to the door at the other end of the cabin and another minigame starts. We have to move our radio equipment around so I can find where is best to hear the conversation at the other side.
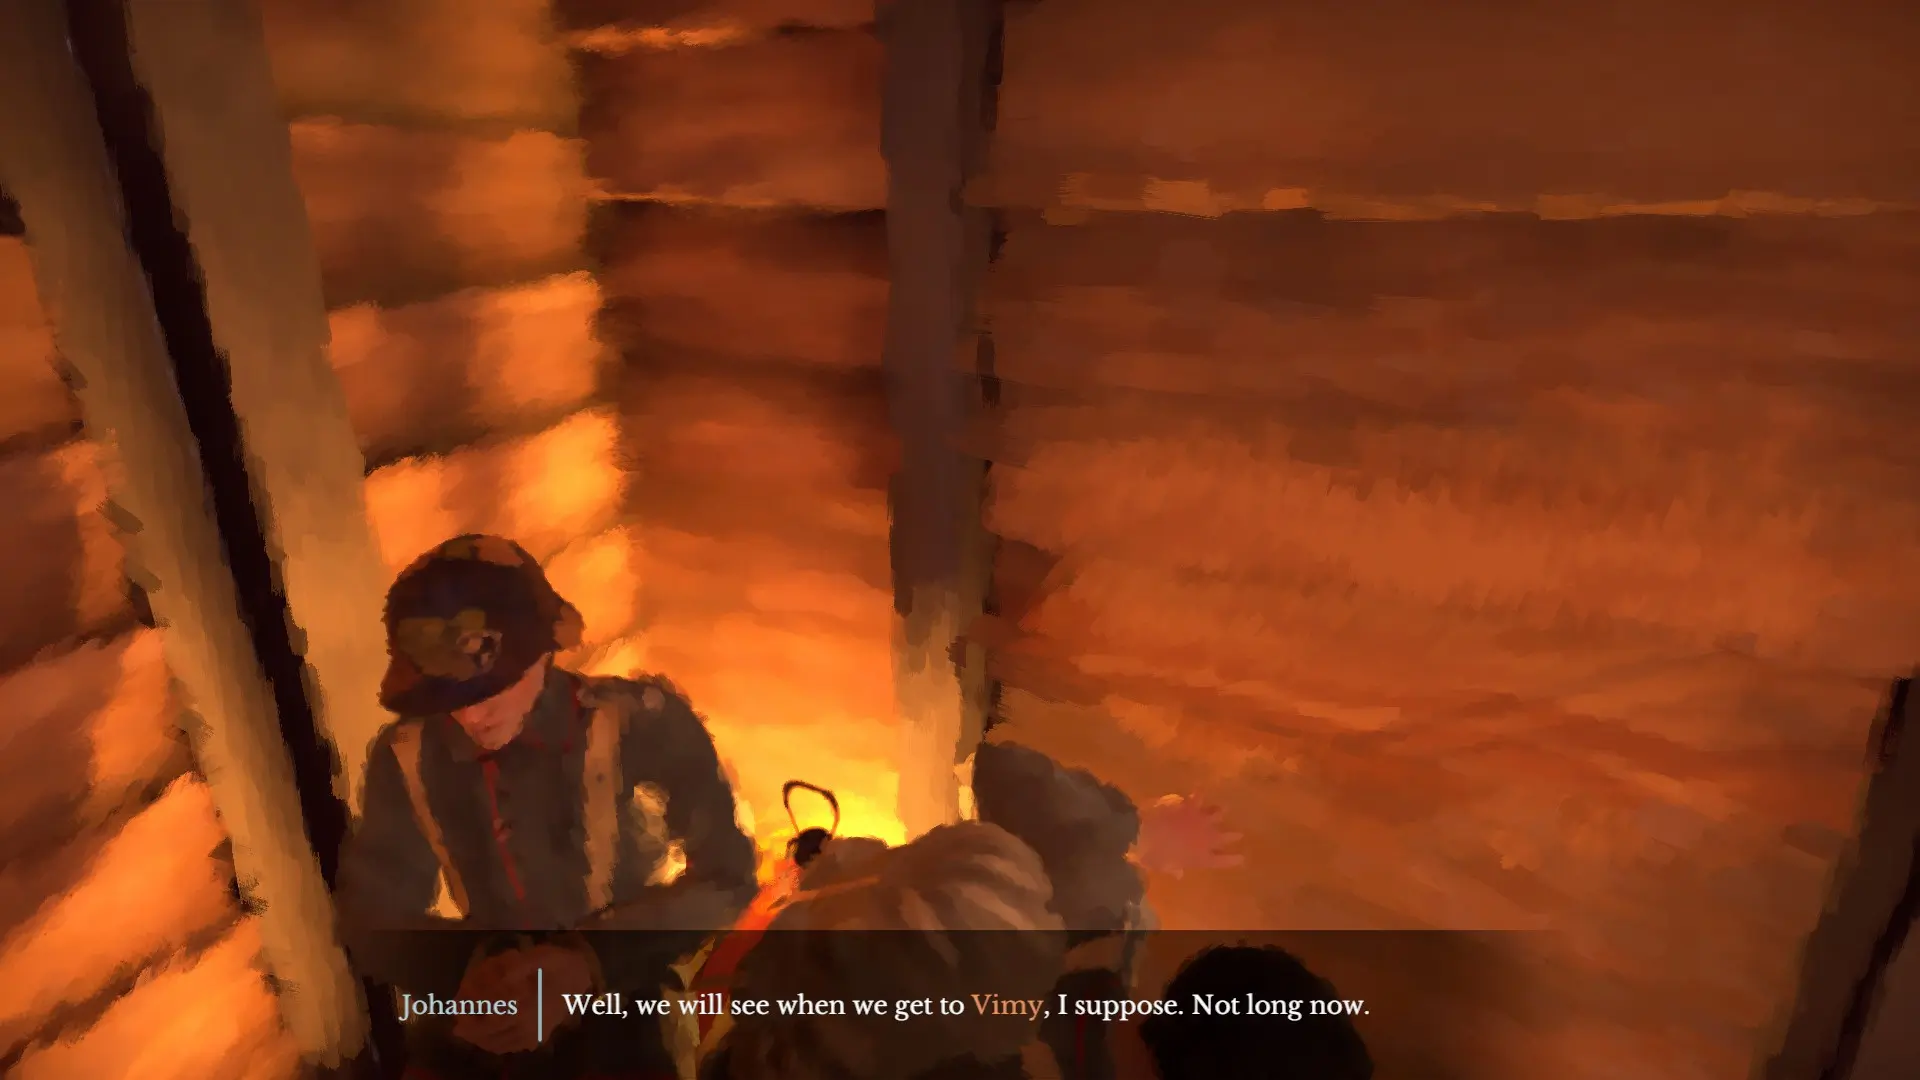
We find the best spot and then learn from the conversation on the other side that we are going to Vimy. The words in brown indicate we have learned of a topic we can write about.
I go back through the whole train to make sure I haven’t missed anything before talking to the soldier listening to the guitar. He tells us to sit and listen to the music, so we do so. Then we get to write our letter. The game reminds us who the letter is for.

We get three different parts of the letter to write, each with three choices. Two are always there, and the third choice comes from our conversations.
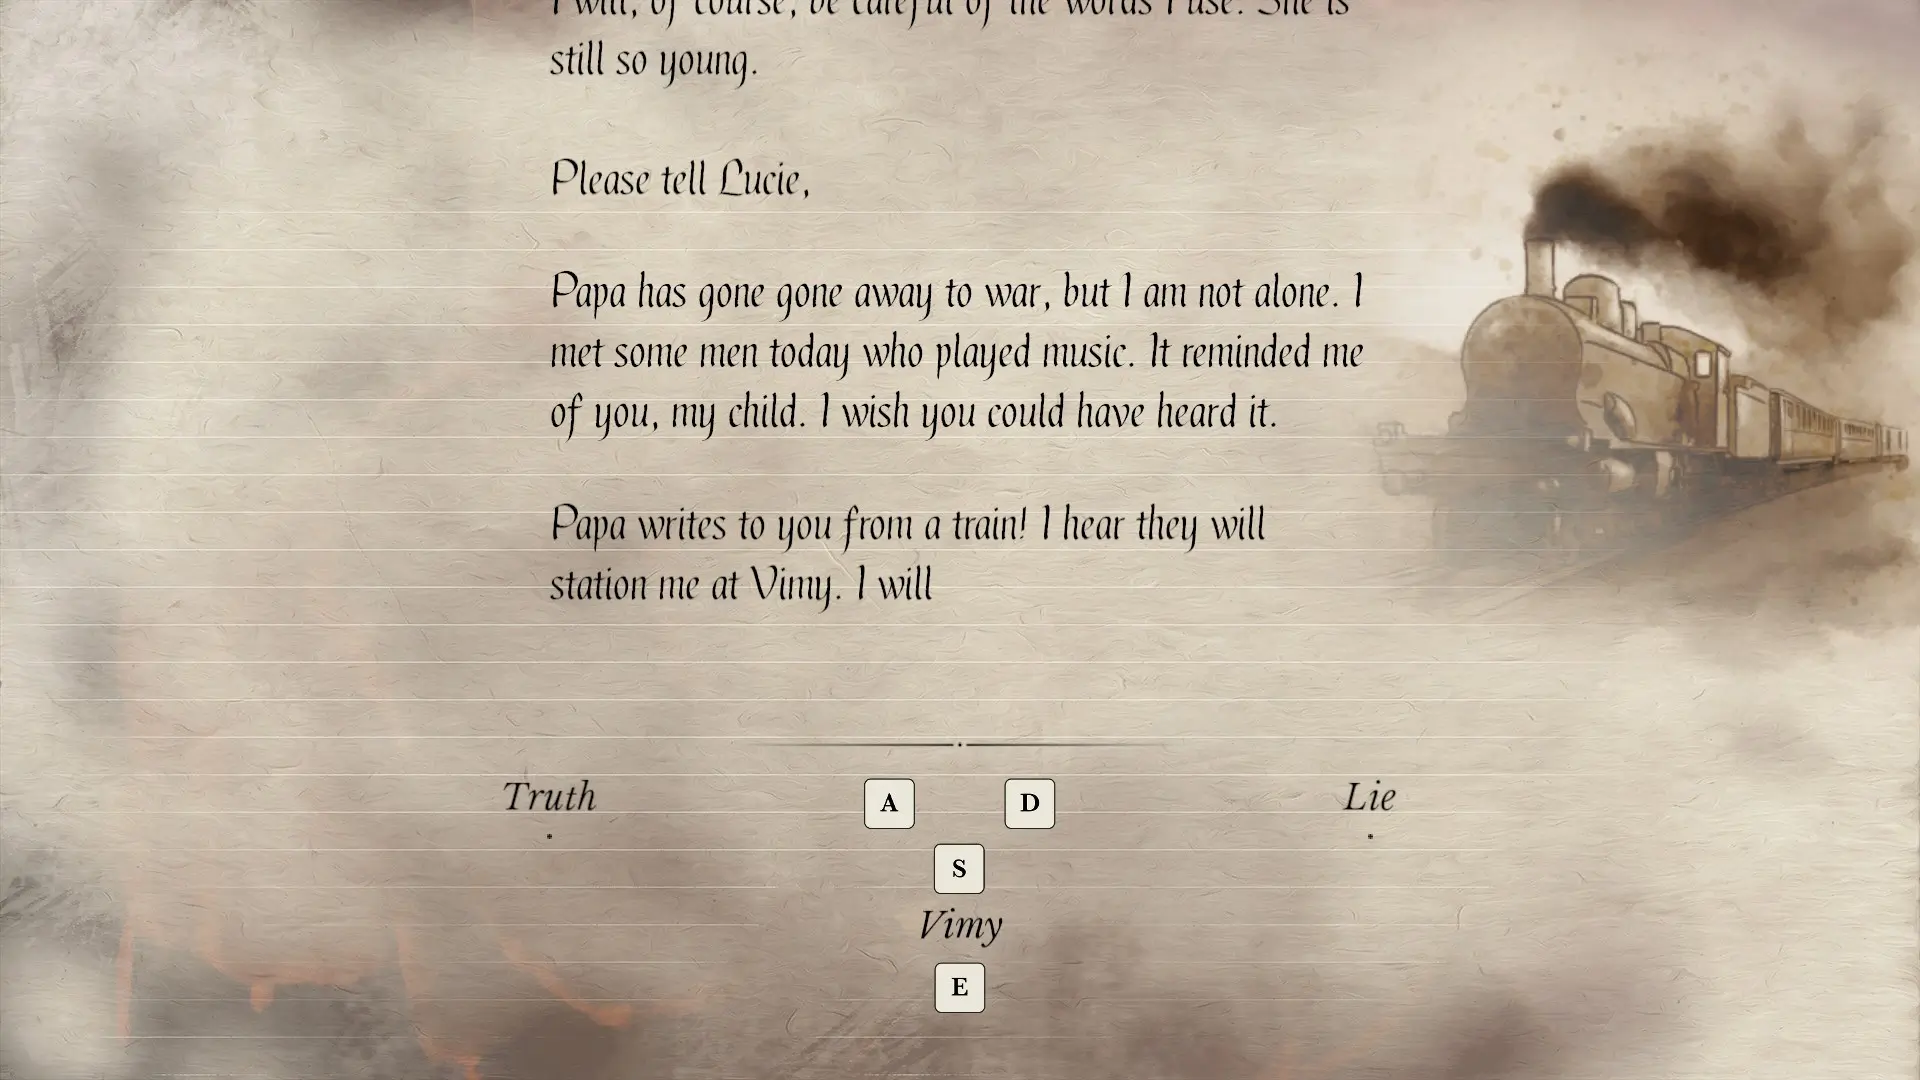
As it turns out I did miss something as I can’t use the third choice on the last part of the letter.
We finish the letter and press E to send. Another cutscene tells us that both Harry and Kurt are going to Vimy. Then we get another choice. Let’s start with Kurt this time.
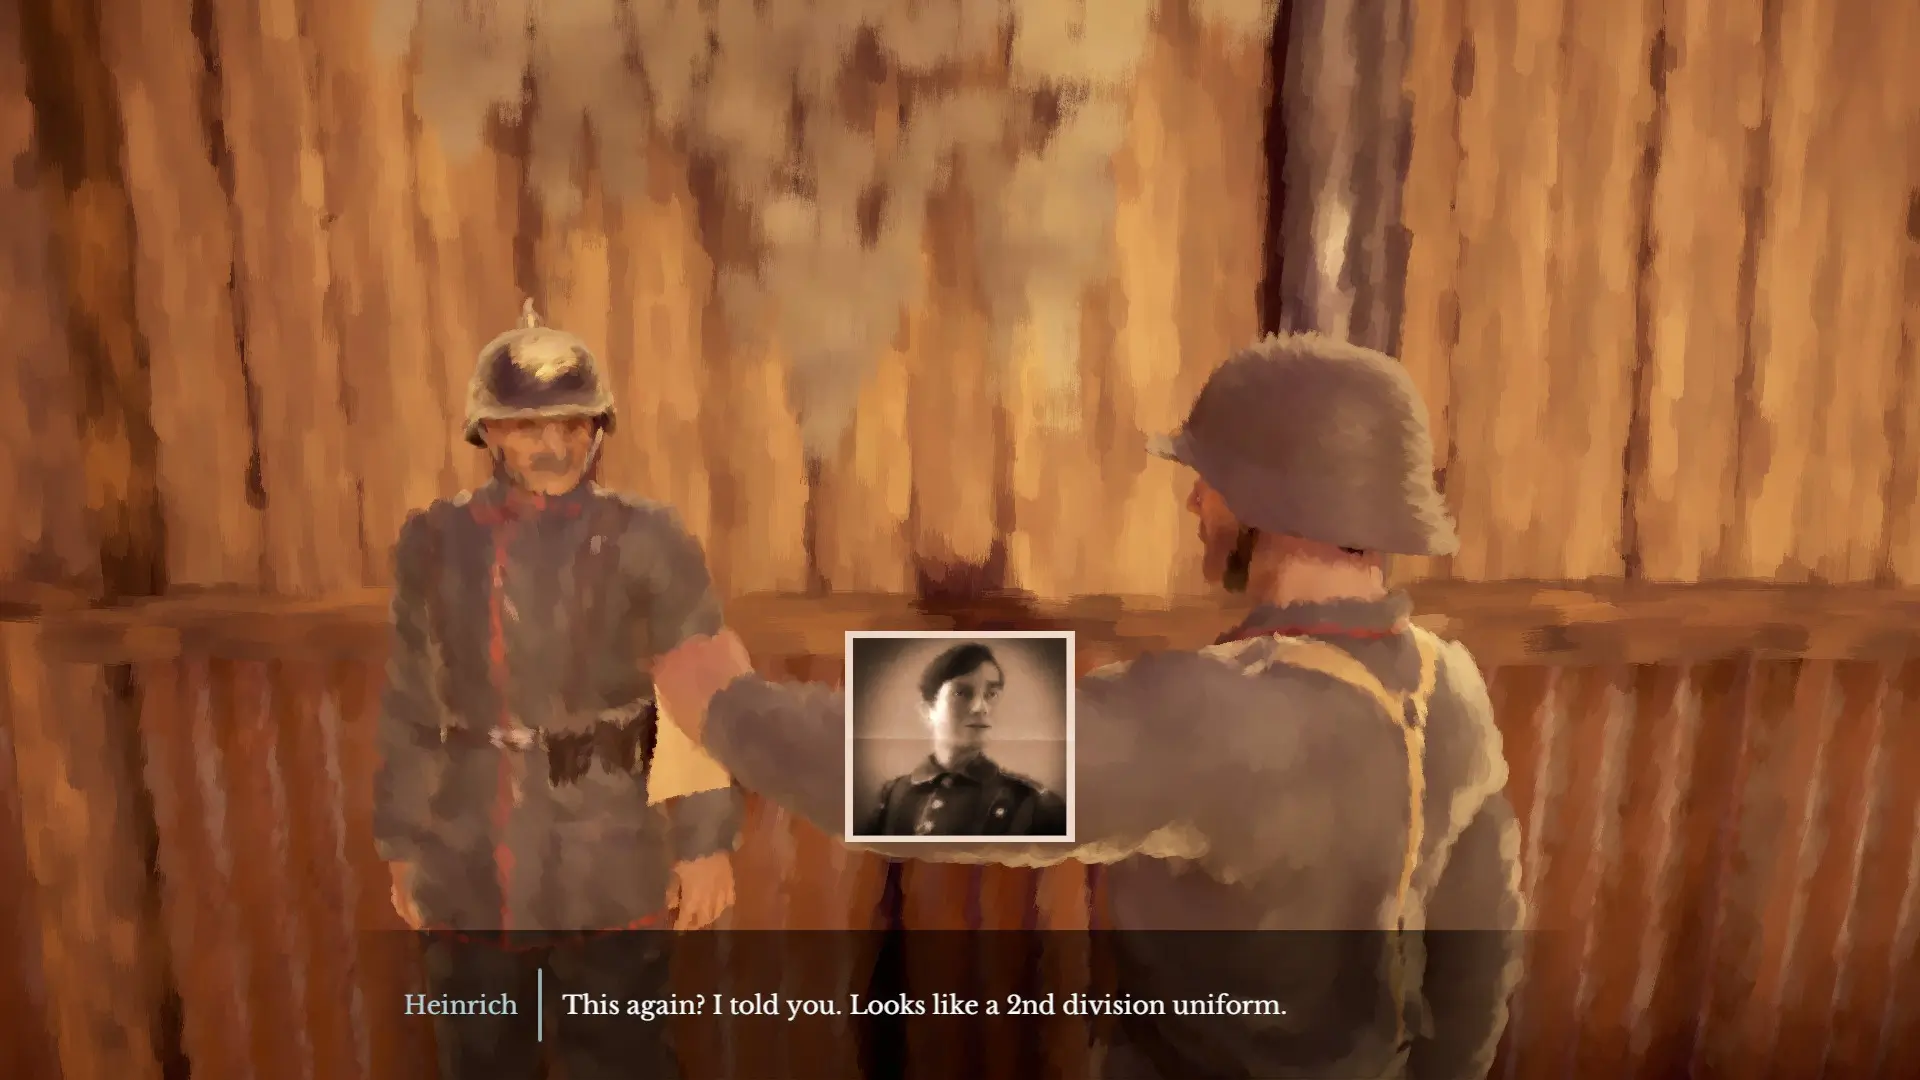
Kurt’s story continues as he asks around the trenches for news about his son. He carries around a photo to help him in this endeavor – a thematic link to Harry’s story. It’s almost futile, but eventually he learns that his son’s unit has suffered casualties in the Somme.
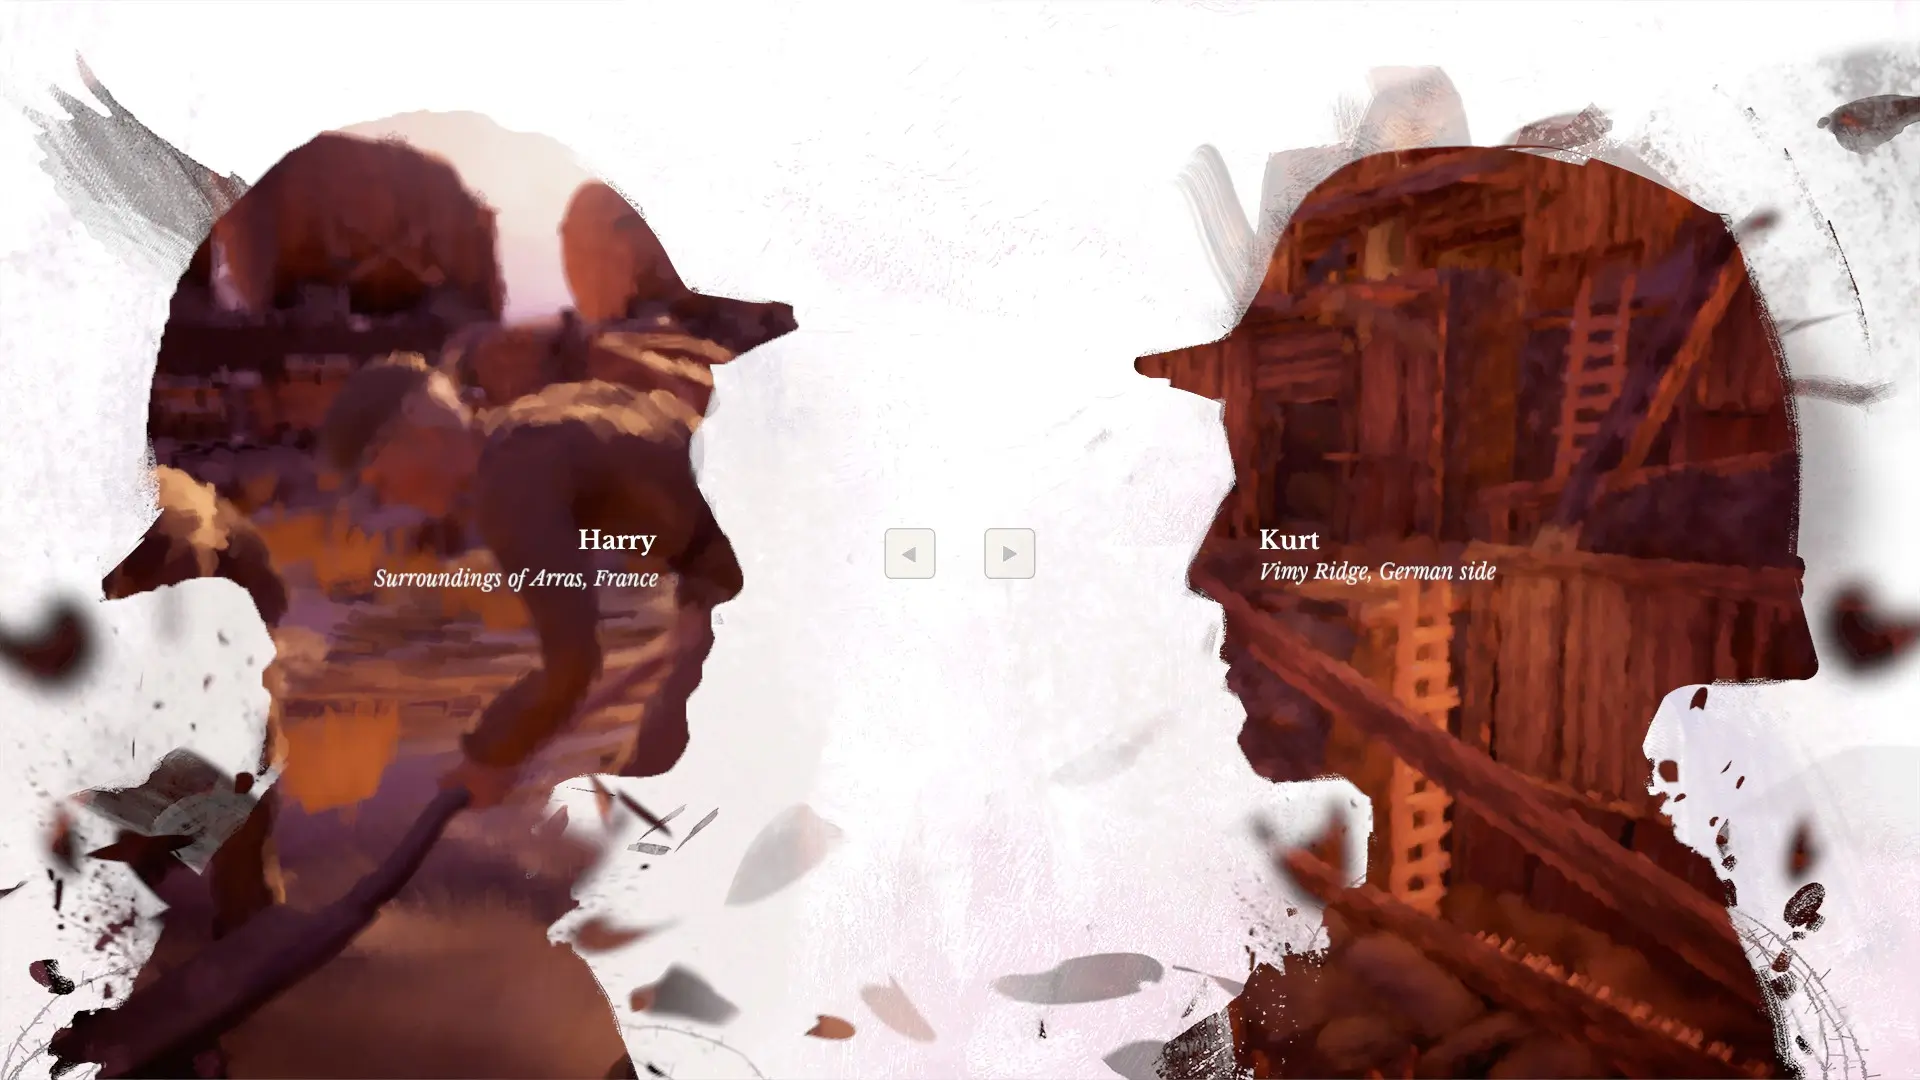
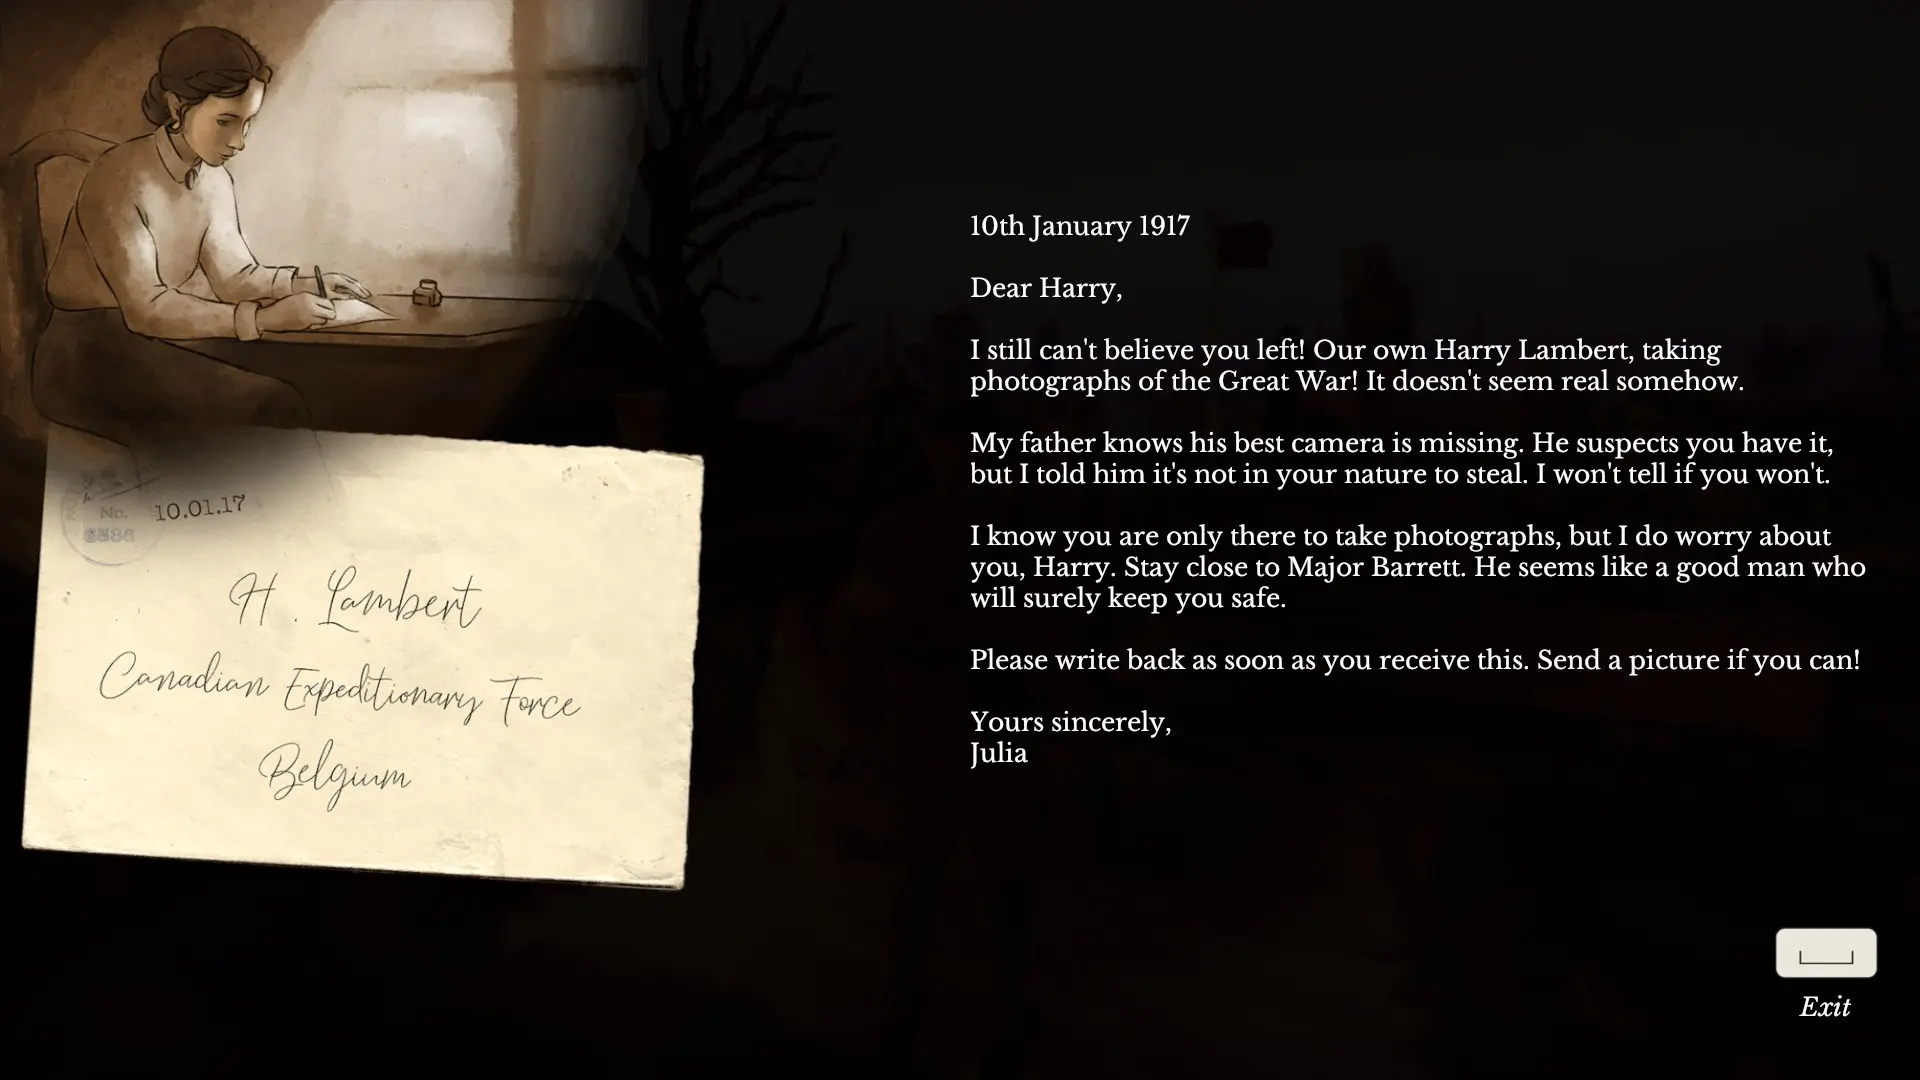
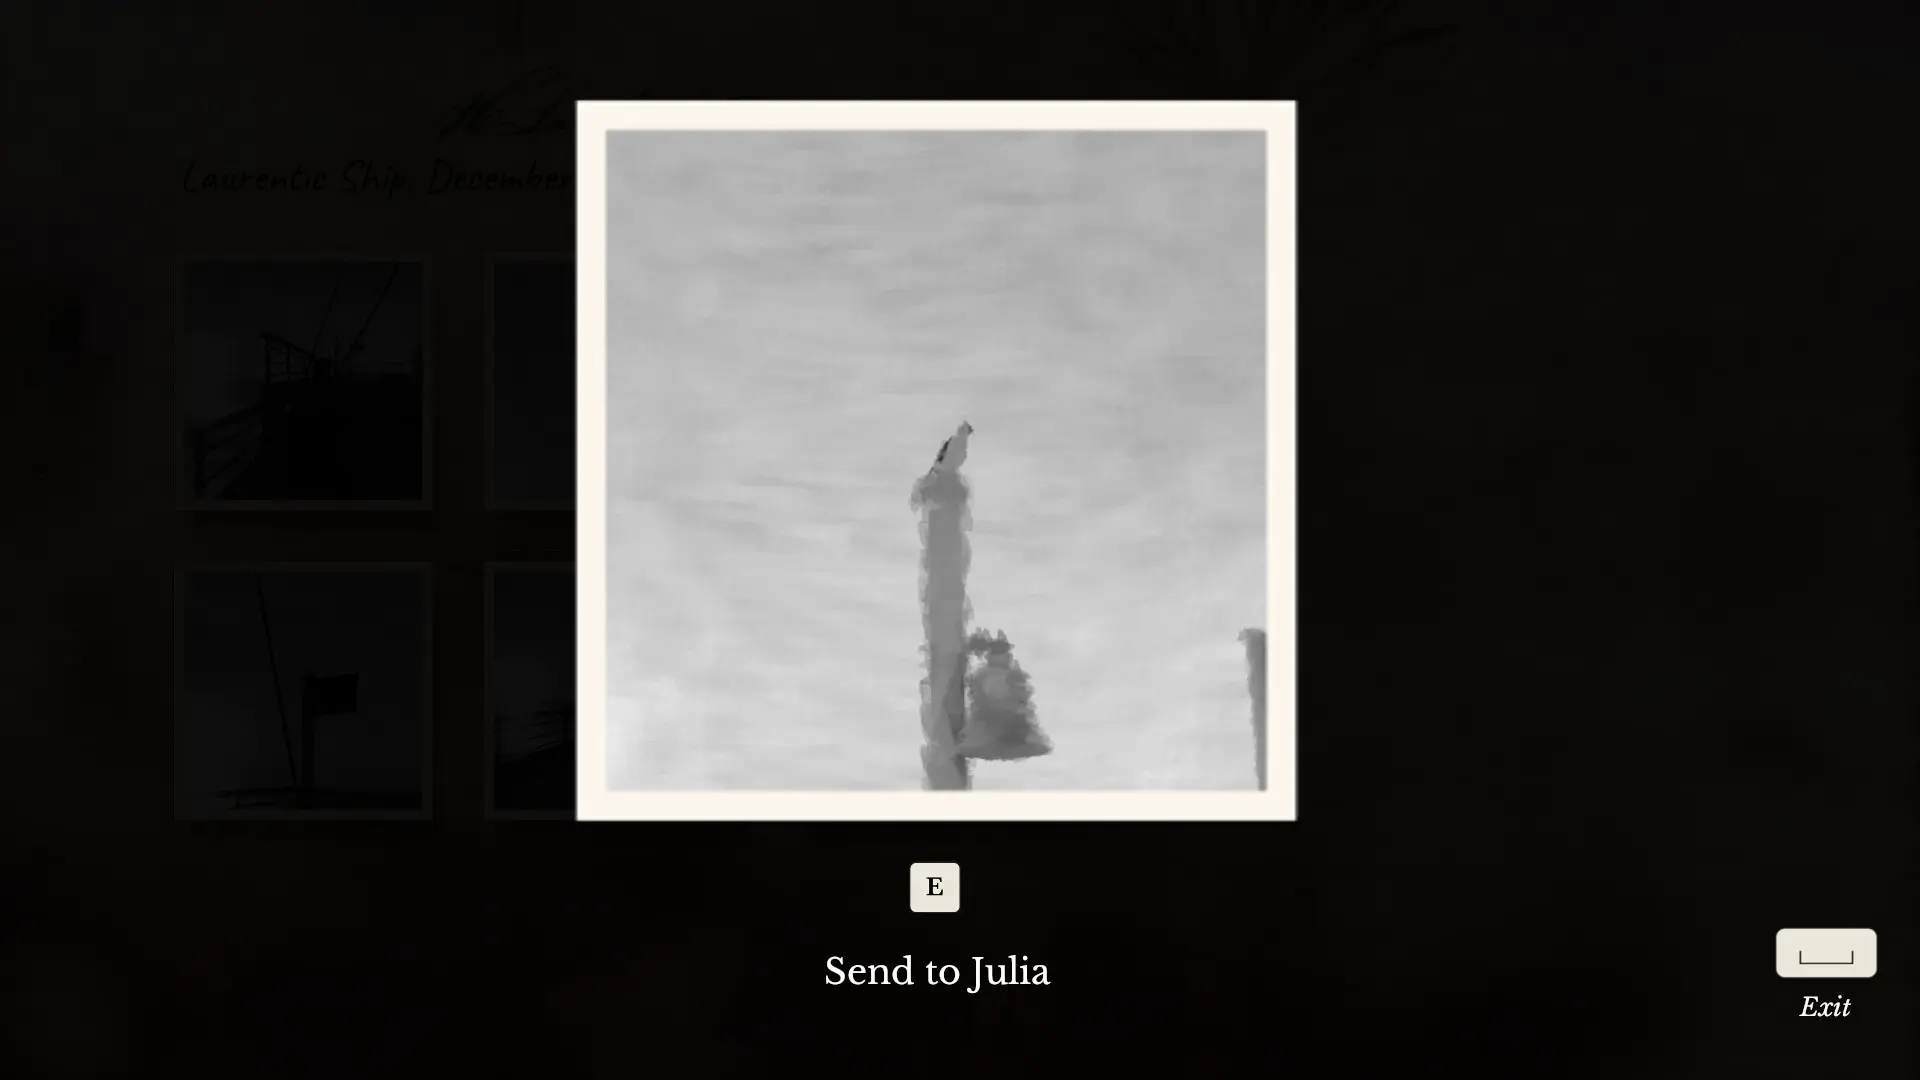
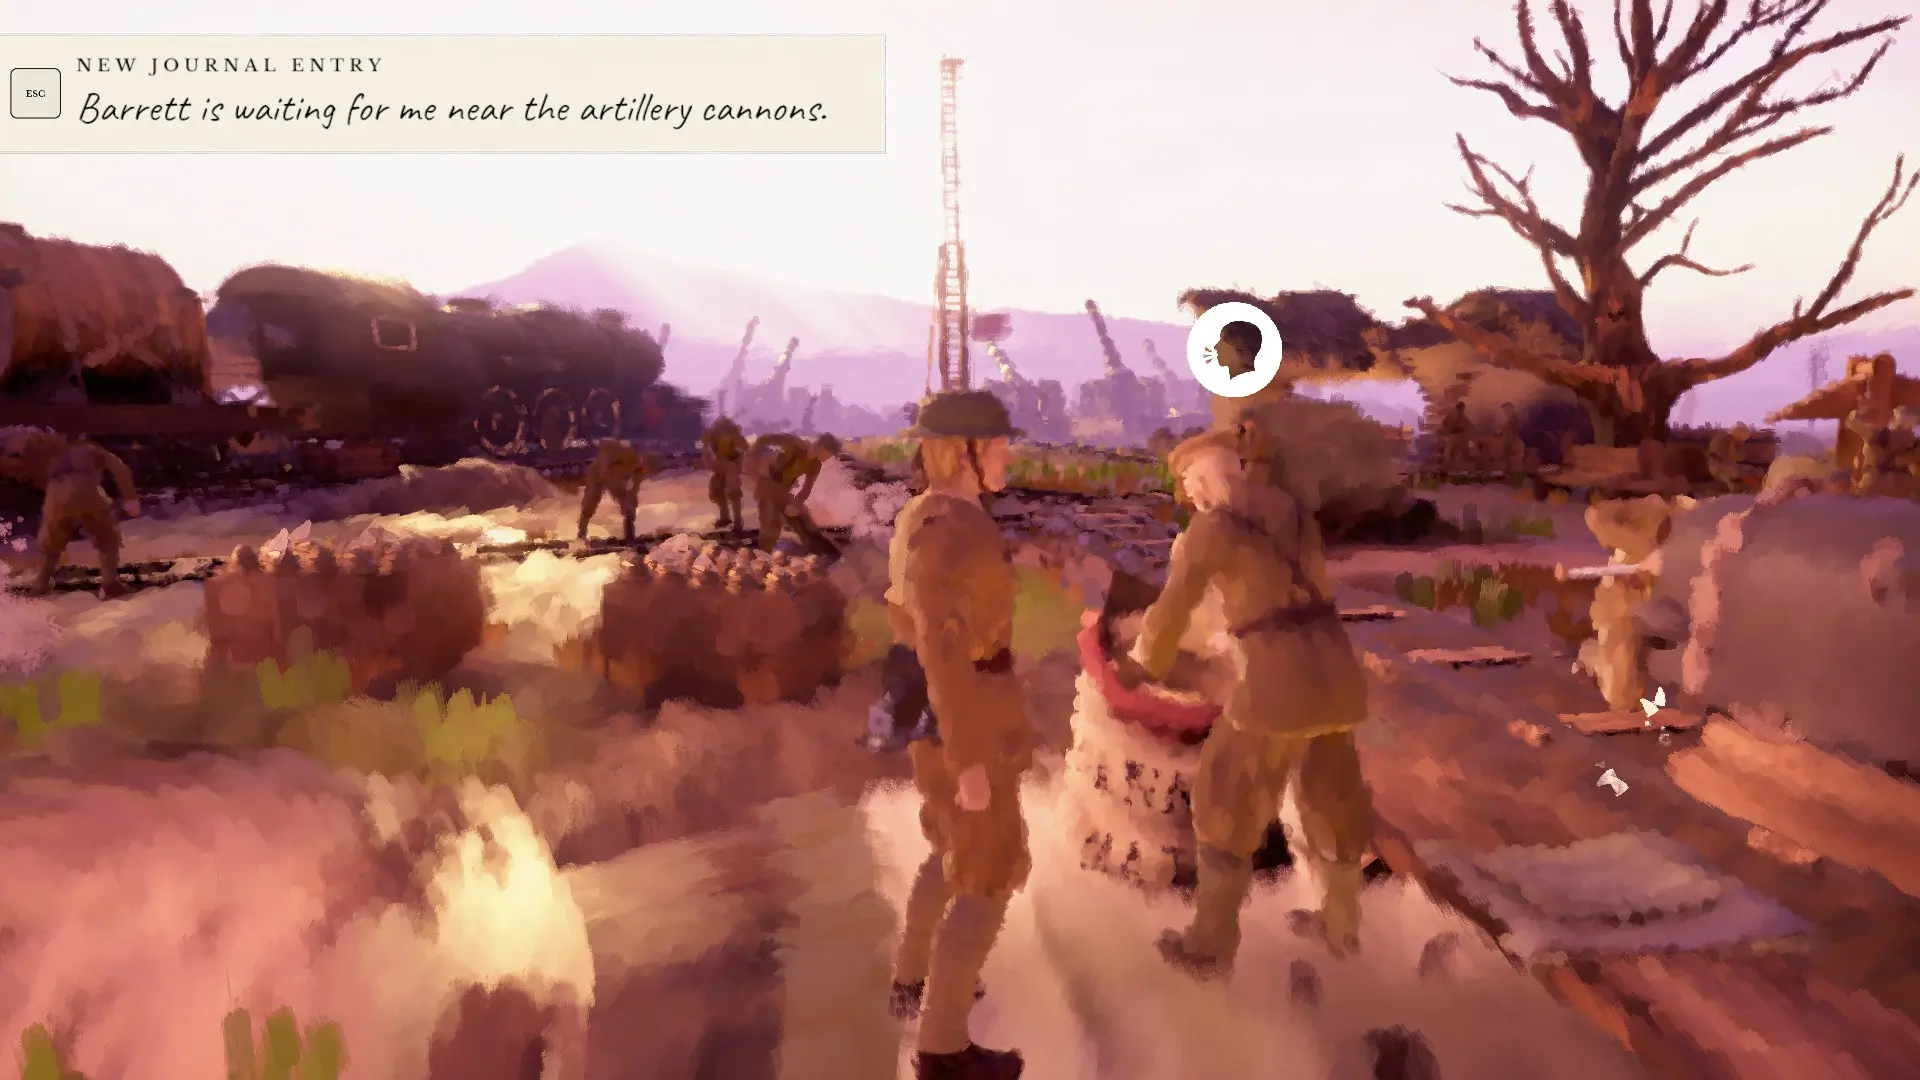
Harry meanwhile is on the other side of Vimy Ridge. He receives a letter from Julia, before being instructed to meet Major Barret at the artillery for a photo op.
We now get to choose a picture to send back to Julia. I go for a picture of the seagull from the previous chapter.
One thing I notice about the level design is that Kurt’s trenches are tight and winding. It’s easy to get lost in the tunnels, ladders, and elevators. Here, however, we are in an open field, able to wander freely. It’s easy to find your way around, a stark contrast to Kurt’s trenches.
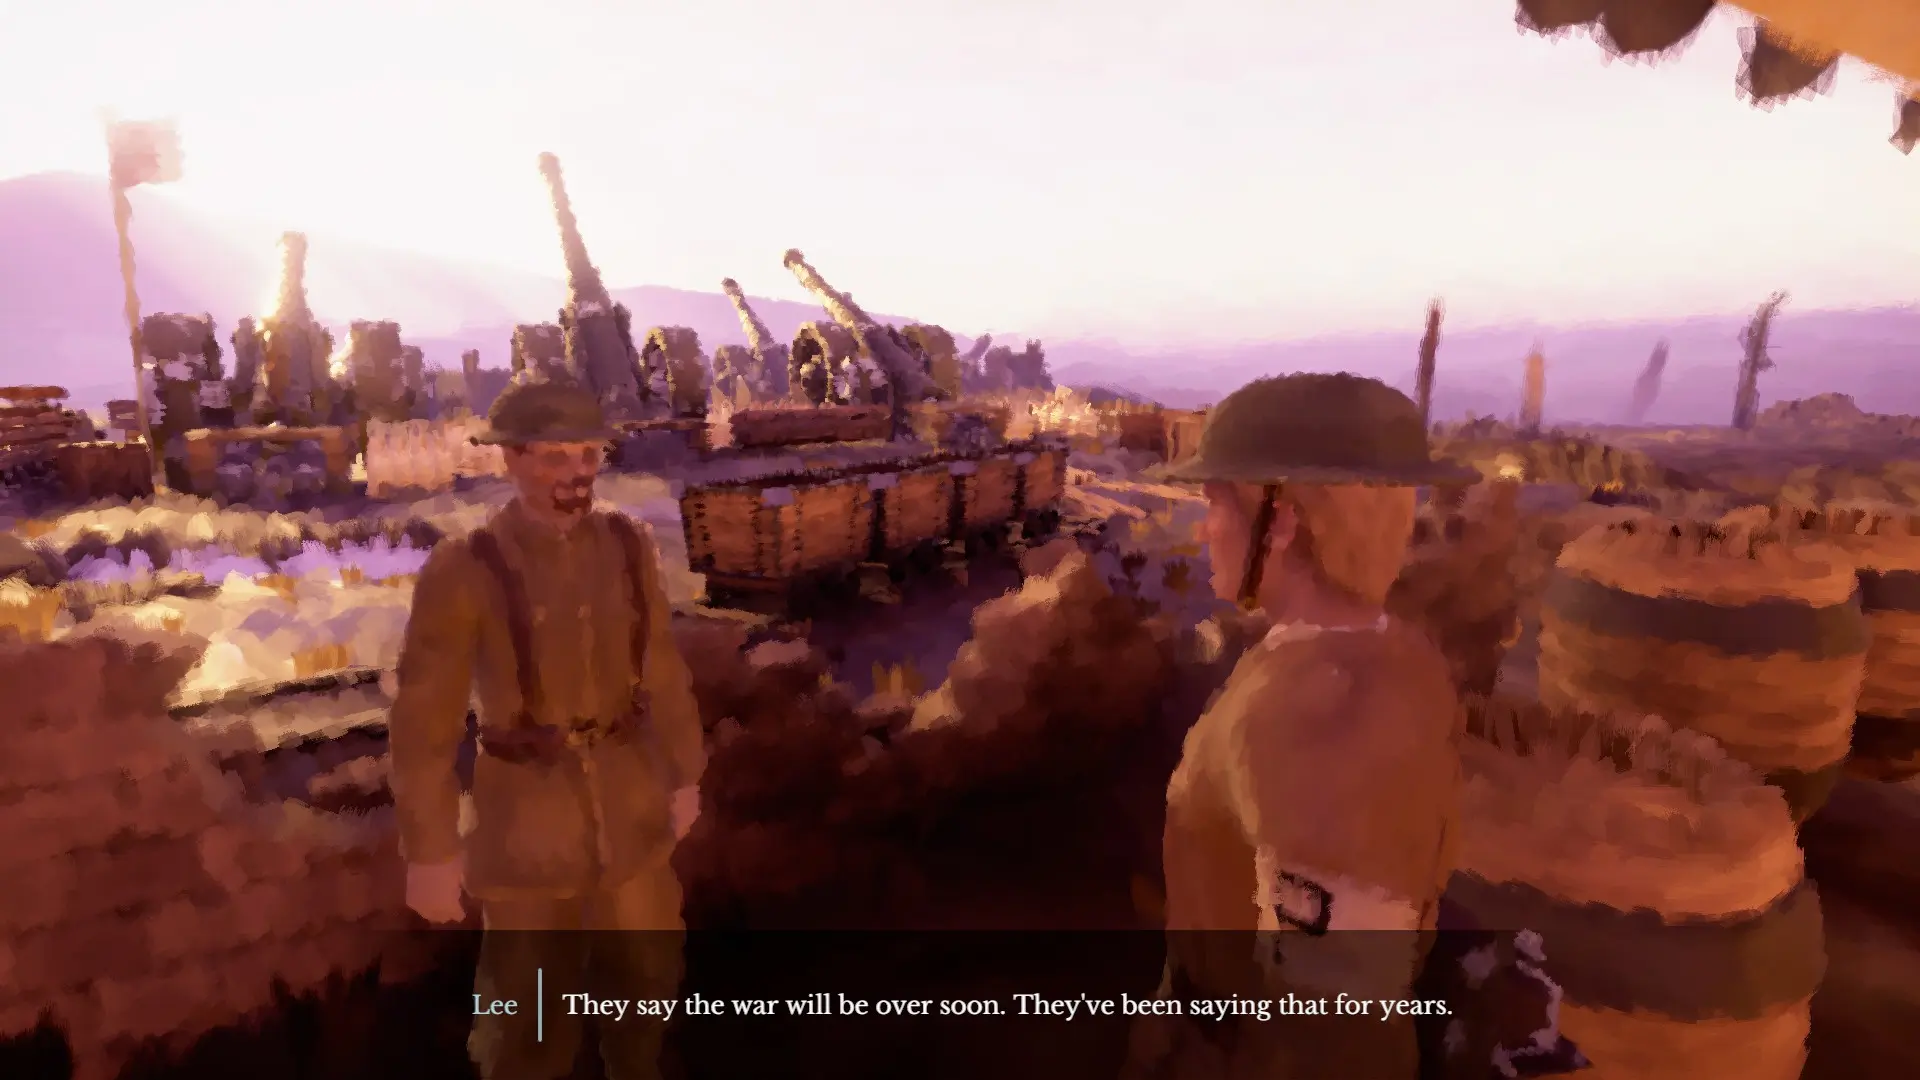
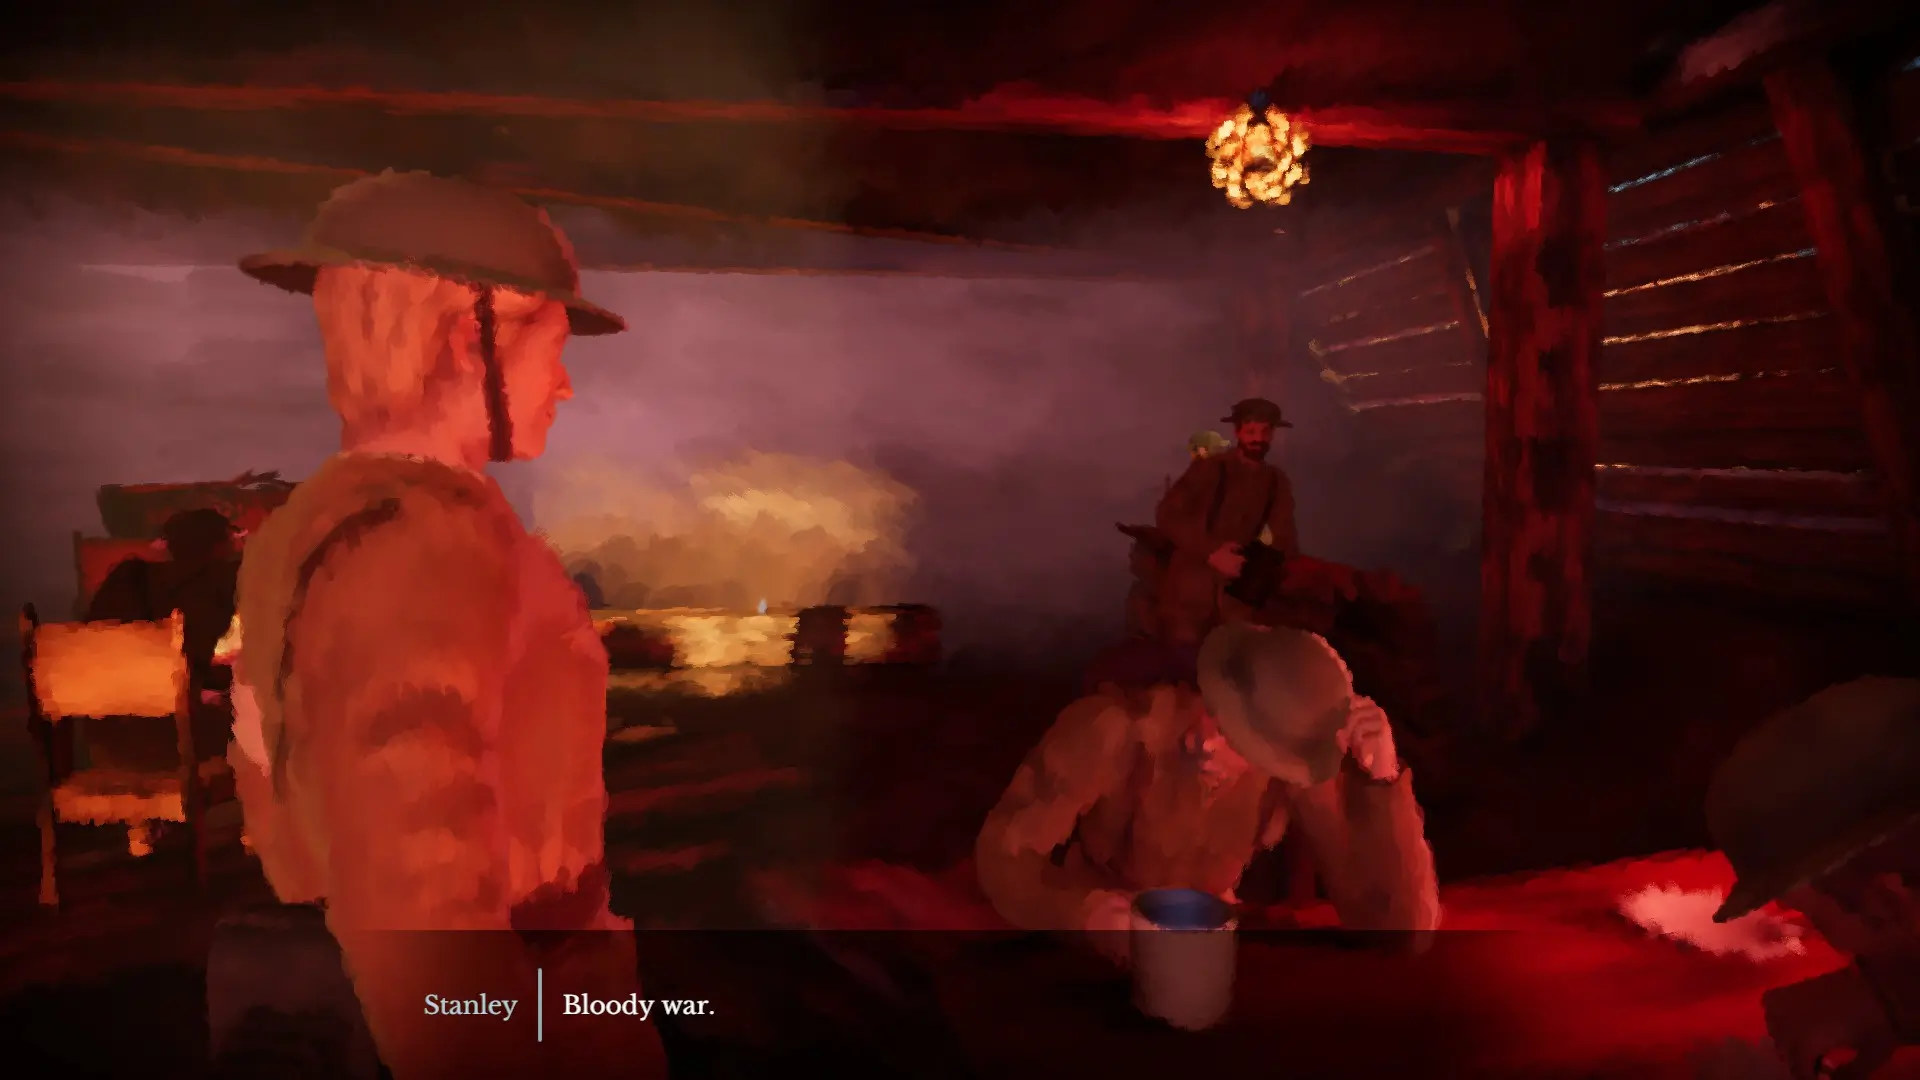
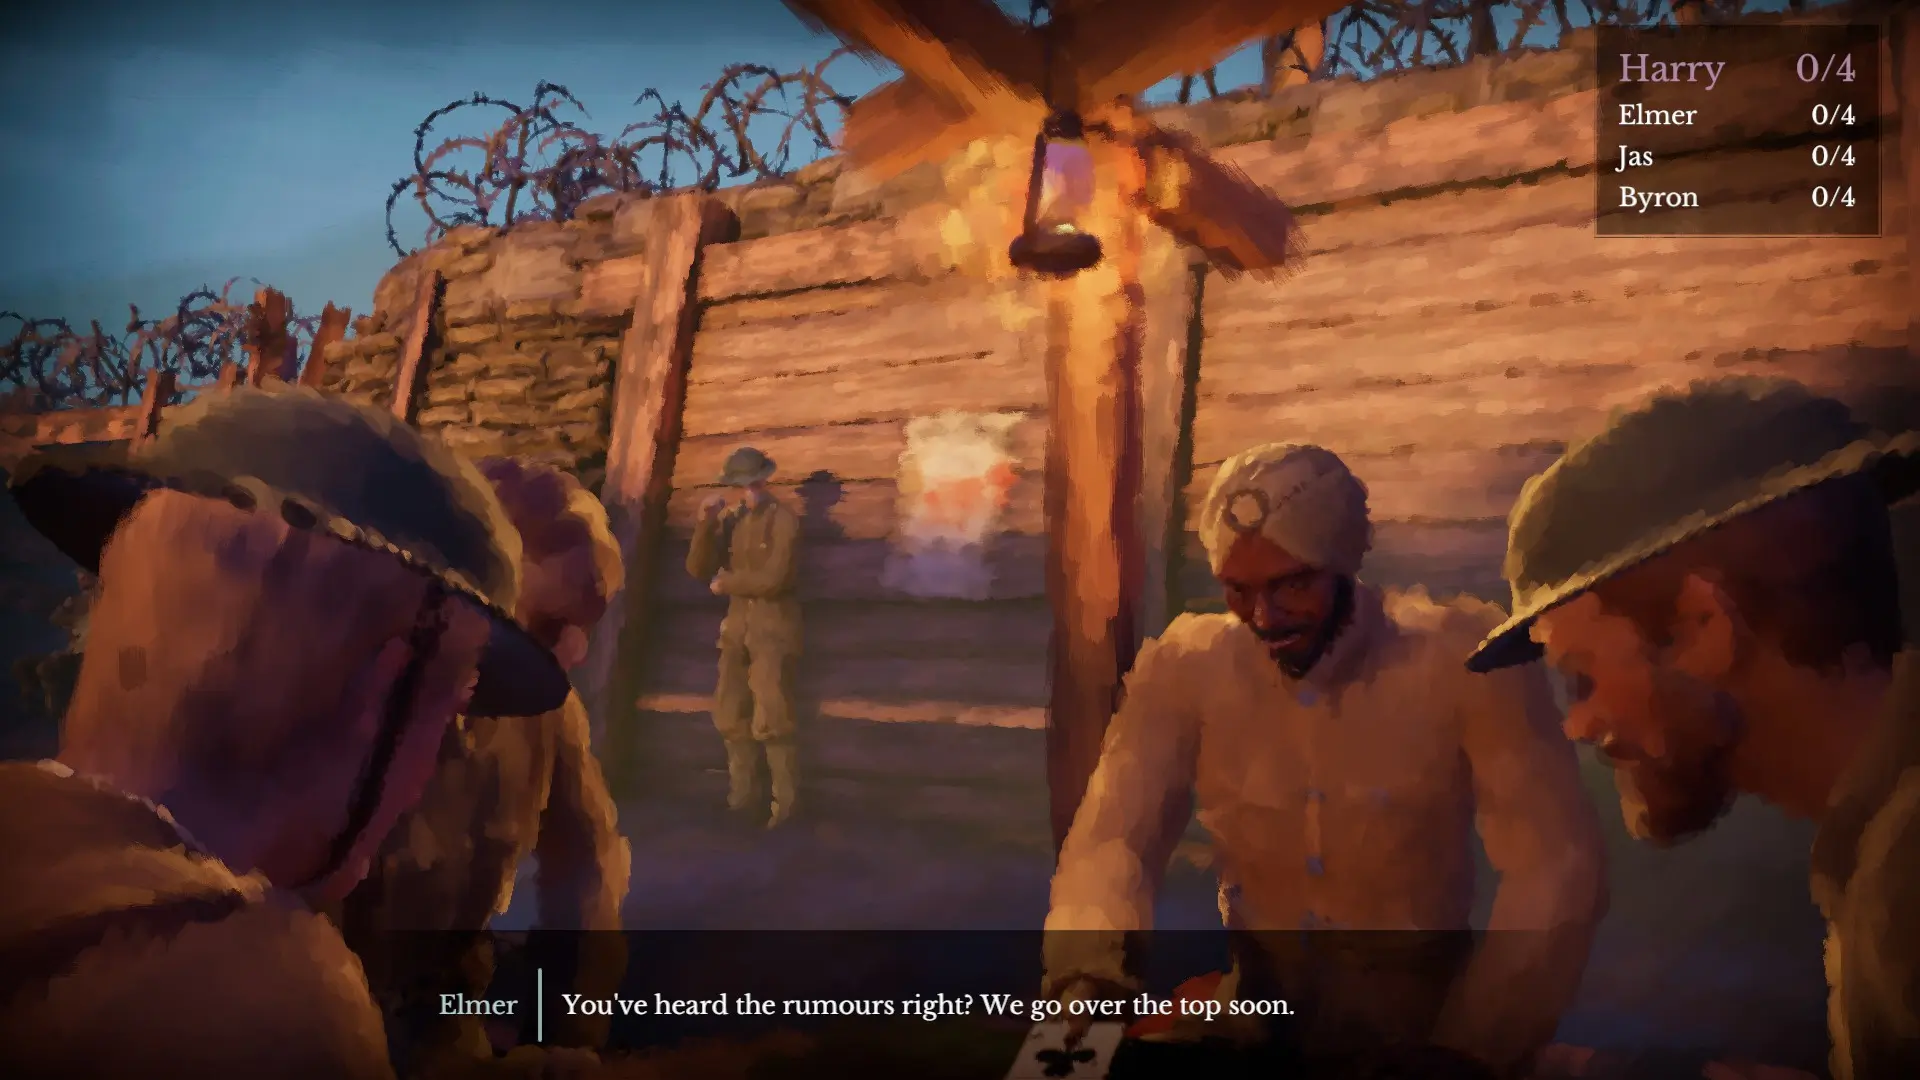
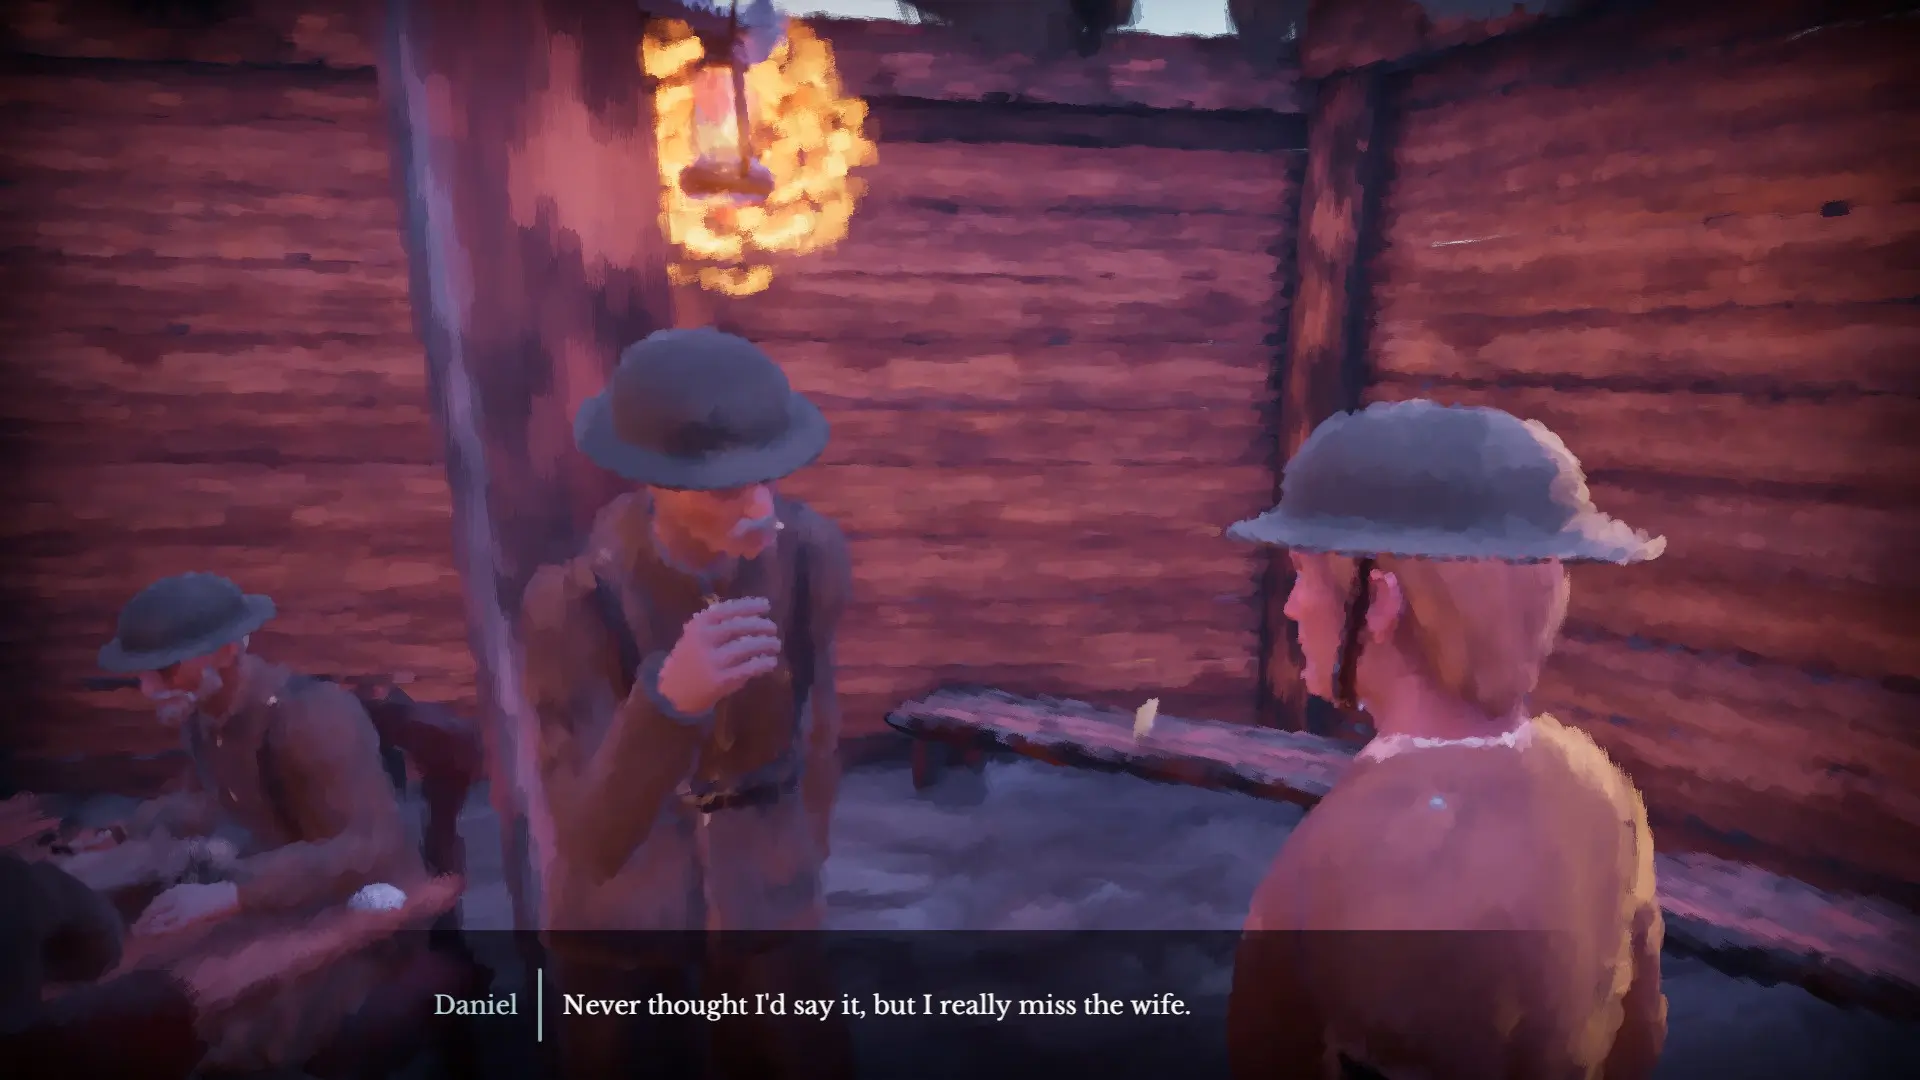
We talk to the soldiers. They seem to be close to breaking, wishing for an end to the war.
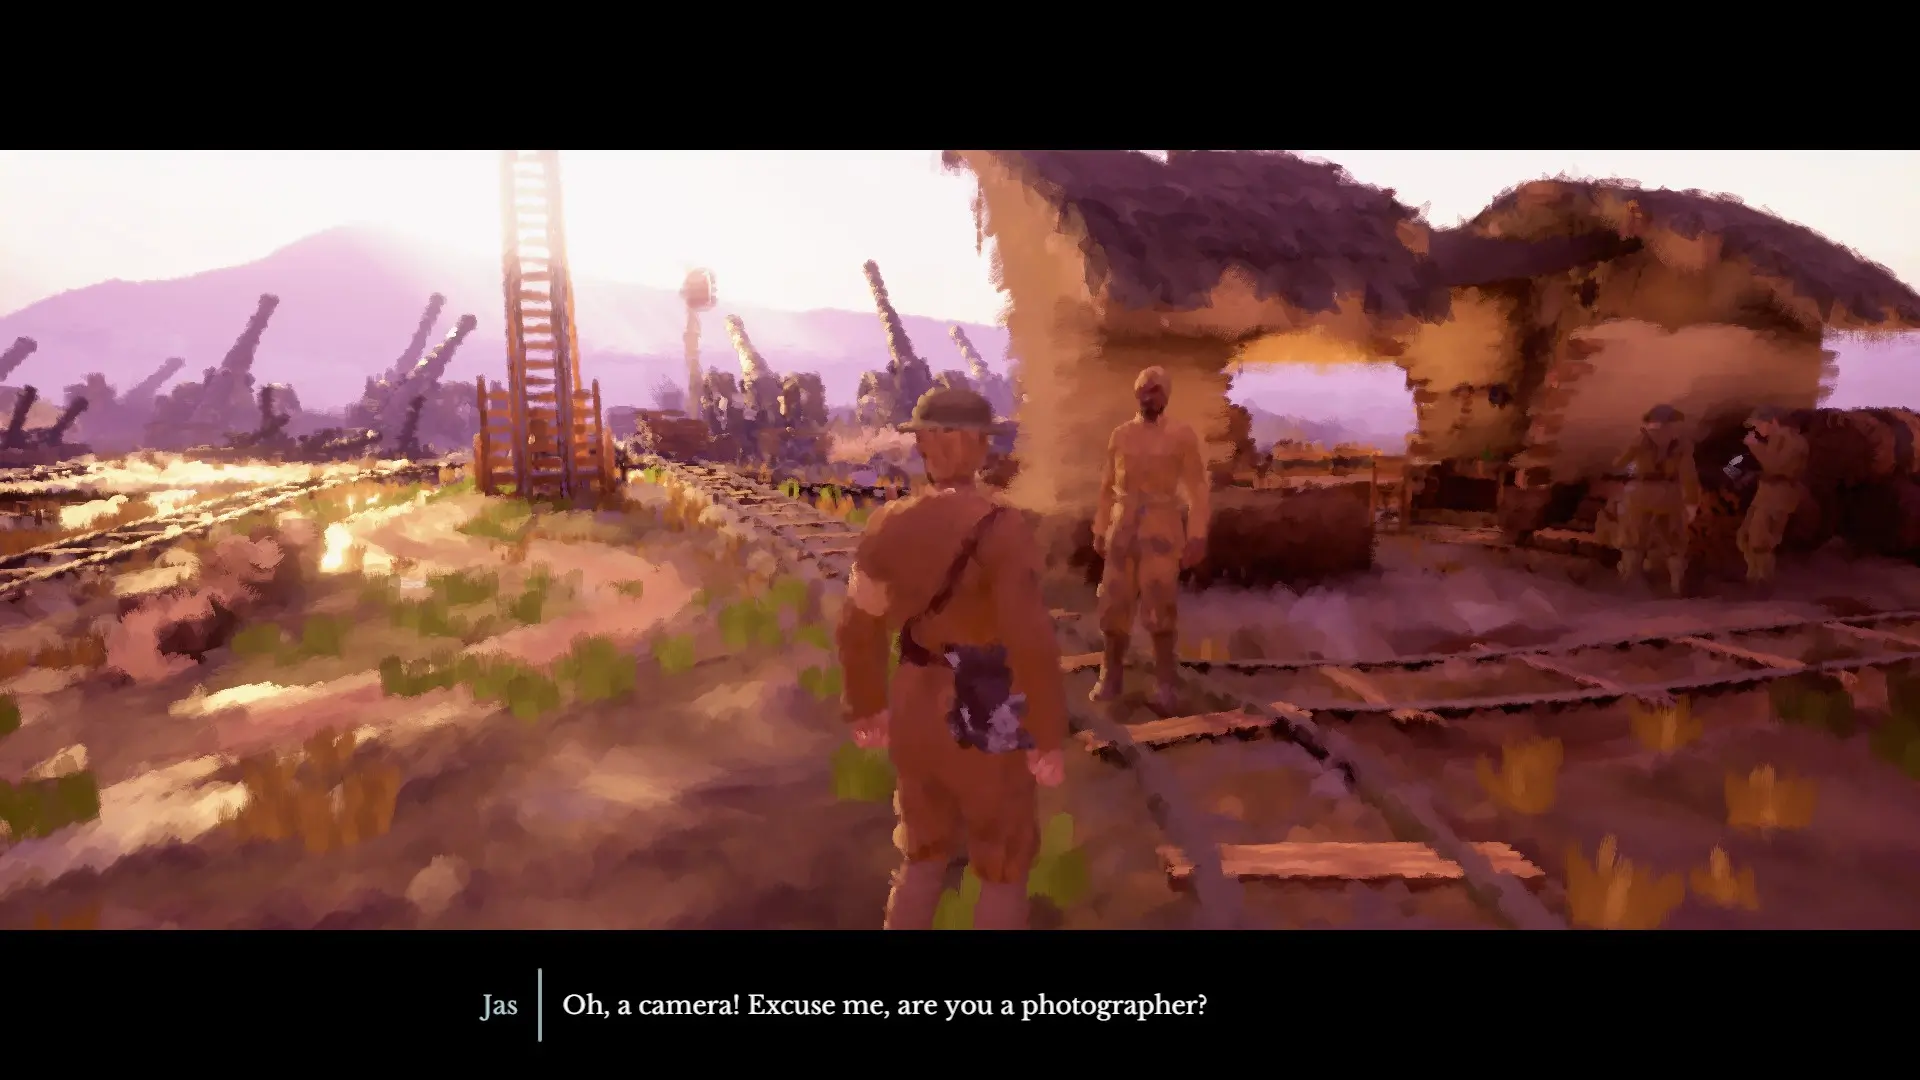
On our way to meet Barret, a soldier named Jas asks us to take a picture of him. If we do this we get a collectible as a reward. The game has just shown us that we can do other tasks to earn collectibles.
We go to Barret an take a picture of him posing with the artillery.
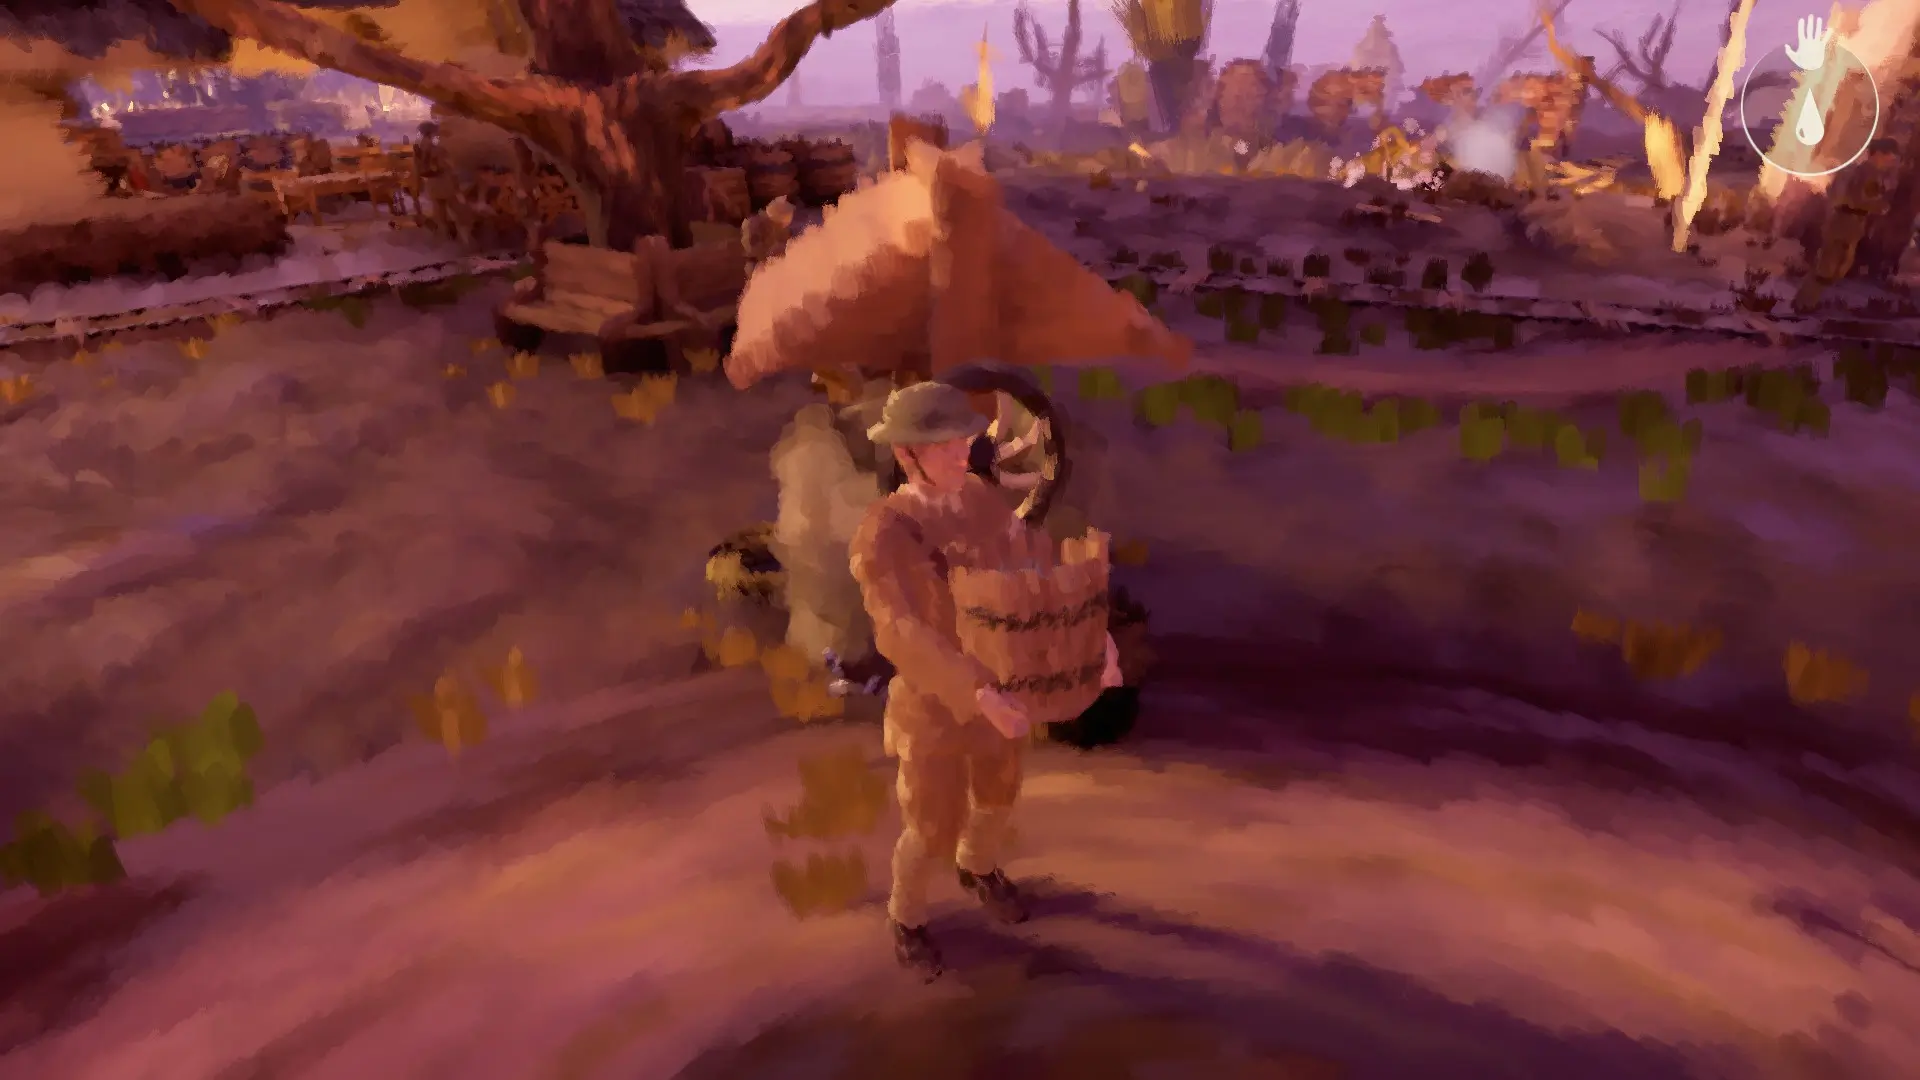
Meanwhile, Kurt is tasked with fixing a broken radio. We need to find a man named Gustav to get the equipment we need. As we wander around, we meet the mail man who gives us a letter from Katrin.

Nearby a man offers to let us play a game of cards. This is another minigame, in this case a game of Snap.
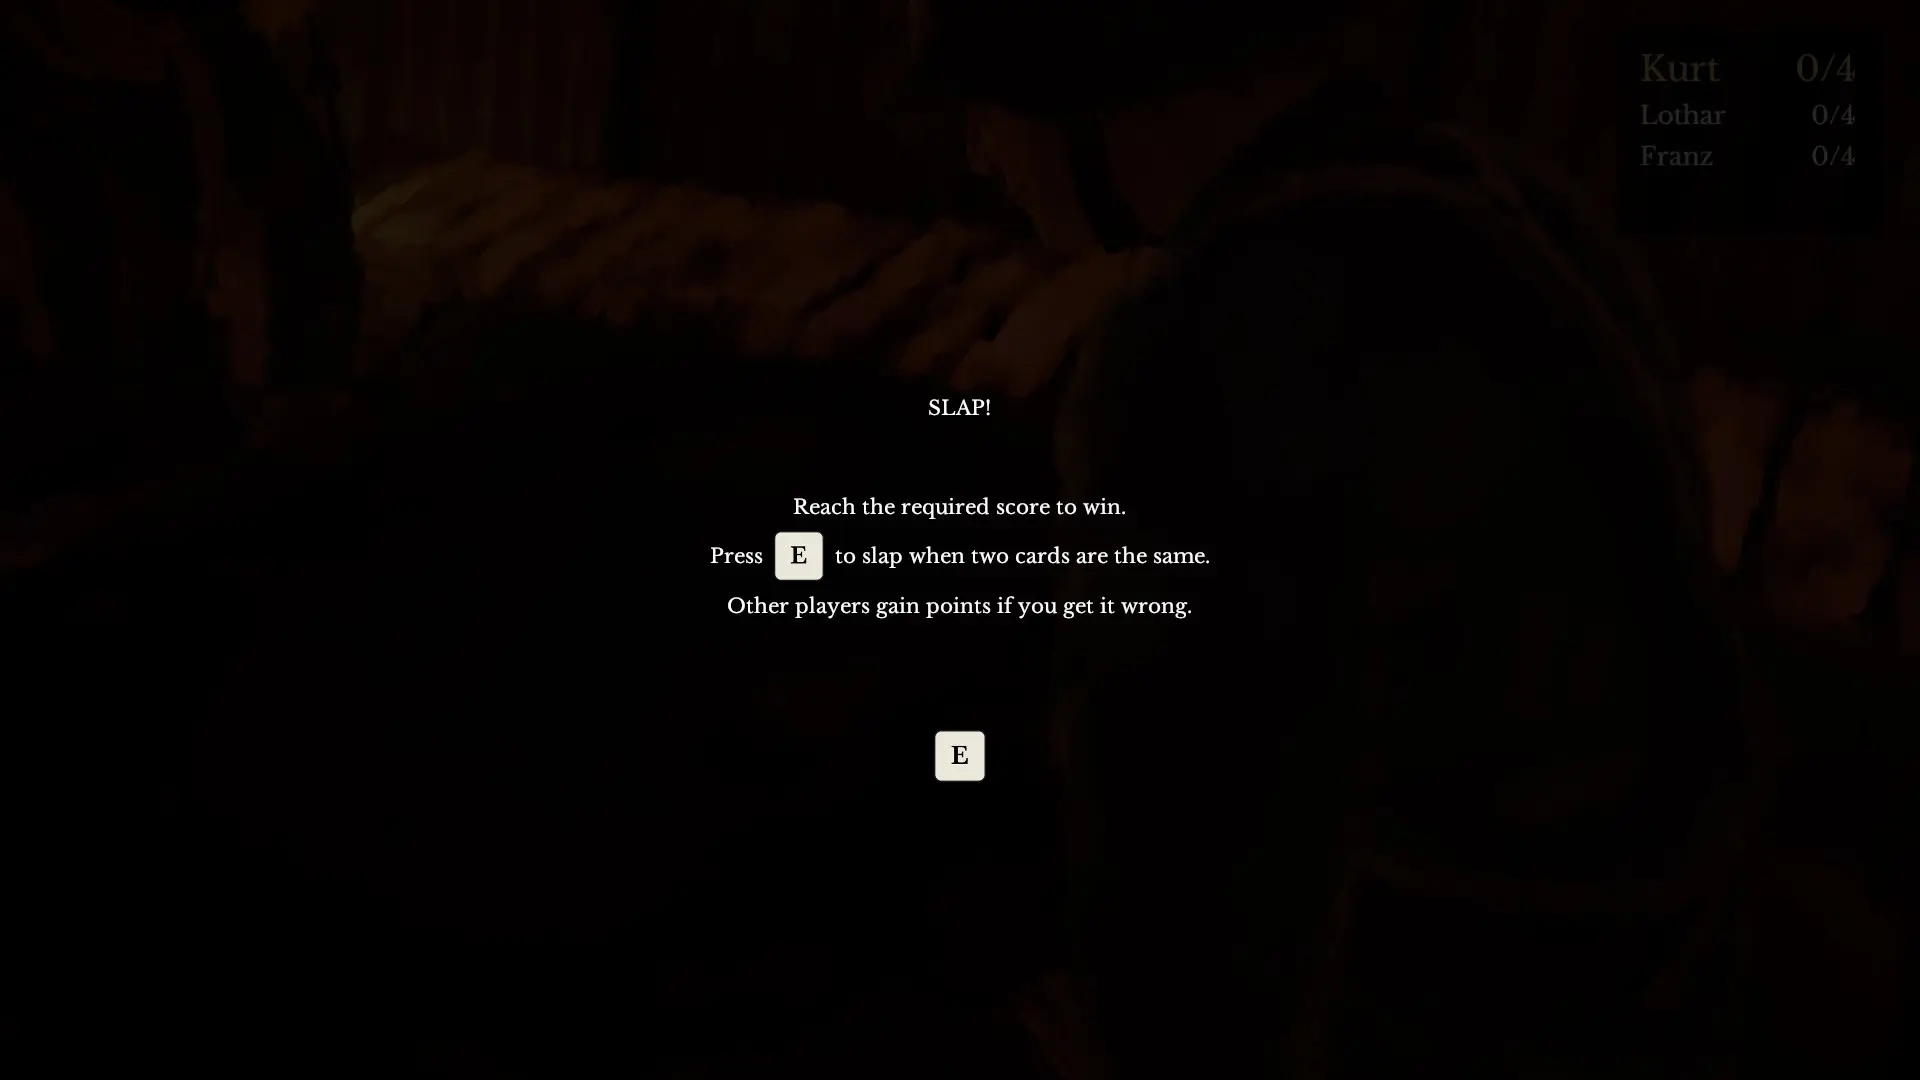
Play the game a few times and eventually win, and we are rewarded with another collectible.
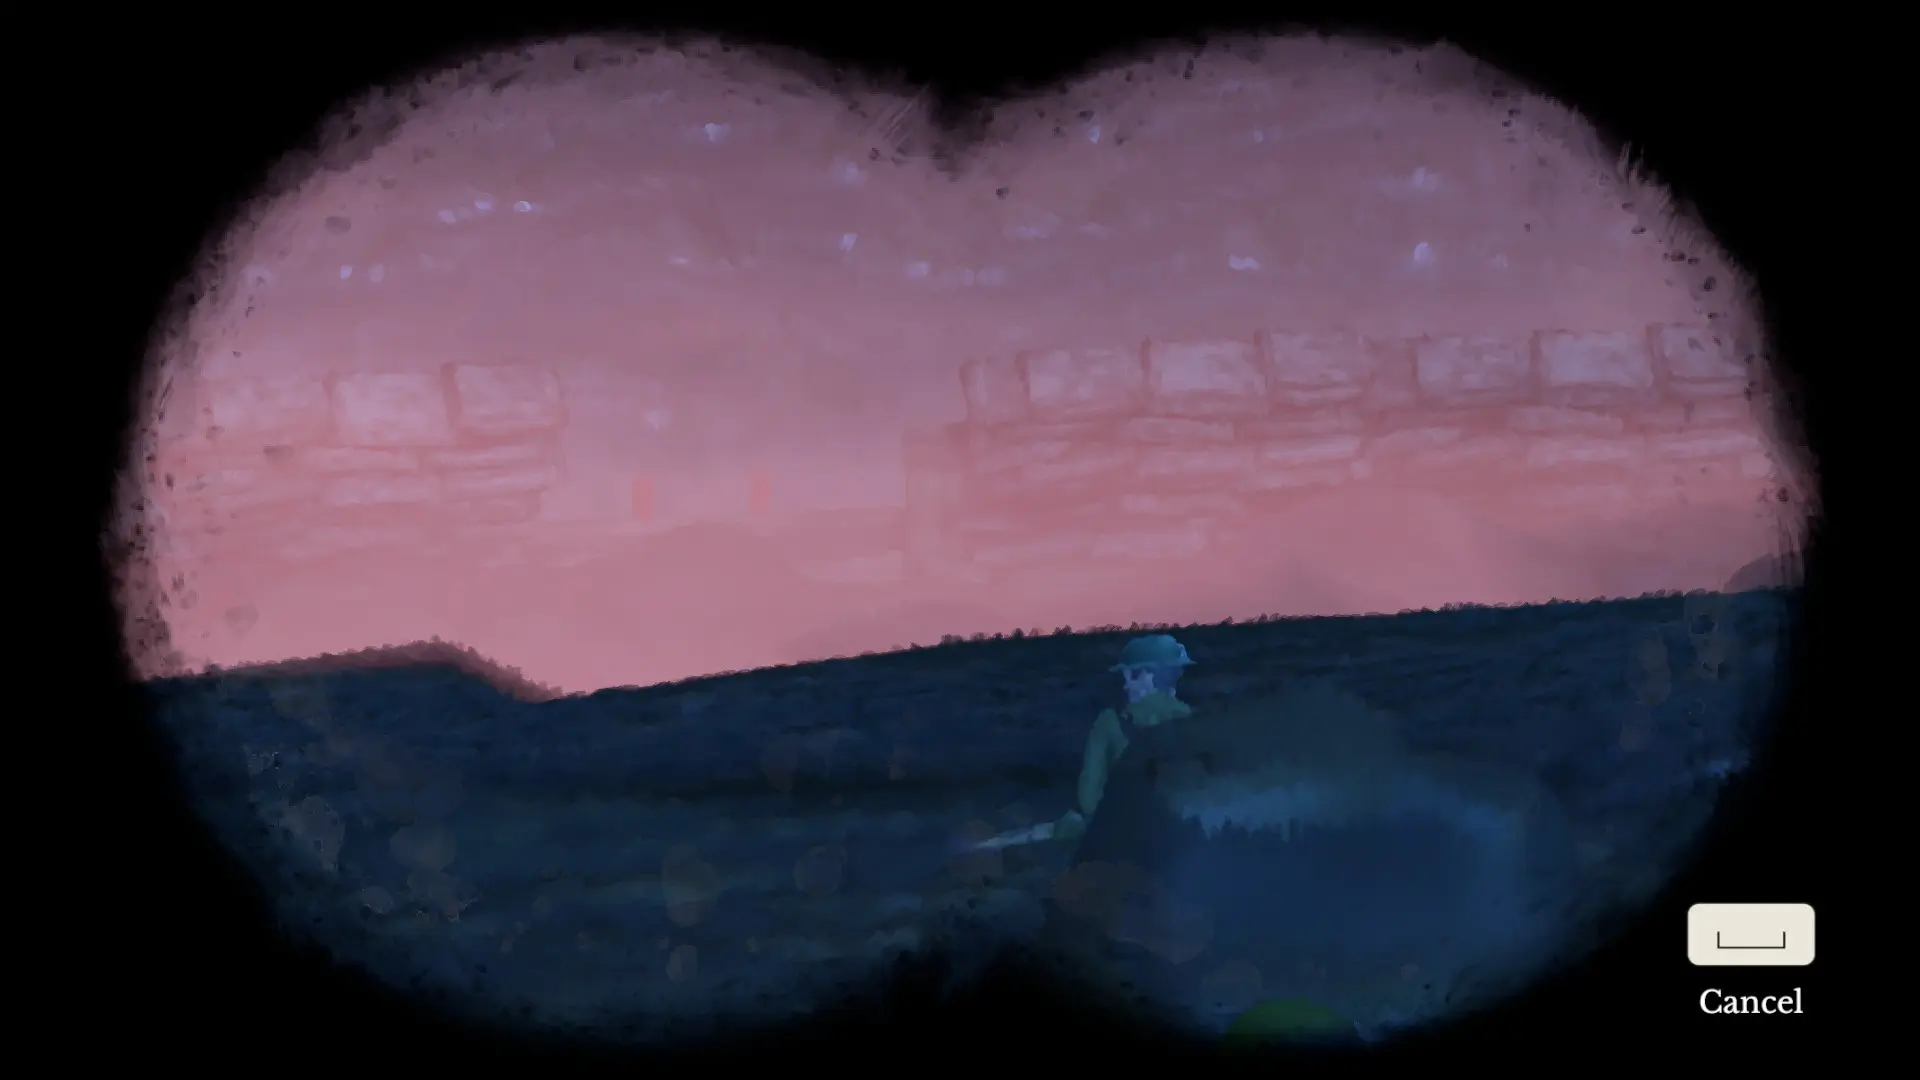
At the top of the trenches we can look over Vimy Ridge with our binoculars. Kurt doesn’t know this, but Harry is over the other side taking pictures.

We find Gustav and get the wires we need. Returning to the radio we fix it after a short puzzle where we have to connect the wire and ensure the correct lights are lit.

Over the radio Kurt learns that his son’s unit has suffered casualties at the Somme.
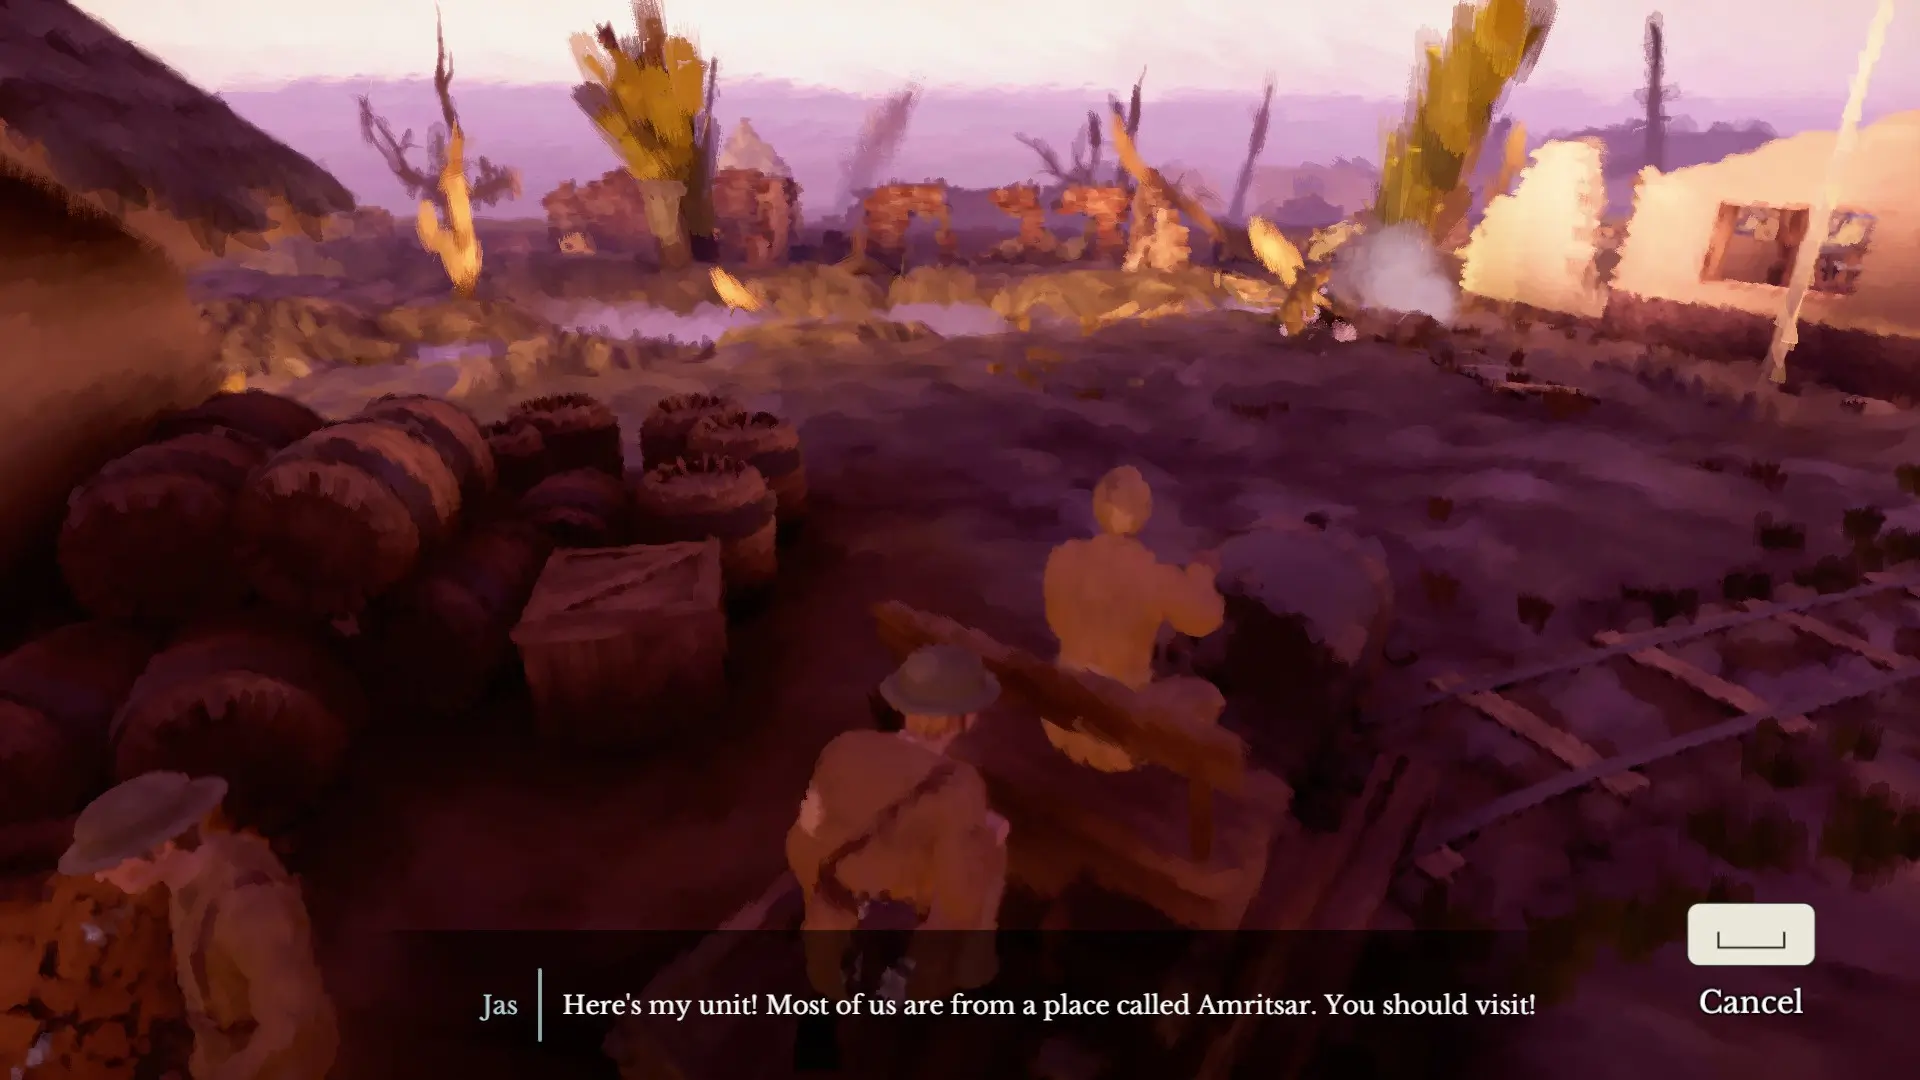
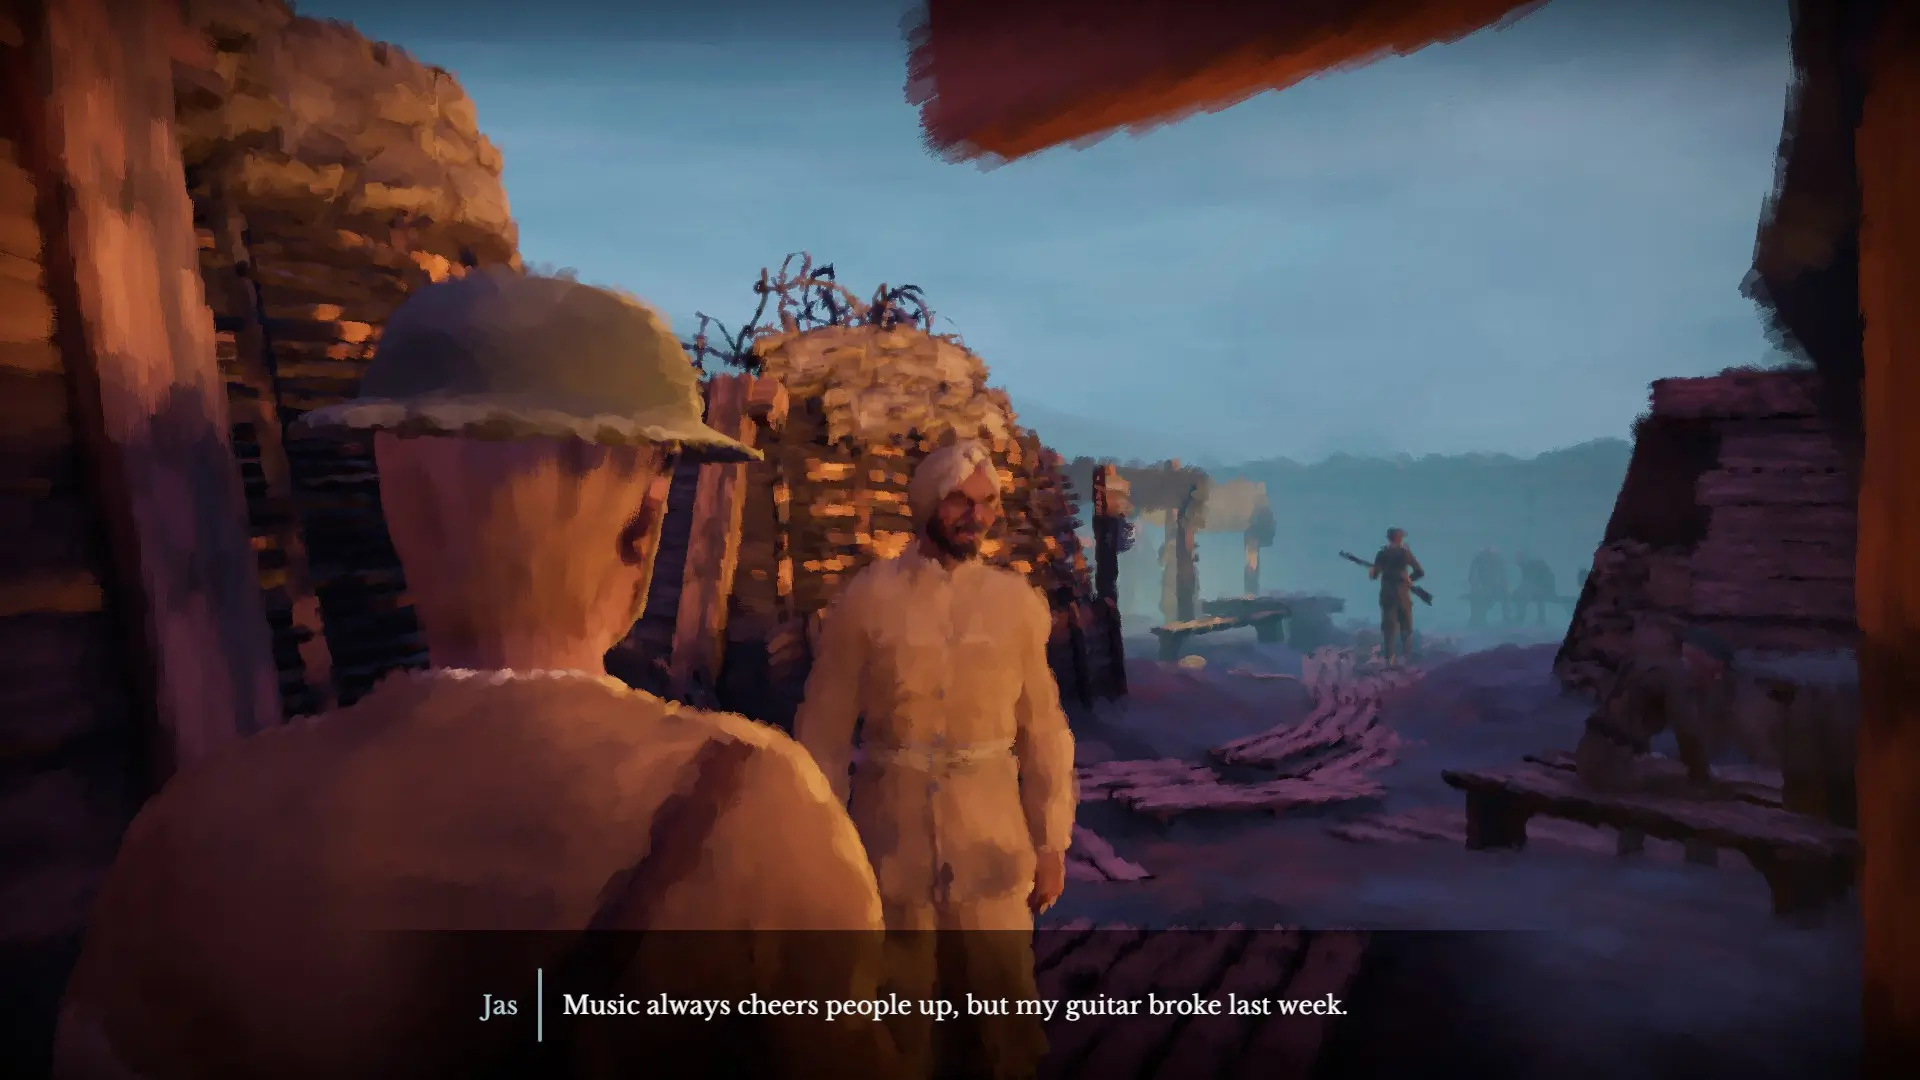
We return to Harry, who is ordered to take pictures of the war effort for the newspapers. Jas offers to show us around the camp. He tells us he is from the Amritsar unit. He also tells us one of his squad plays guitar, and they enjoy card games. Again, this creates a thematic link with Kurt’s story.
We take the pictures we need. While we do this we also get a picture of a broken down train. This doesn’t count toward our main objective, just an extra picture we can take. I wonder if this will affect the story?
After taking the required picture we get a cutscene of Barret interrogating the prisoners. He leaves, and Jas suggests that we get food and water for the POWs.
We give the POWs water and one of them angrily kicks it over. Barret grabs him and takes him behind a wall. He orders us to follow him and take a picture of him holding a gun to the prisoner’s head.

We take the picture and he orders us to walk away. As soon as Harry turns his back, we hear a gun shot and a body slumps to the ground.
Another cutscene and our heroes are moved to the front lines. Let’s start with Harry this time.
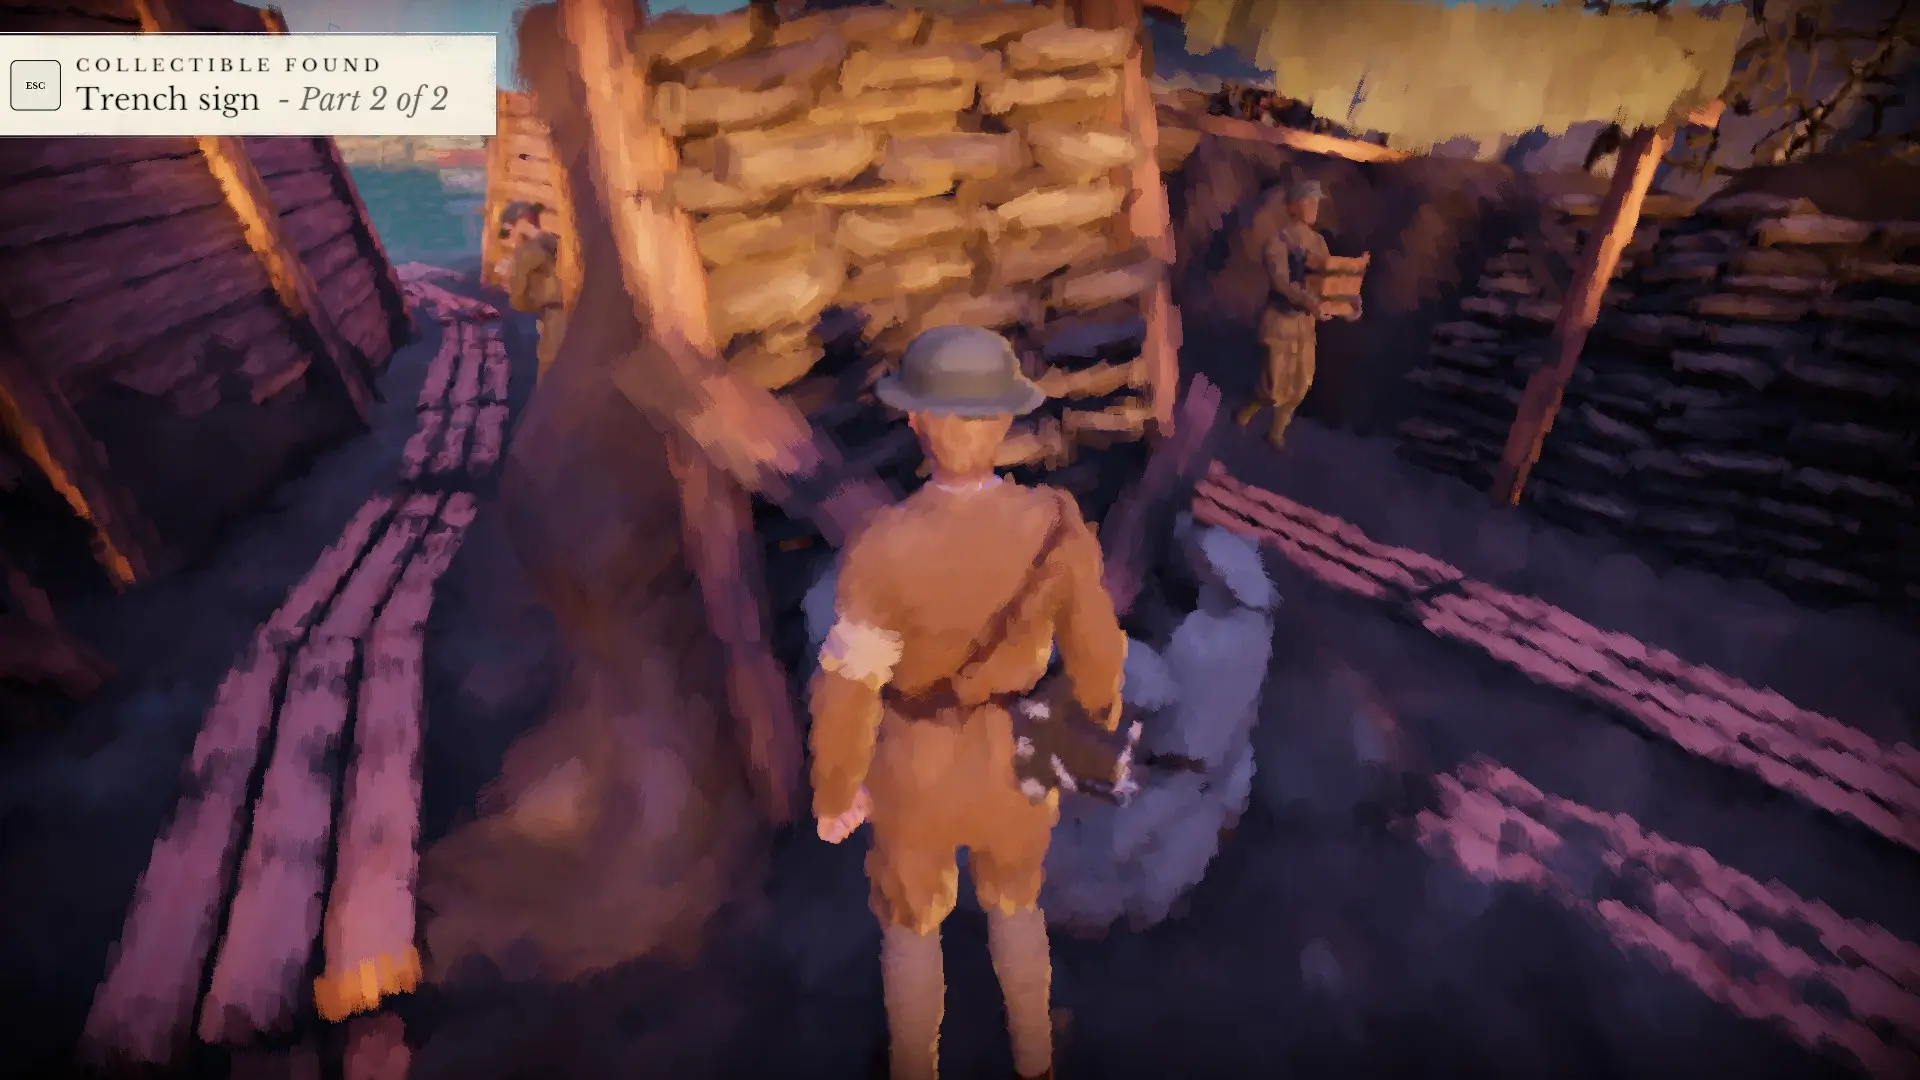
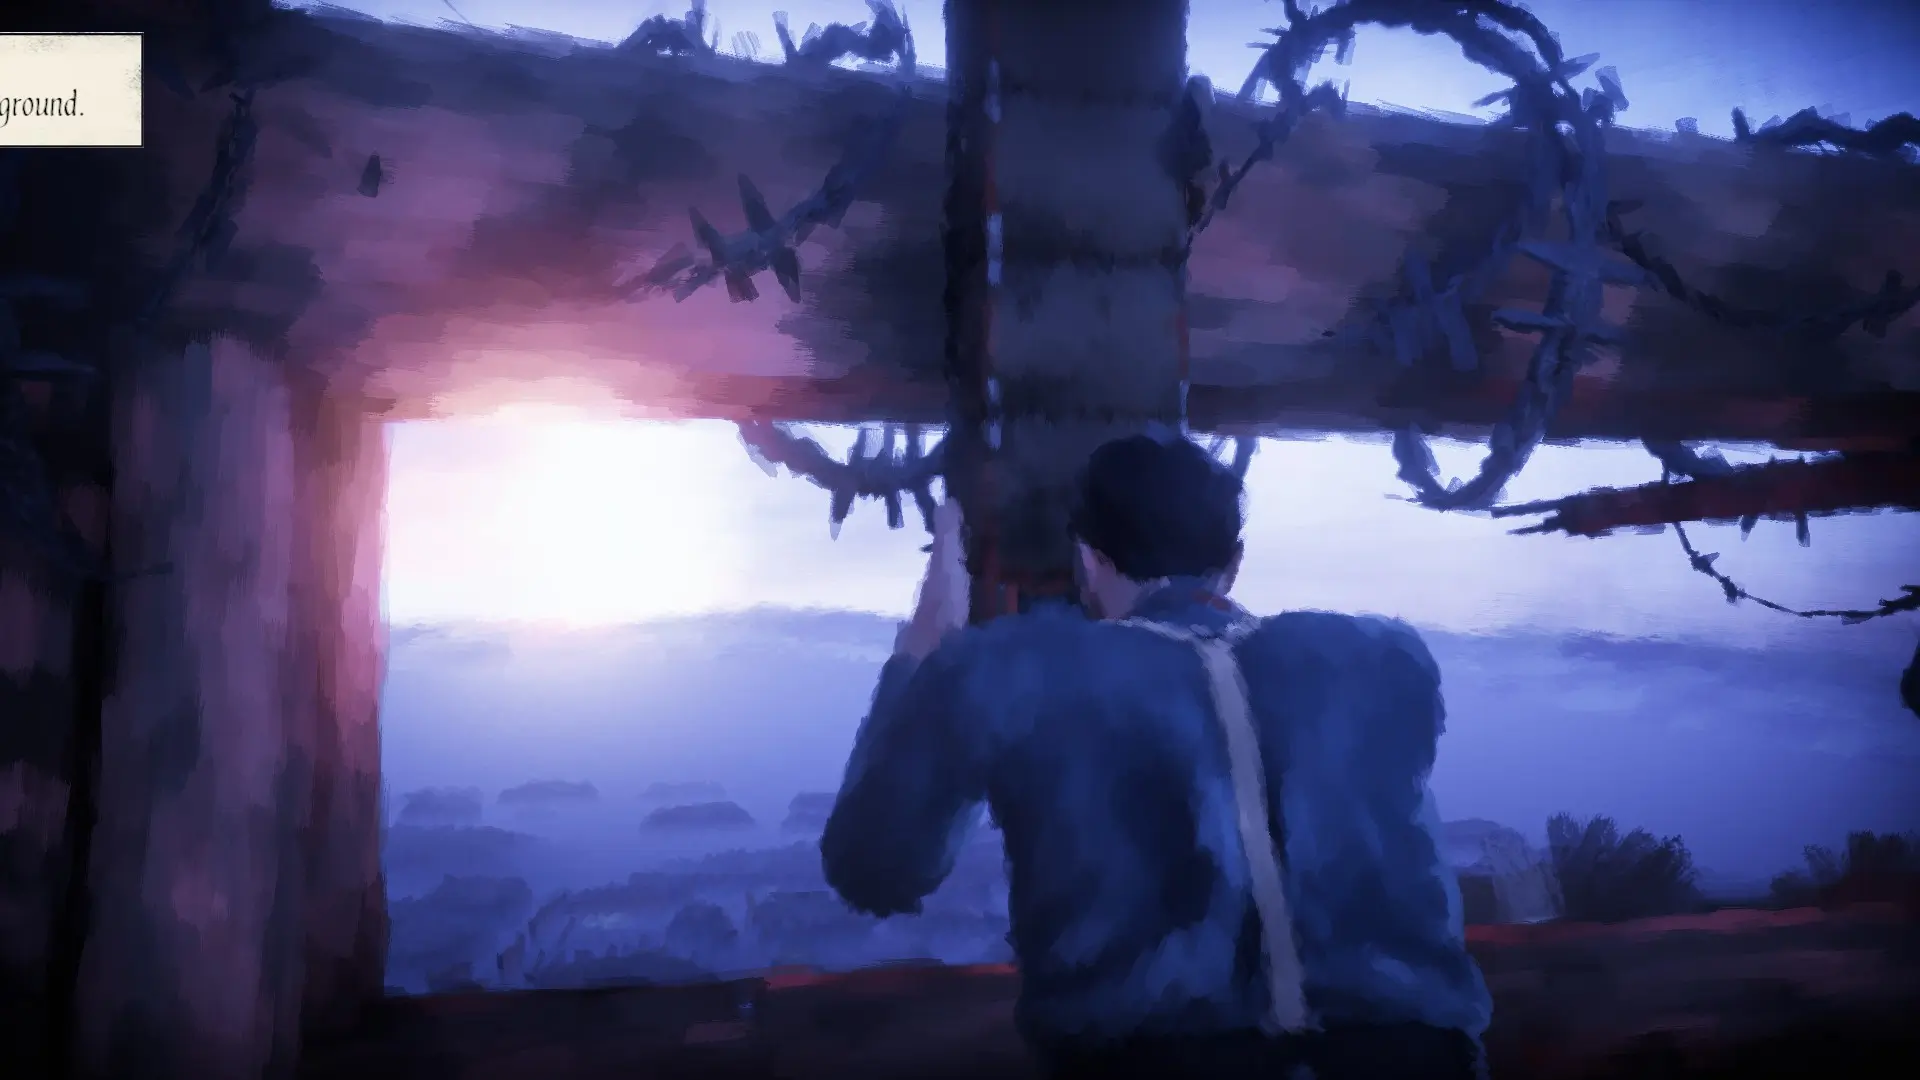
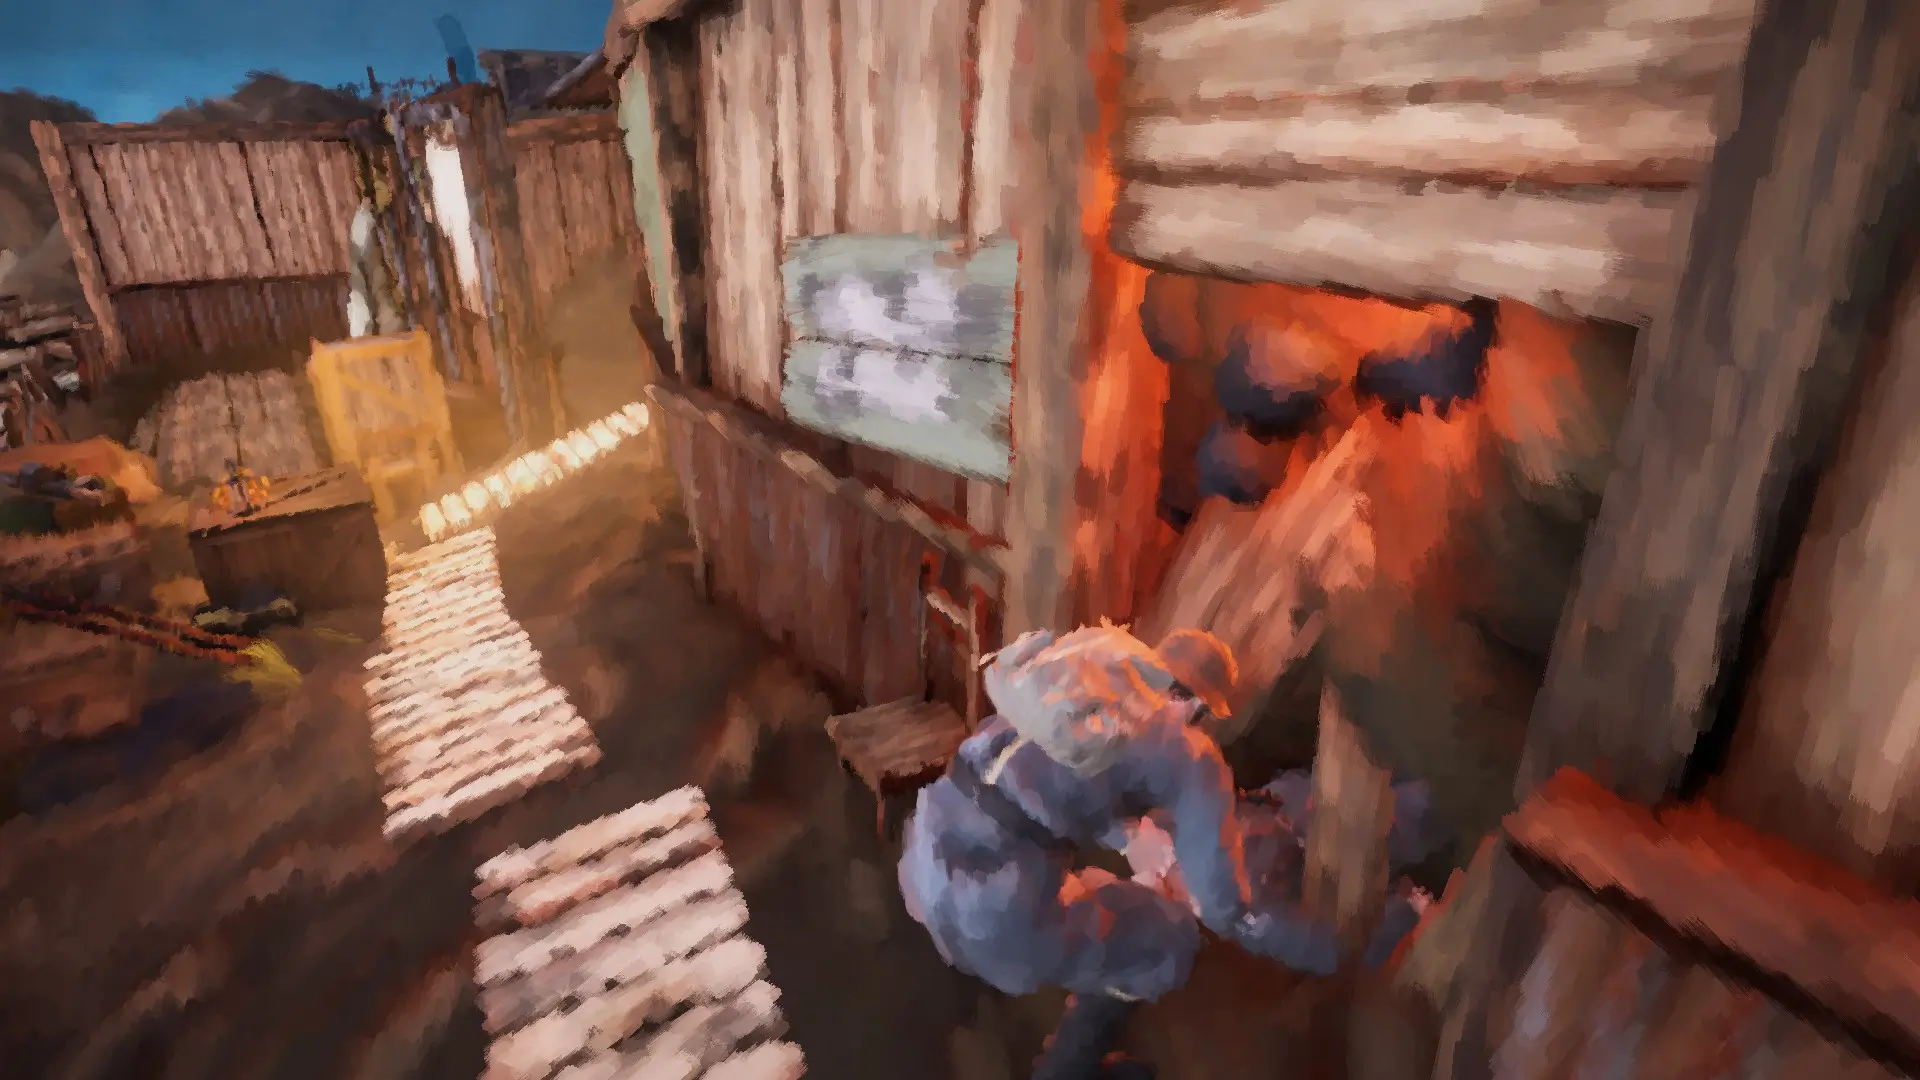
Harry is now in the trenches. Barret tells him to find a dugout then meet him for drinks. I wander around the tunnels. The design of this map is more of a maze – a sign that Harry’s story is getting closer to Kurt’s.
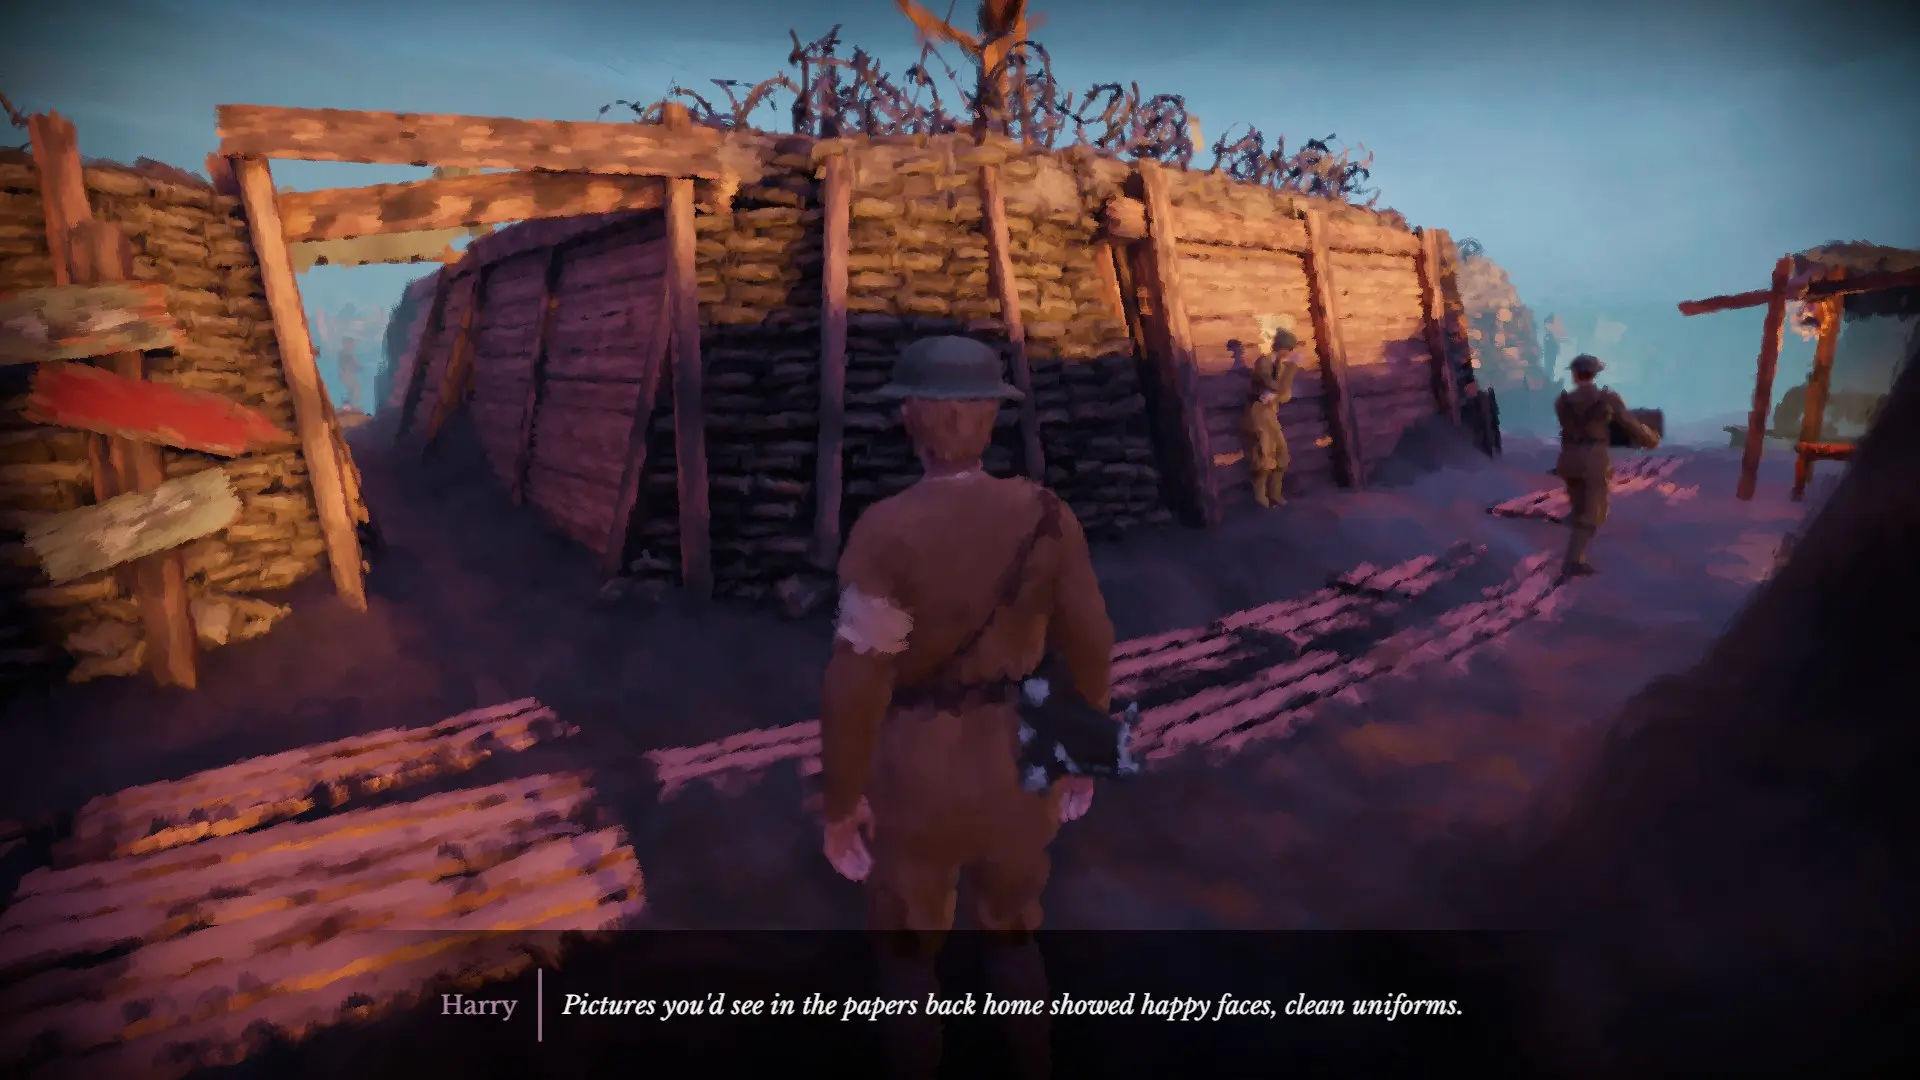
I wander and I realise I am free to take any pictures I want. Certain features are highlighted when I look at them through the camera, so I snap a few pictures as I get lost in the trenches.
Harry is shocked by what he sees here. This isn’t the glorious adventure he hoped for. It is dirty, muddy, bloody, and full of men who just want to go home. Morale is understandably low.
We find an unclaimed dugout and run into none other than Jas. He is excited to see Harry and invites him to play a game of cards.
Meanwhile Kurt is descending into a tunnel to meet Lothar. The letter he dictates to us lets us know he has been authorised for his transfer to the Somme a month from now.

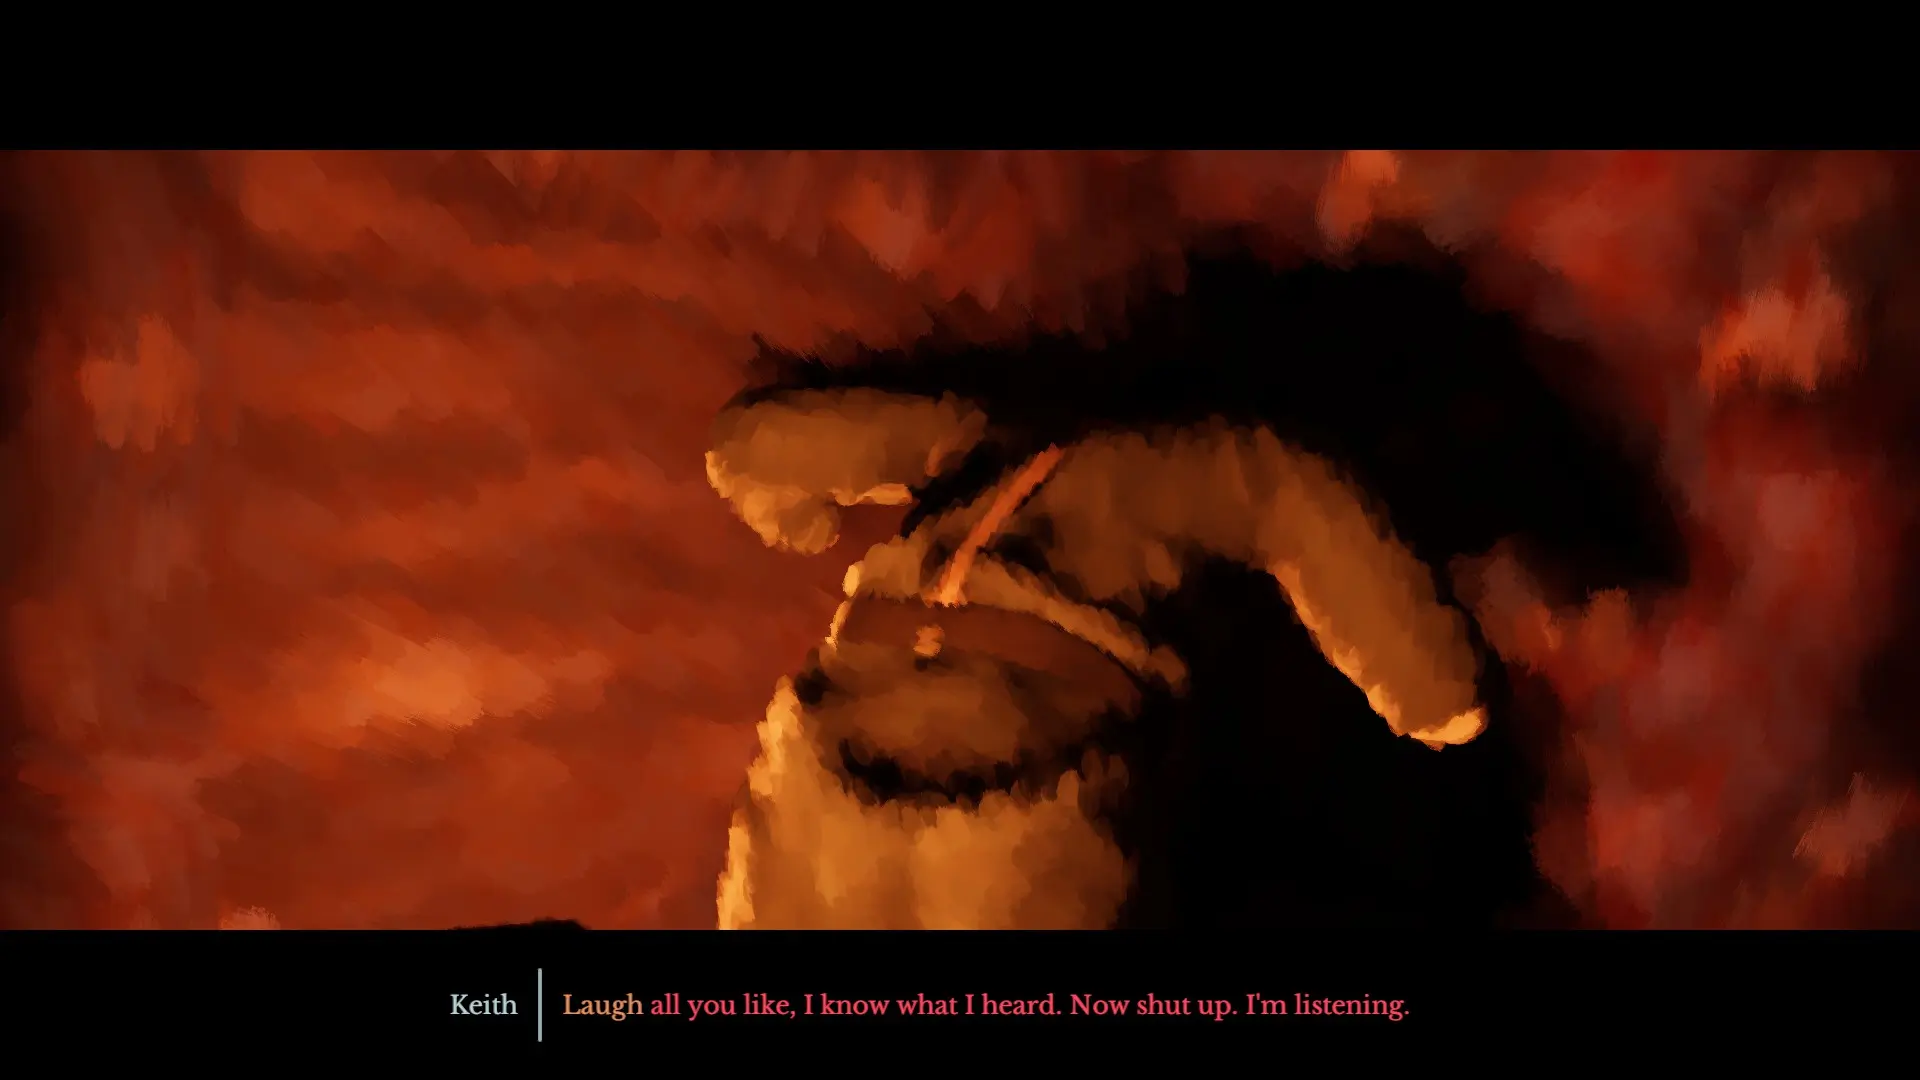
We pick up a lantern and follow Lothar’s voice further down the tunnel. When we find him he tells us we need to listen. We play the same minigame from the train earlier. When we find the sound we can hear Barret talking.
He is talking about the planned attack on Monday, and is frustrated that the men already know the plan.
Tunnelling warfare is a real thing that was used by both sides during the war. Though it appears the Germans learning of the attack ahead of time using these tunnels is a fictional invention for this story. It makes little difference to the reality – the Germans knew the enemy would be attacking at some point and they would be as ready as they could be.
After we hear enough, Lothar and I keep moving down the tunnel. We take a detour and find an optional listening point where we pick up a word that could be useful in a letter later.
We follow Lothar again, and reach another place we can hear a conversation. The camera pans up, past the soldiers above Kurt and continues over the trenches, before settling down on Harry and Jas playing cards with two other soldiers.
This is an unexpected and brilliant transition that highlights how close our two protagonists are at this point.
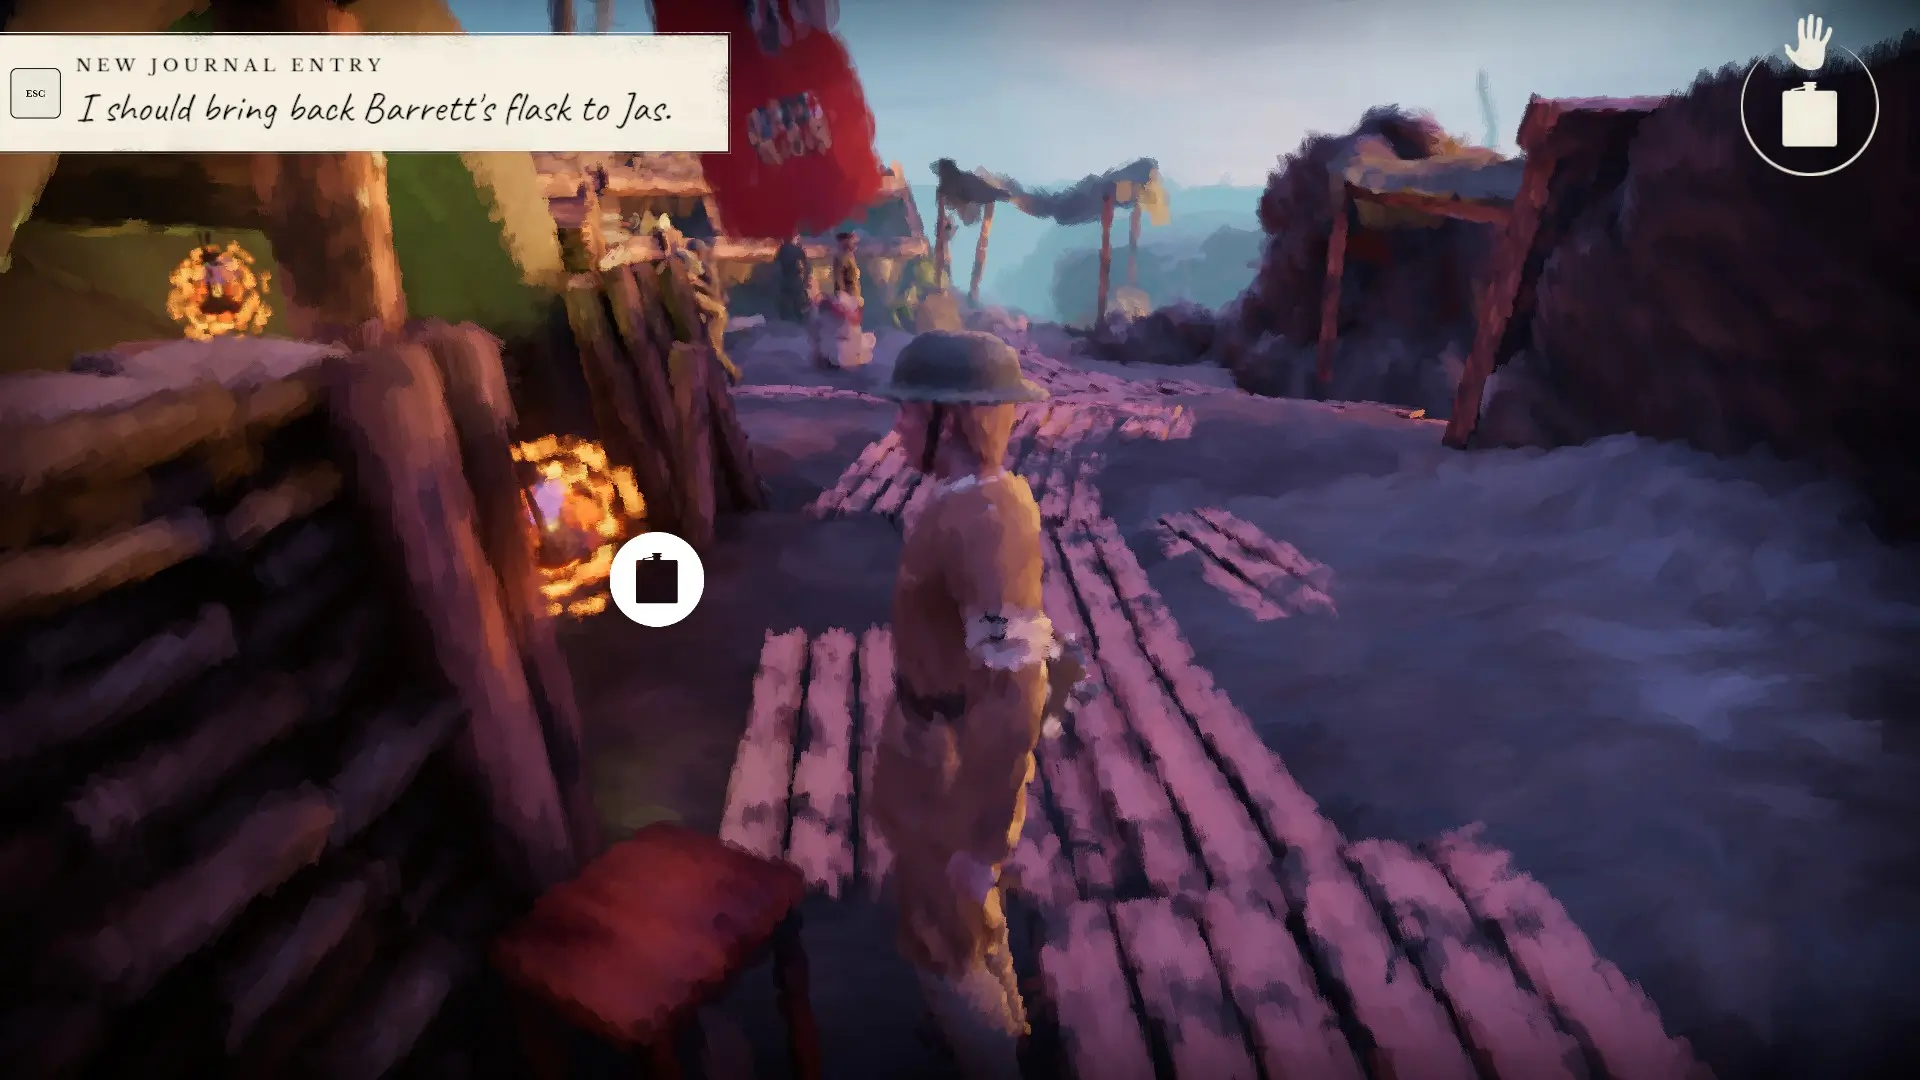
They are playing the same game that Kurt played in his trenches. After the game, Jas asks me to see if Barret will give me his flask so he can fix his guitar.
We get lost in the trenches again and see a cat. We run over to interact and it disappears down a hole. We get rewarded with a collectible for this.
As we wander around, I notice something. Every single soldier here has a name and a unique personality. This is a simple way of humanising the soldiers.
It’s a technique famously used in Cannon Fodder, a classic game who’s title literally refers to expendable soldiers. In the game you are given a number of soldiers to complete various missions. These essentially act as a lives mechanic you will get in other games.
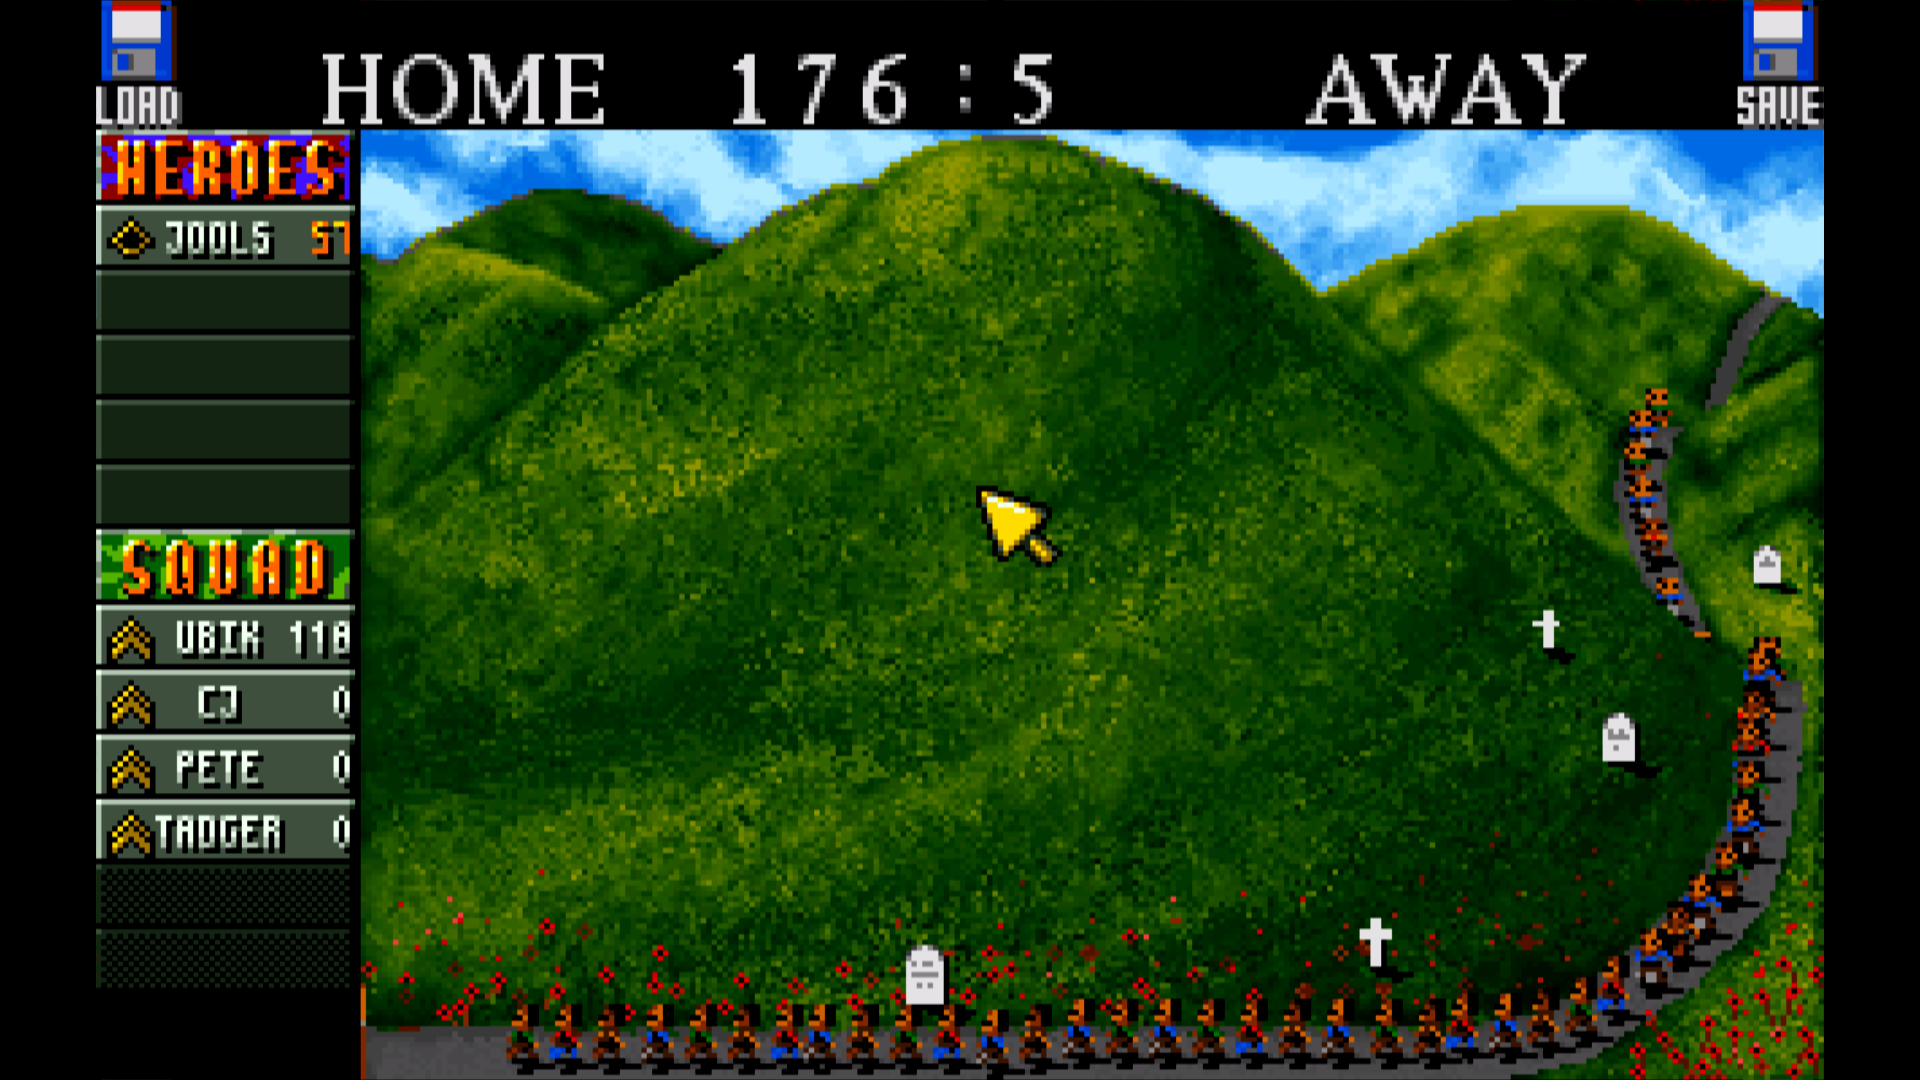
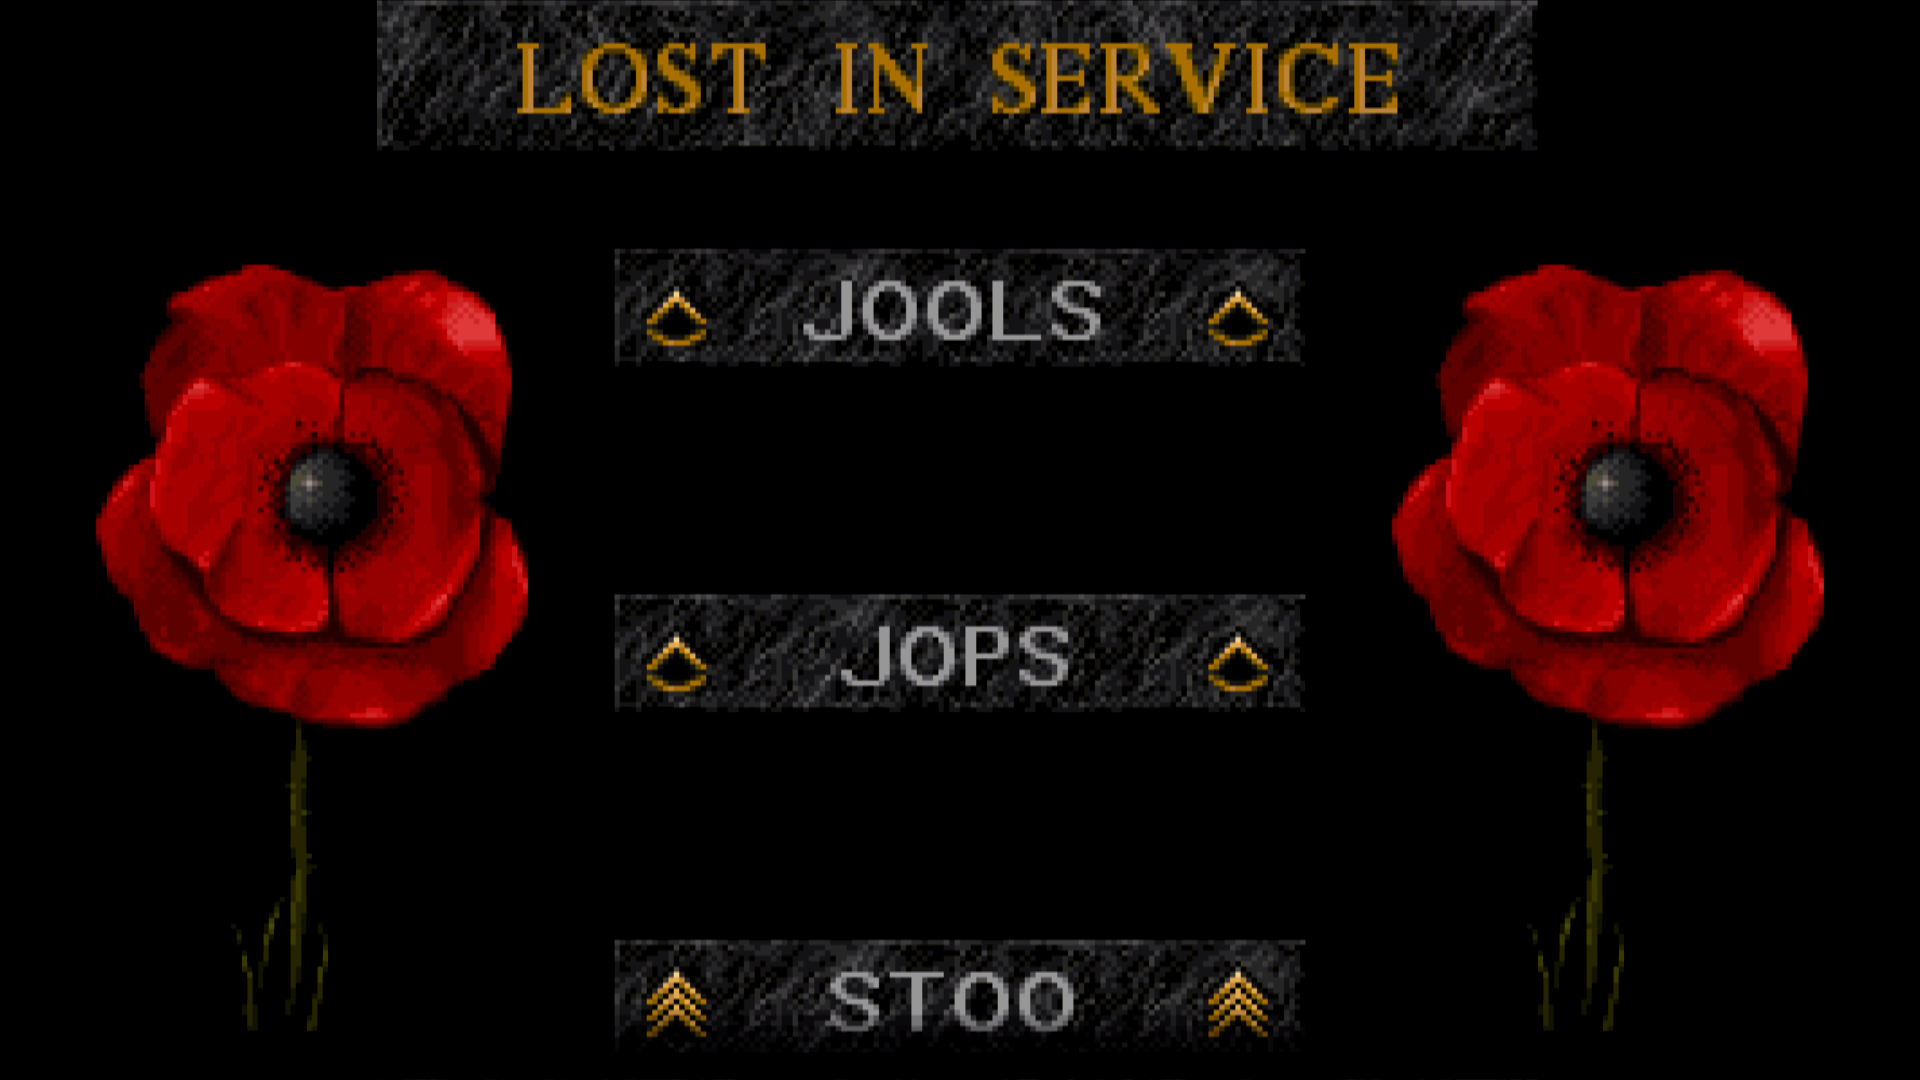
But each soldier is given a unique name, and every time you lose one on a mission, a new gravestone appears in the background to the level select screen. When every single life has a name, and a memorial when you lose it, it’s much harder to view it as expendable, as cannon fodder.
By doing the same here, we end up caring about these soldiers. They don’t feel like nameless NPCs infodumping the plot, they feel like real people, tired of the war they’ve been fighting for the last few years.
Eventually we find the postman, who has another letter from Julia.
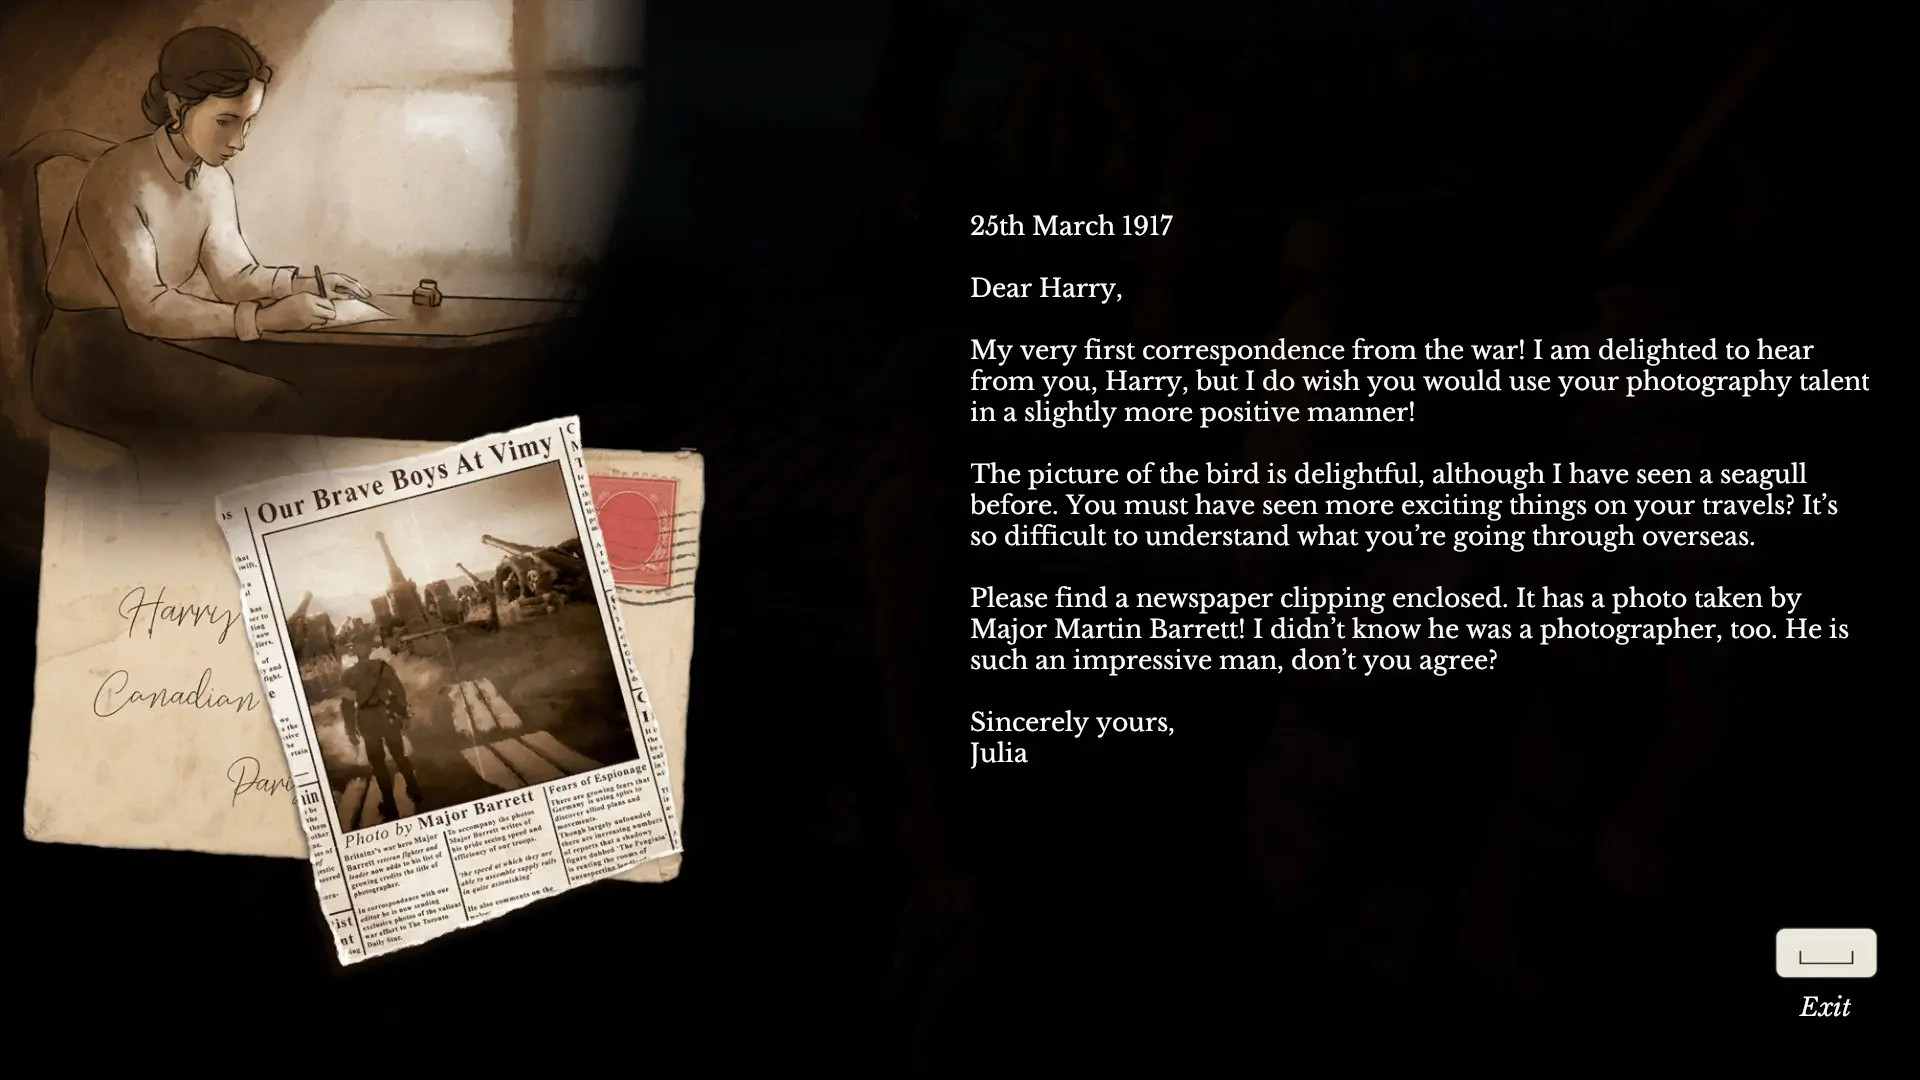
I guess that was a bad picture to send. Interesting to note that Barret is taking credit for Harry’s photography here. Like last time we are are told we can send a picture back to Julia. we go for a portrait of Jas.
We find Barret, who puts down his flask and asks Harry to take a picture of him with Vimy Ridge in the background. We do so and grab the flask. After taking it back to our dugout, we return to Kurt’s tunnel.
A cat has gotten into the tunnel. Worried it might make some noise and give away the fact that they’ve been listening, Kurt gives chase. He loses the cat, but finds another spot where he can hear the soldiers above.

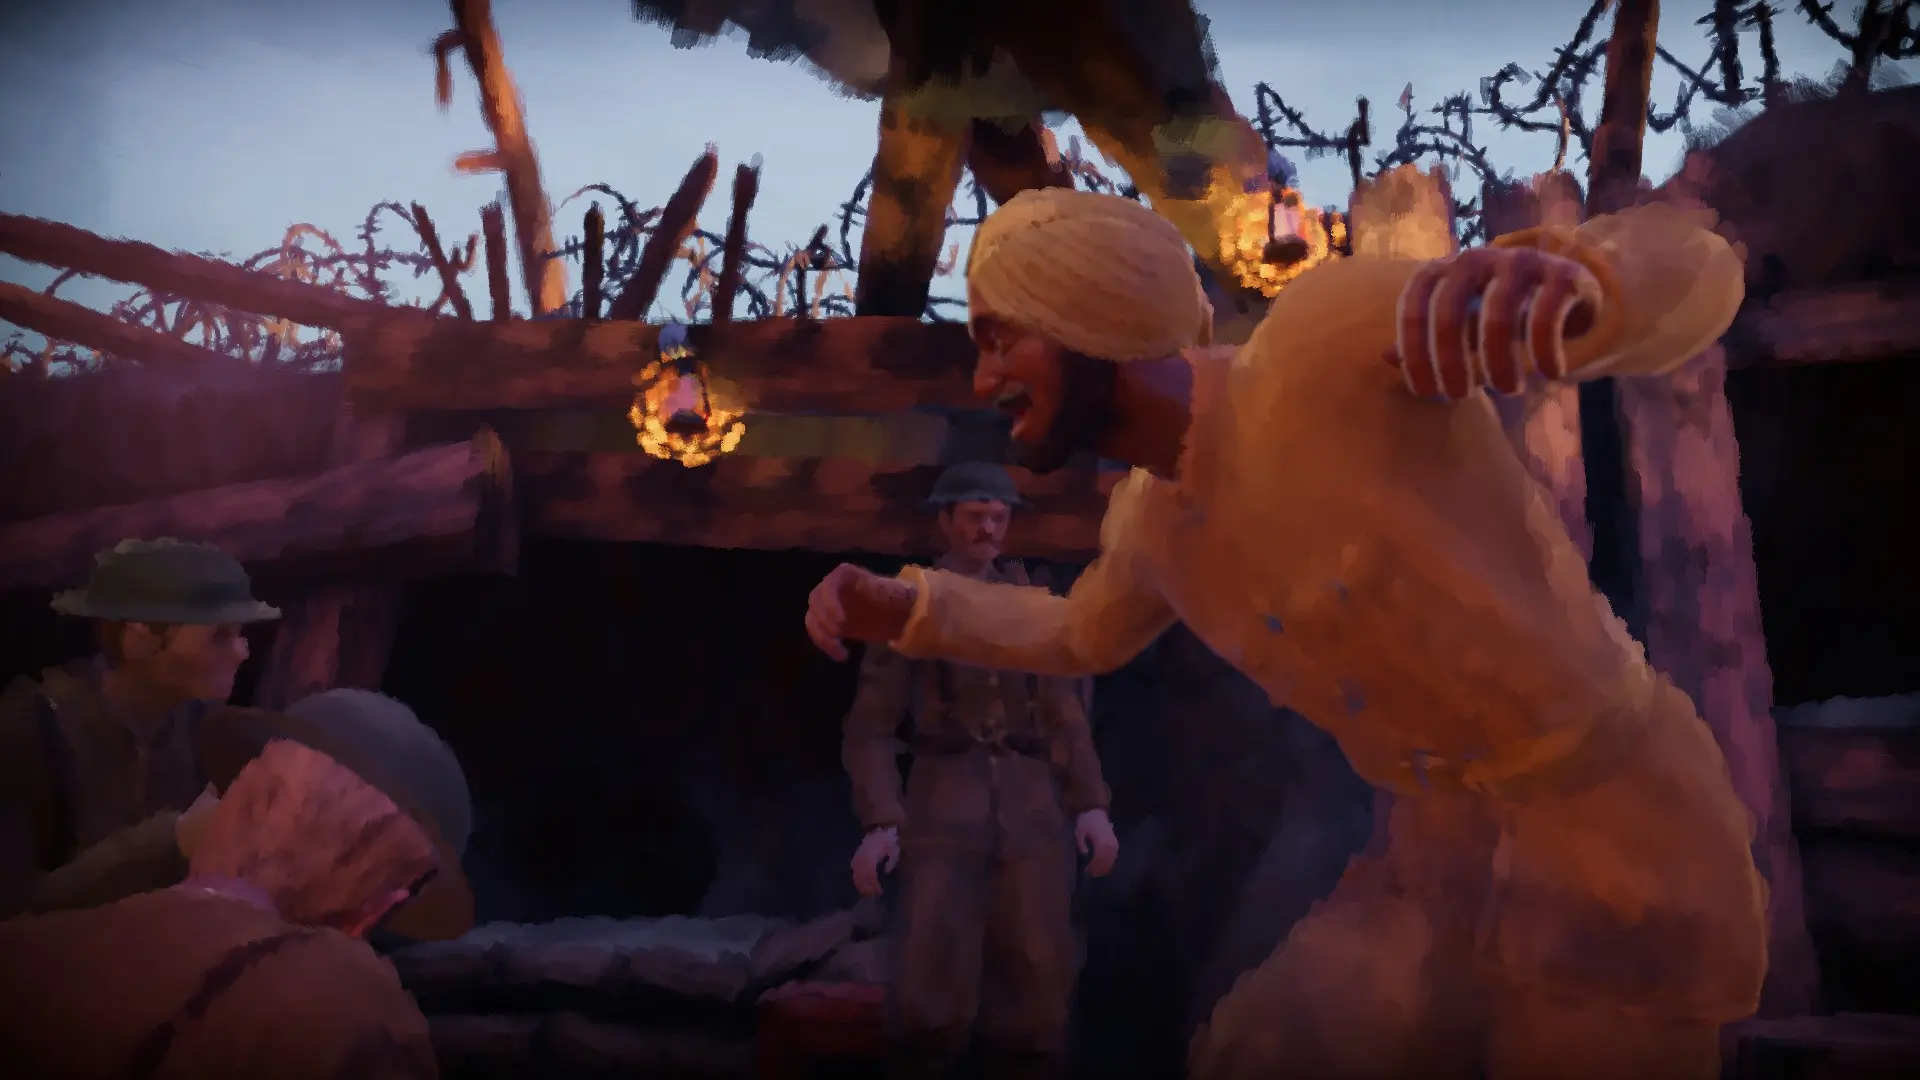
There is a small quick-time-event here. If you press the keys it encourages clapping and dancing. Jas is especially expressive.
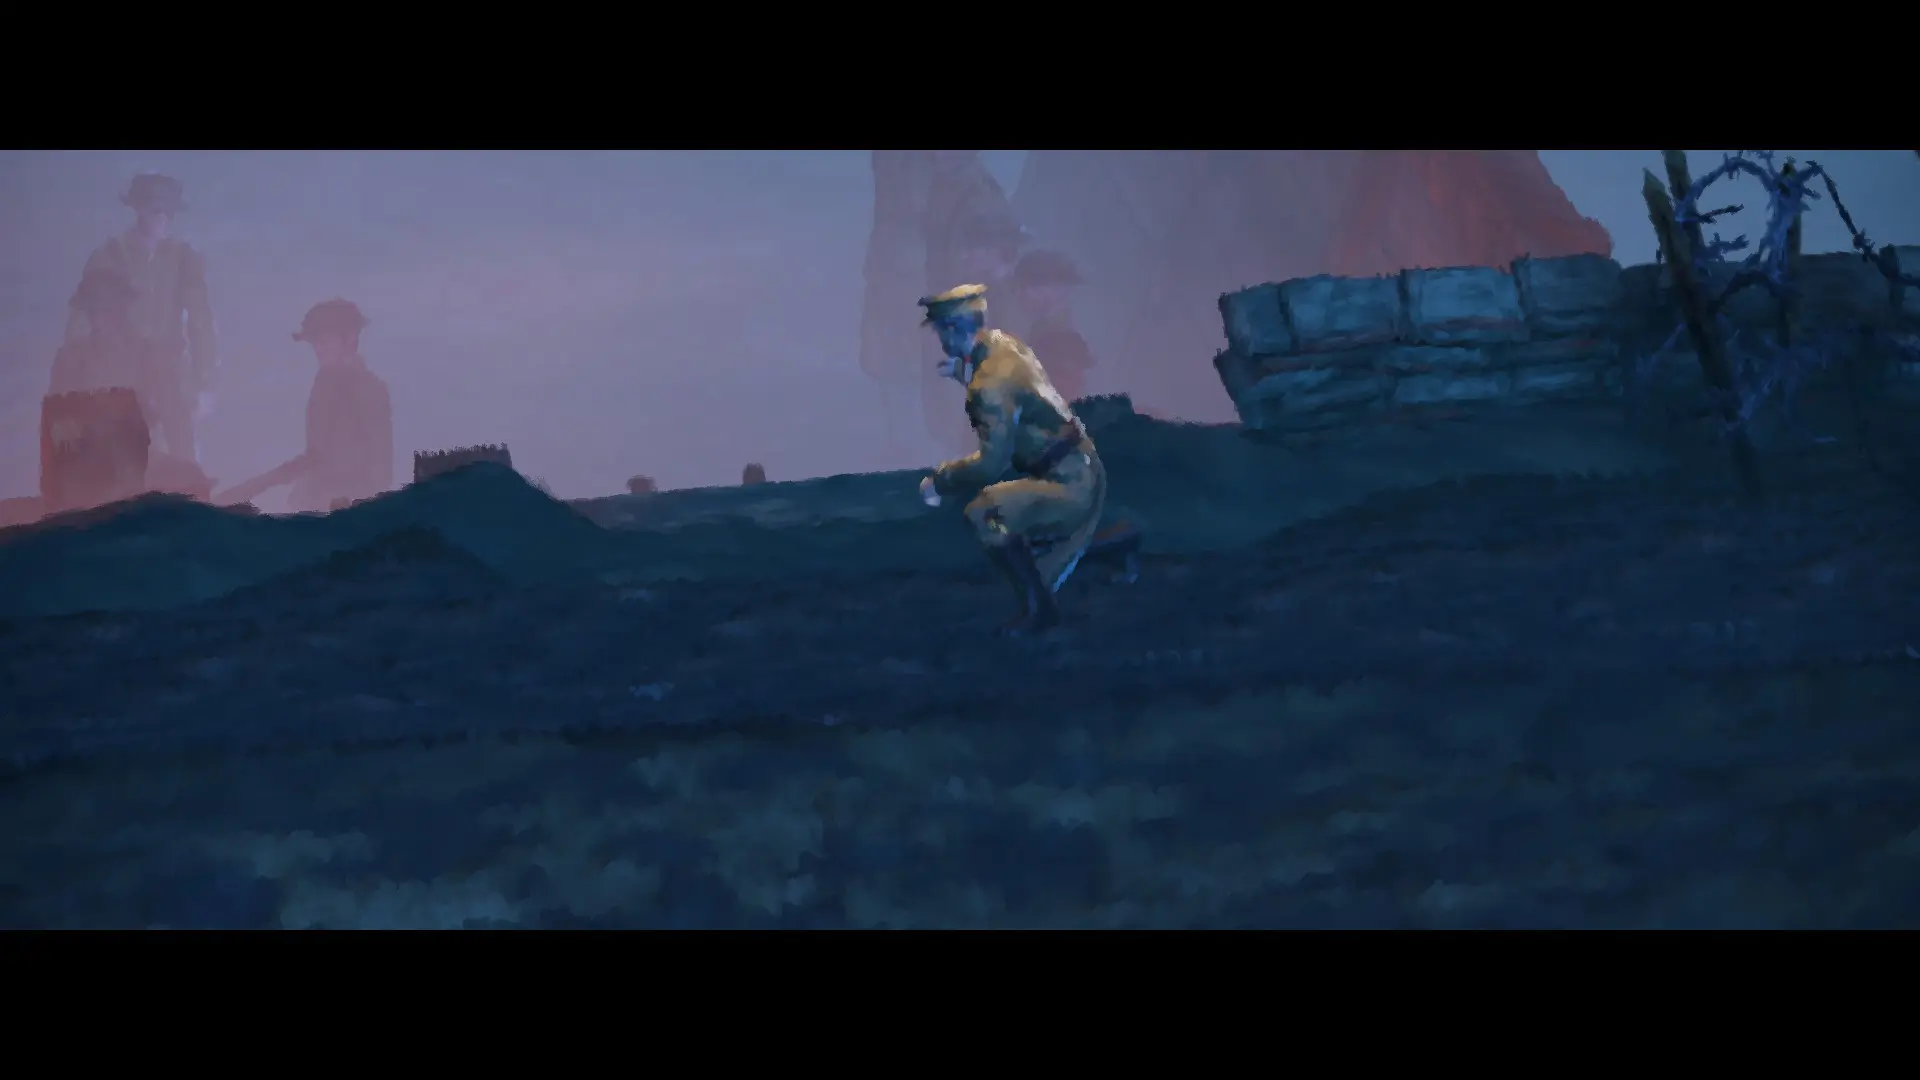
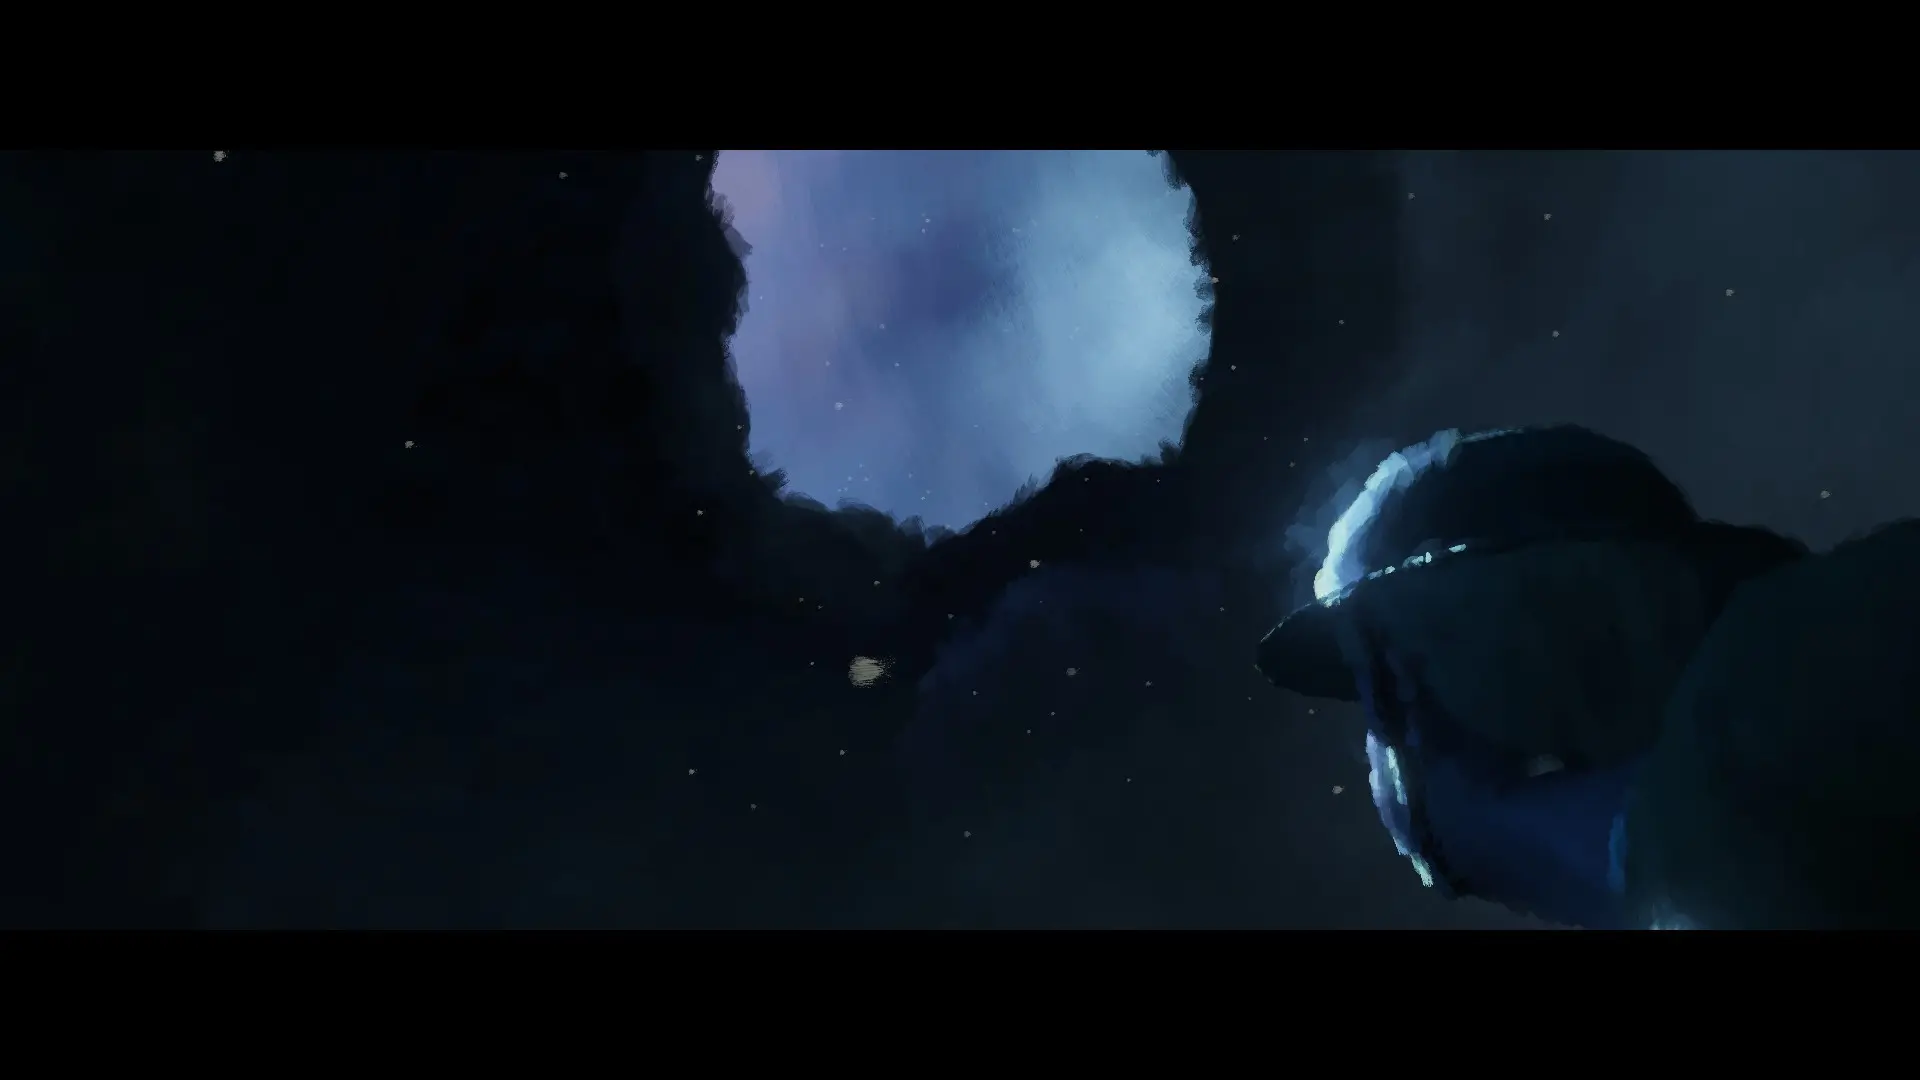
We skip forward to Kurt climbing out of the tunnel. The scene is quiet, and darker. As Kurt walks back through the trenches it feels like a dead man walking. Walking past other dead men.
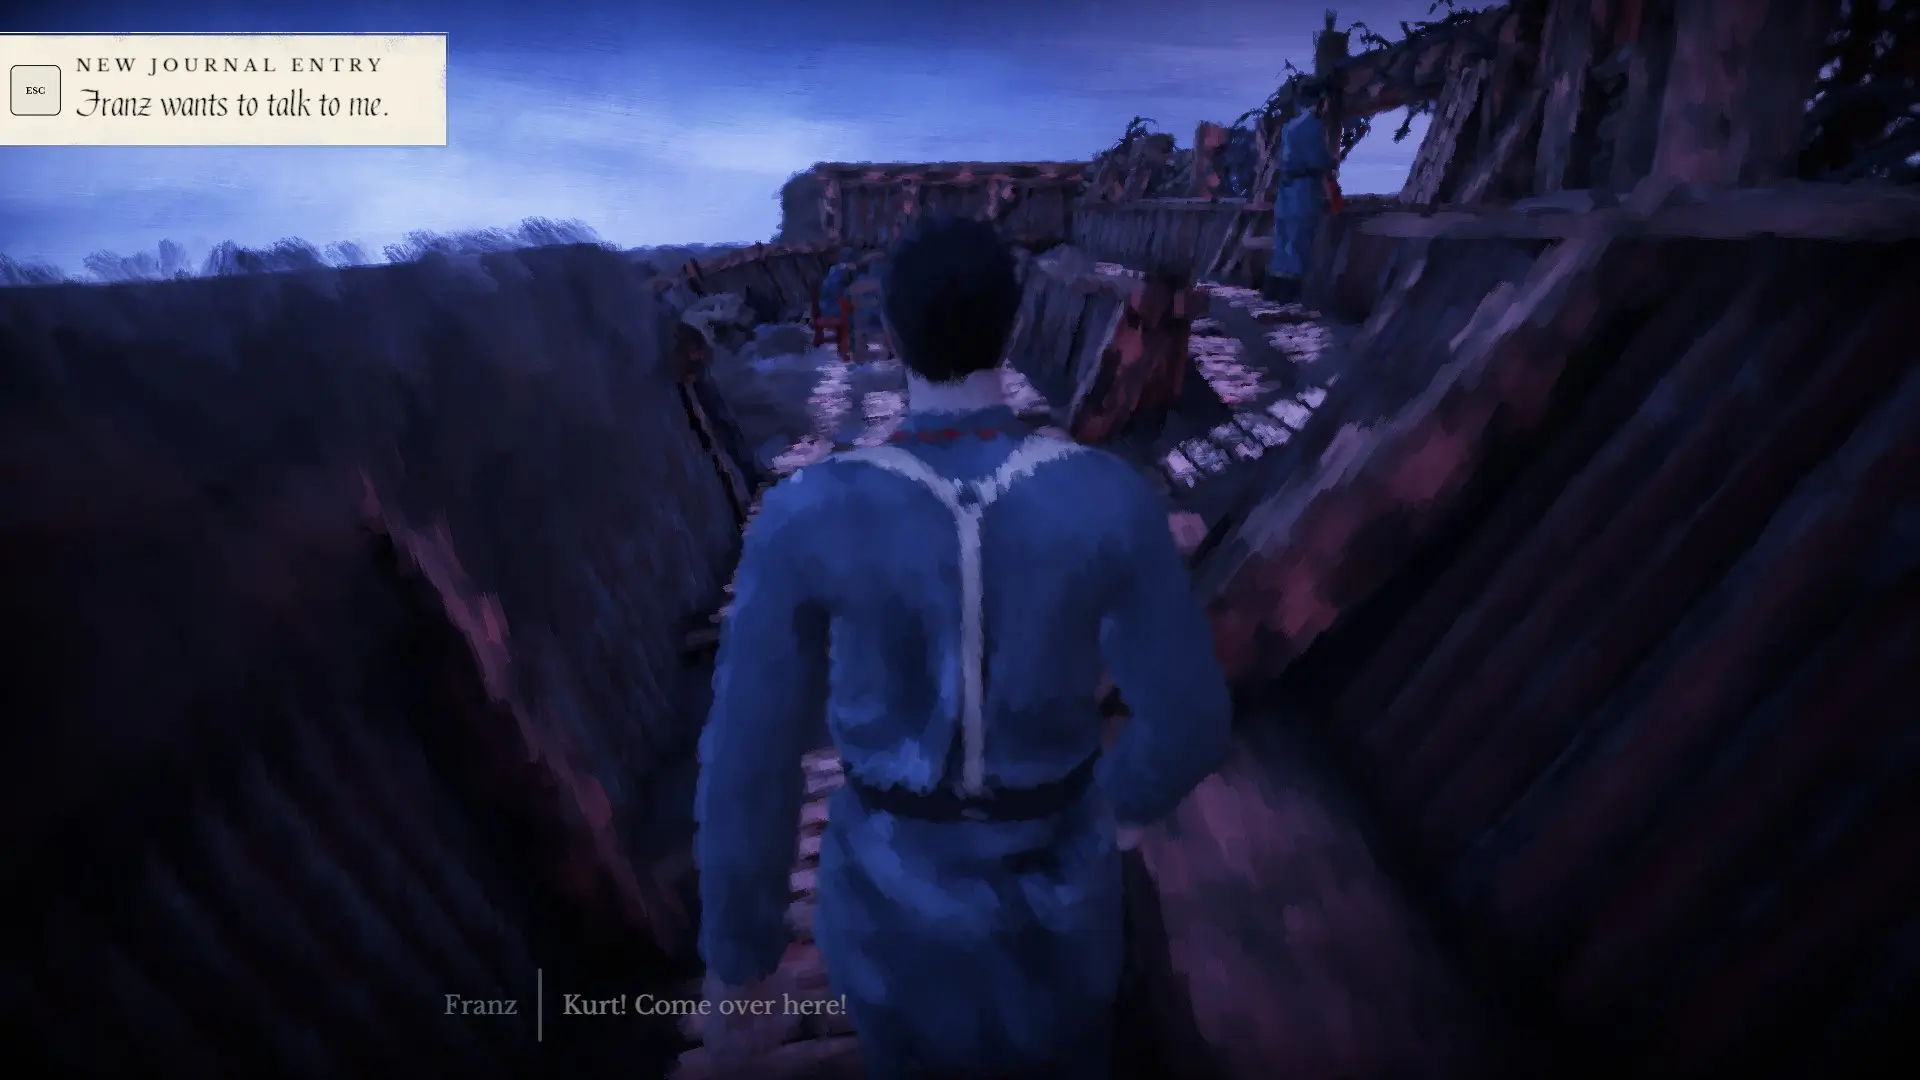
Franz calls us over to the lookout. We look through our binoculars and I show him where I heard music.
We are taken back to Harry and Ras listening and dancing to music. When we hear the shot Ras is already falling to the ground.
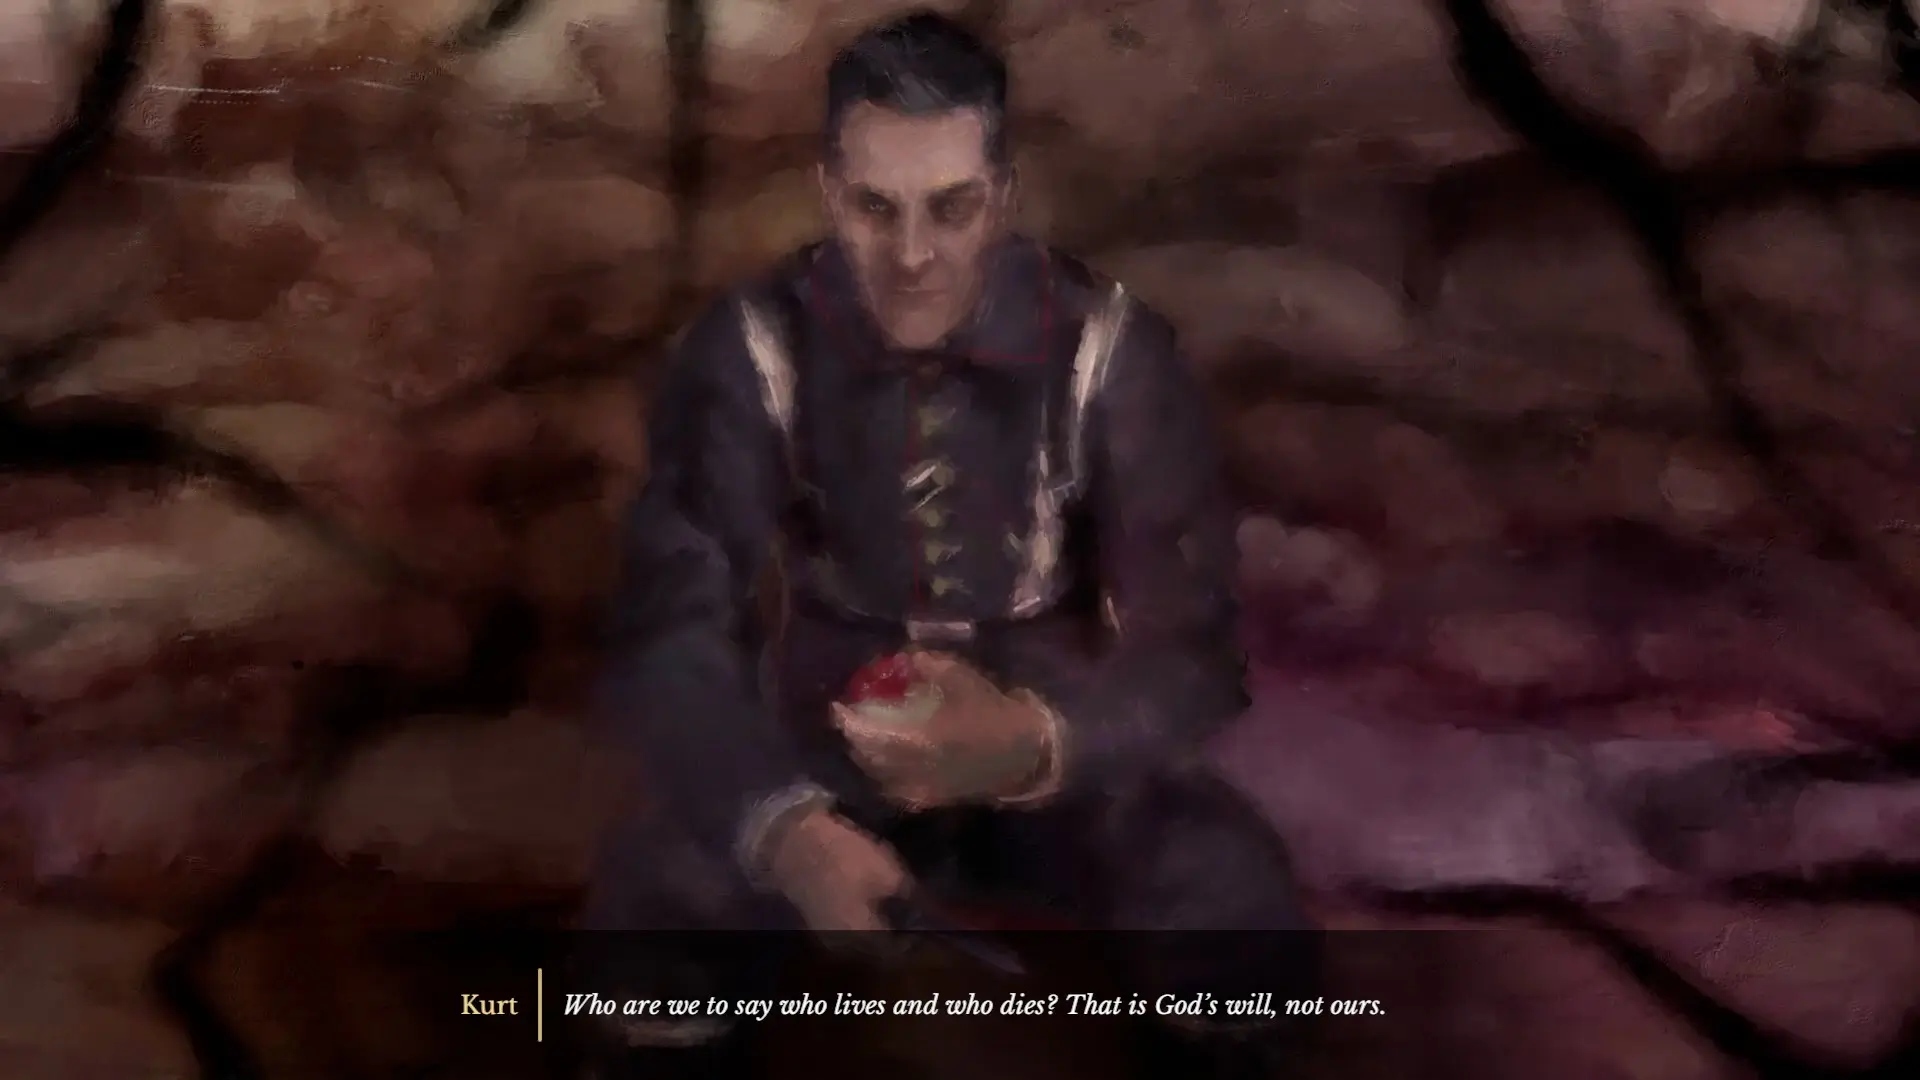
The next chapter begins. During the cutscene both Harry and Kurt muse on death. Harry realising he could actually die here, and Kurt on how he isn’t a killer like these other soldiers.
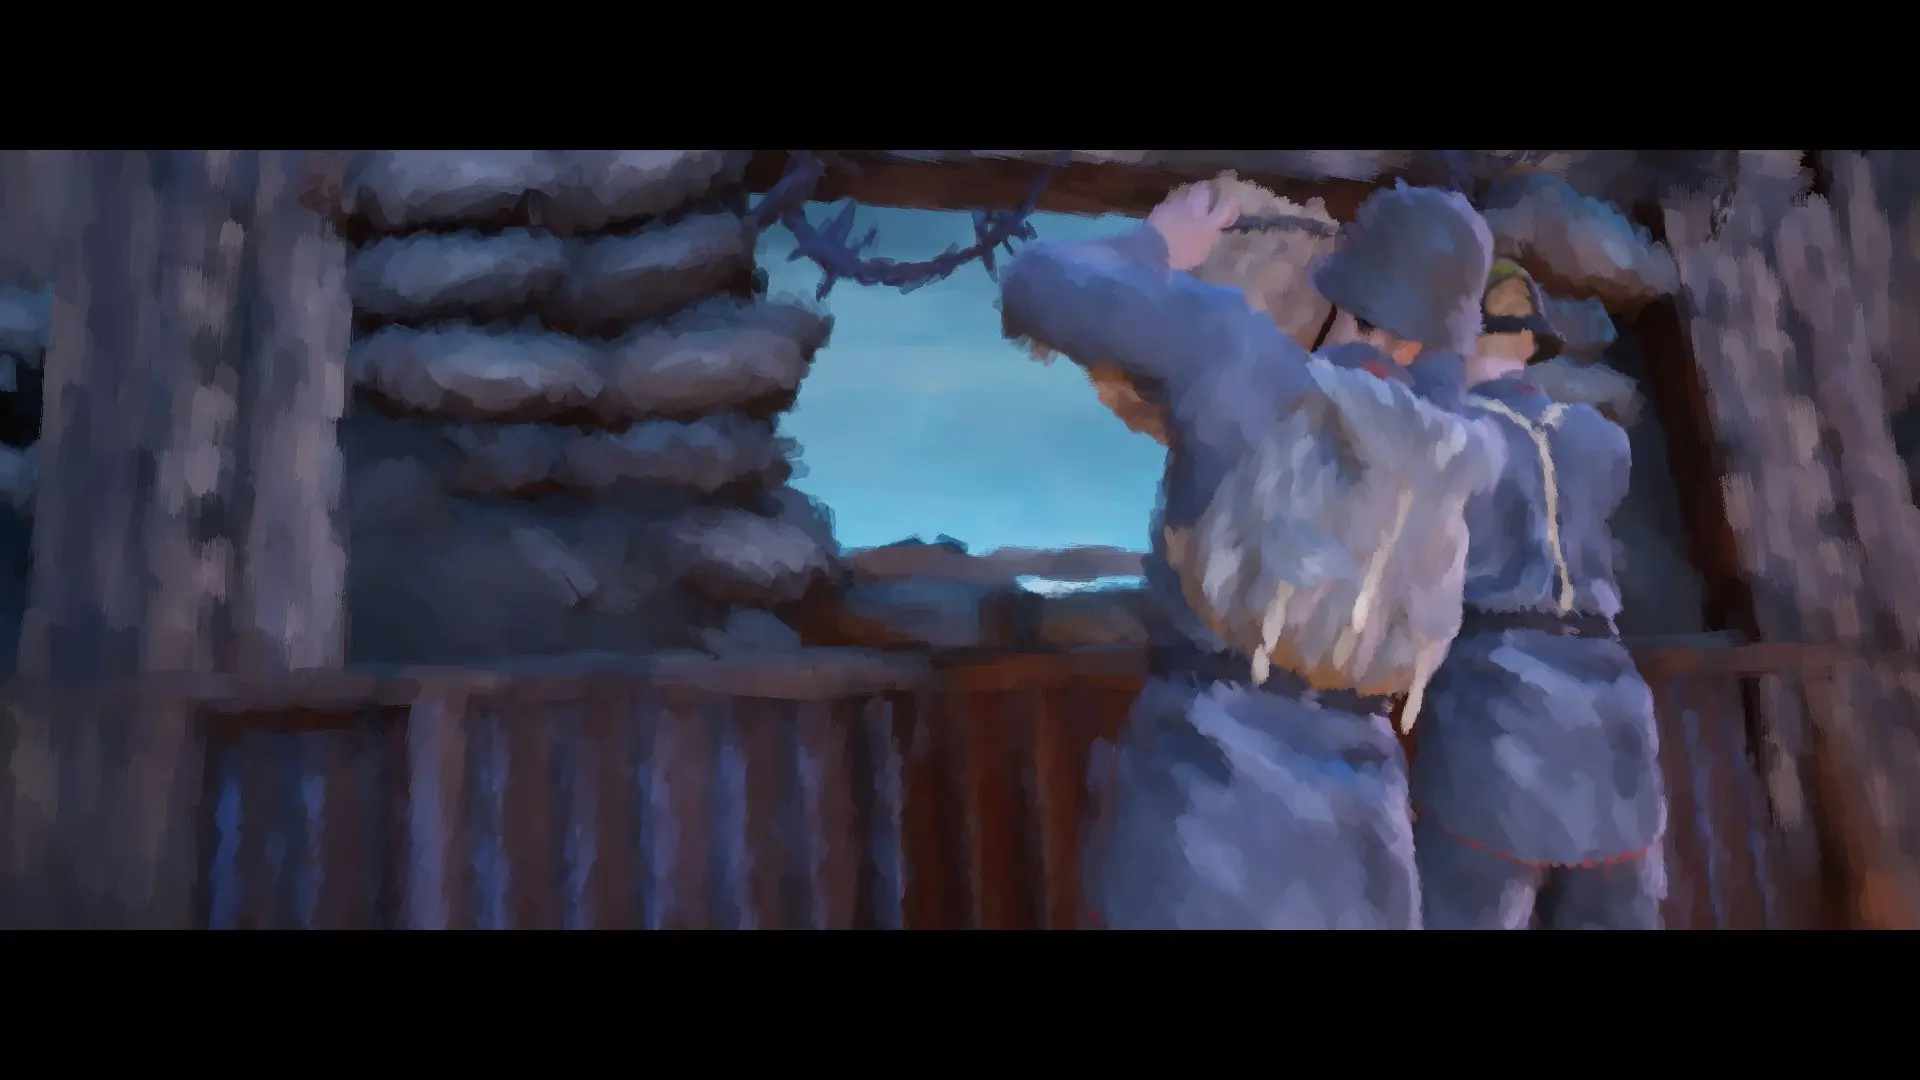
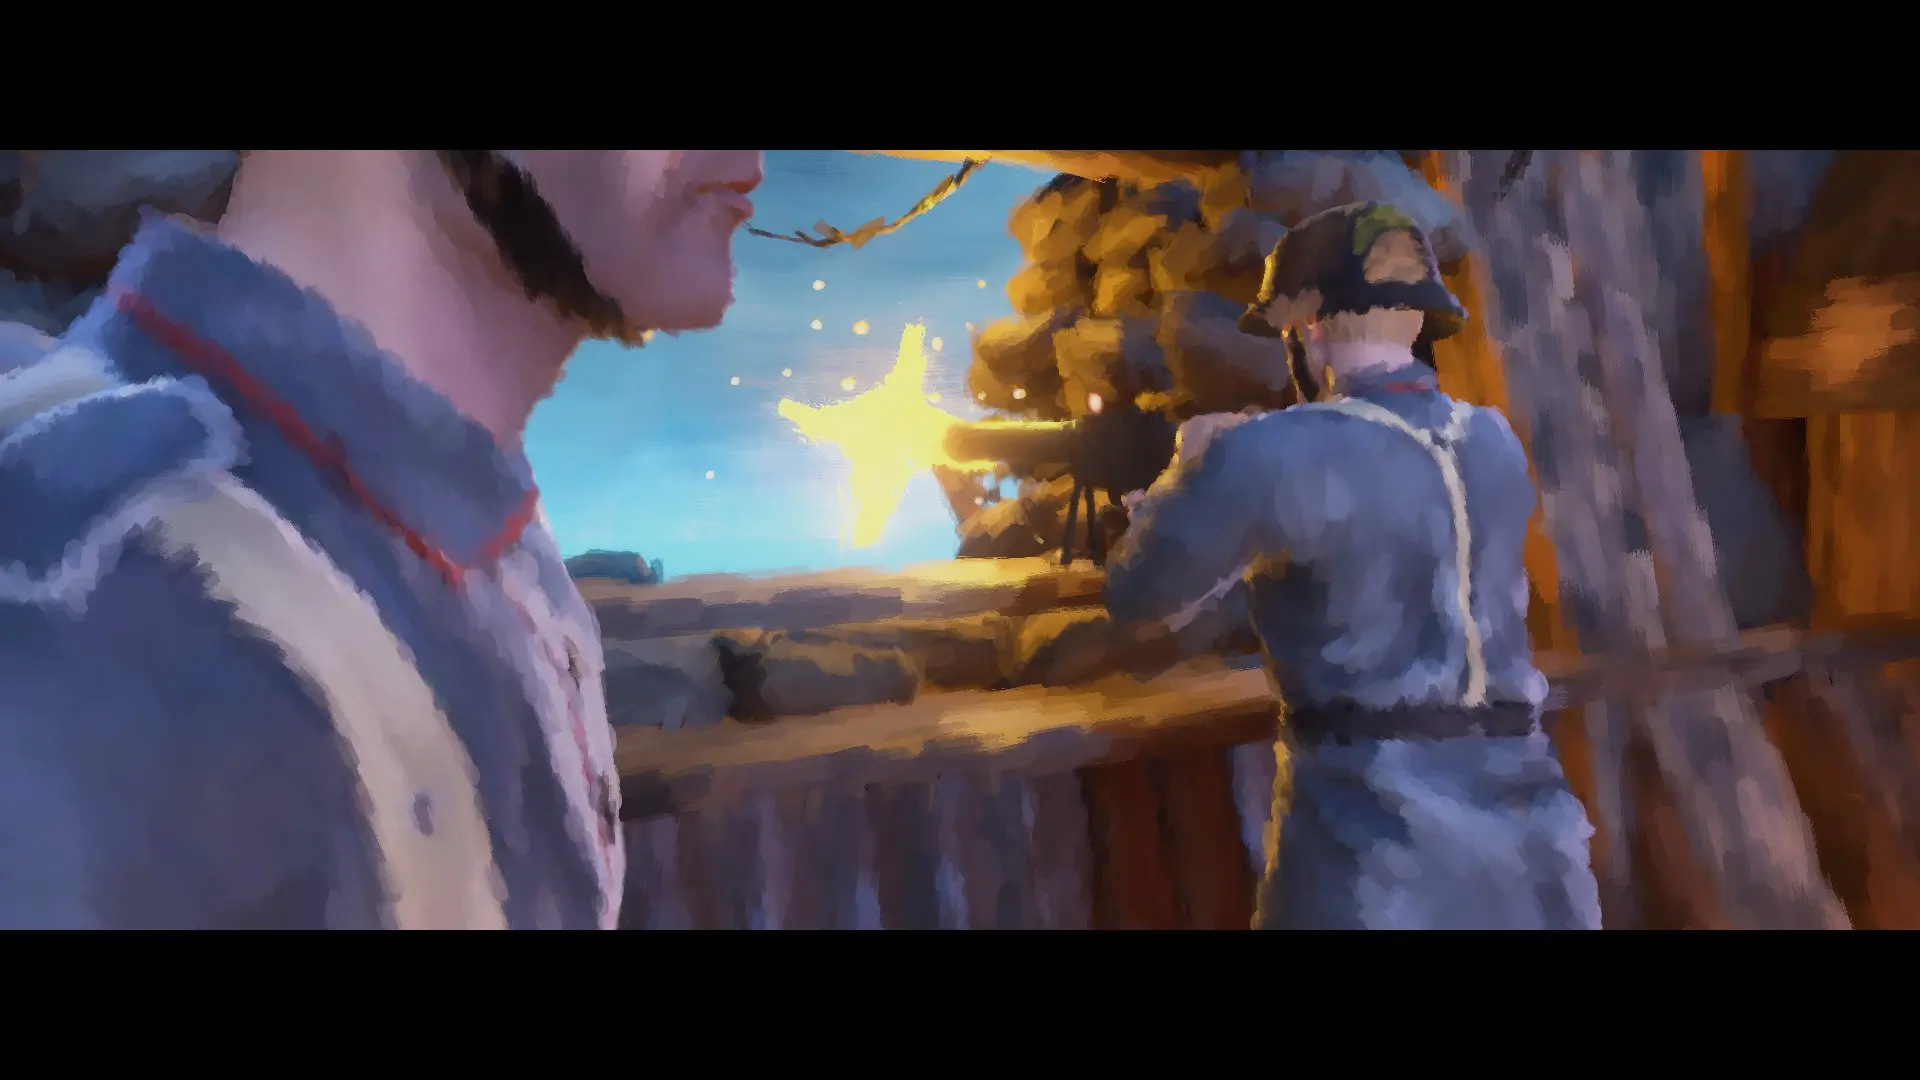
We decide to start with Kurt. We are at the top of the trenches, German soldiers with guns at the ready. A ticking sound plays in the background, giving us a sense of urgency. The attack is imminent.
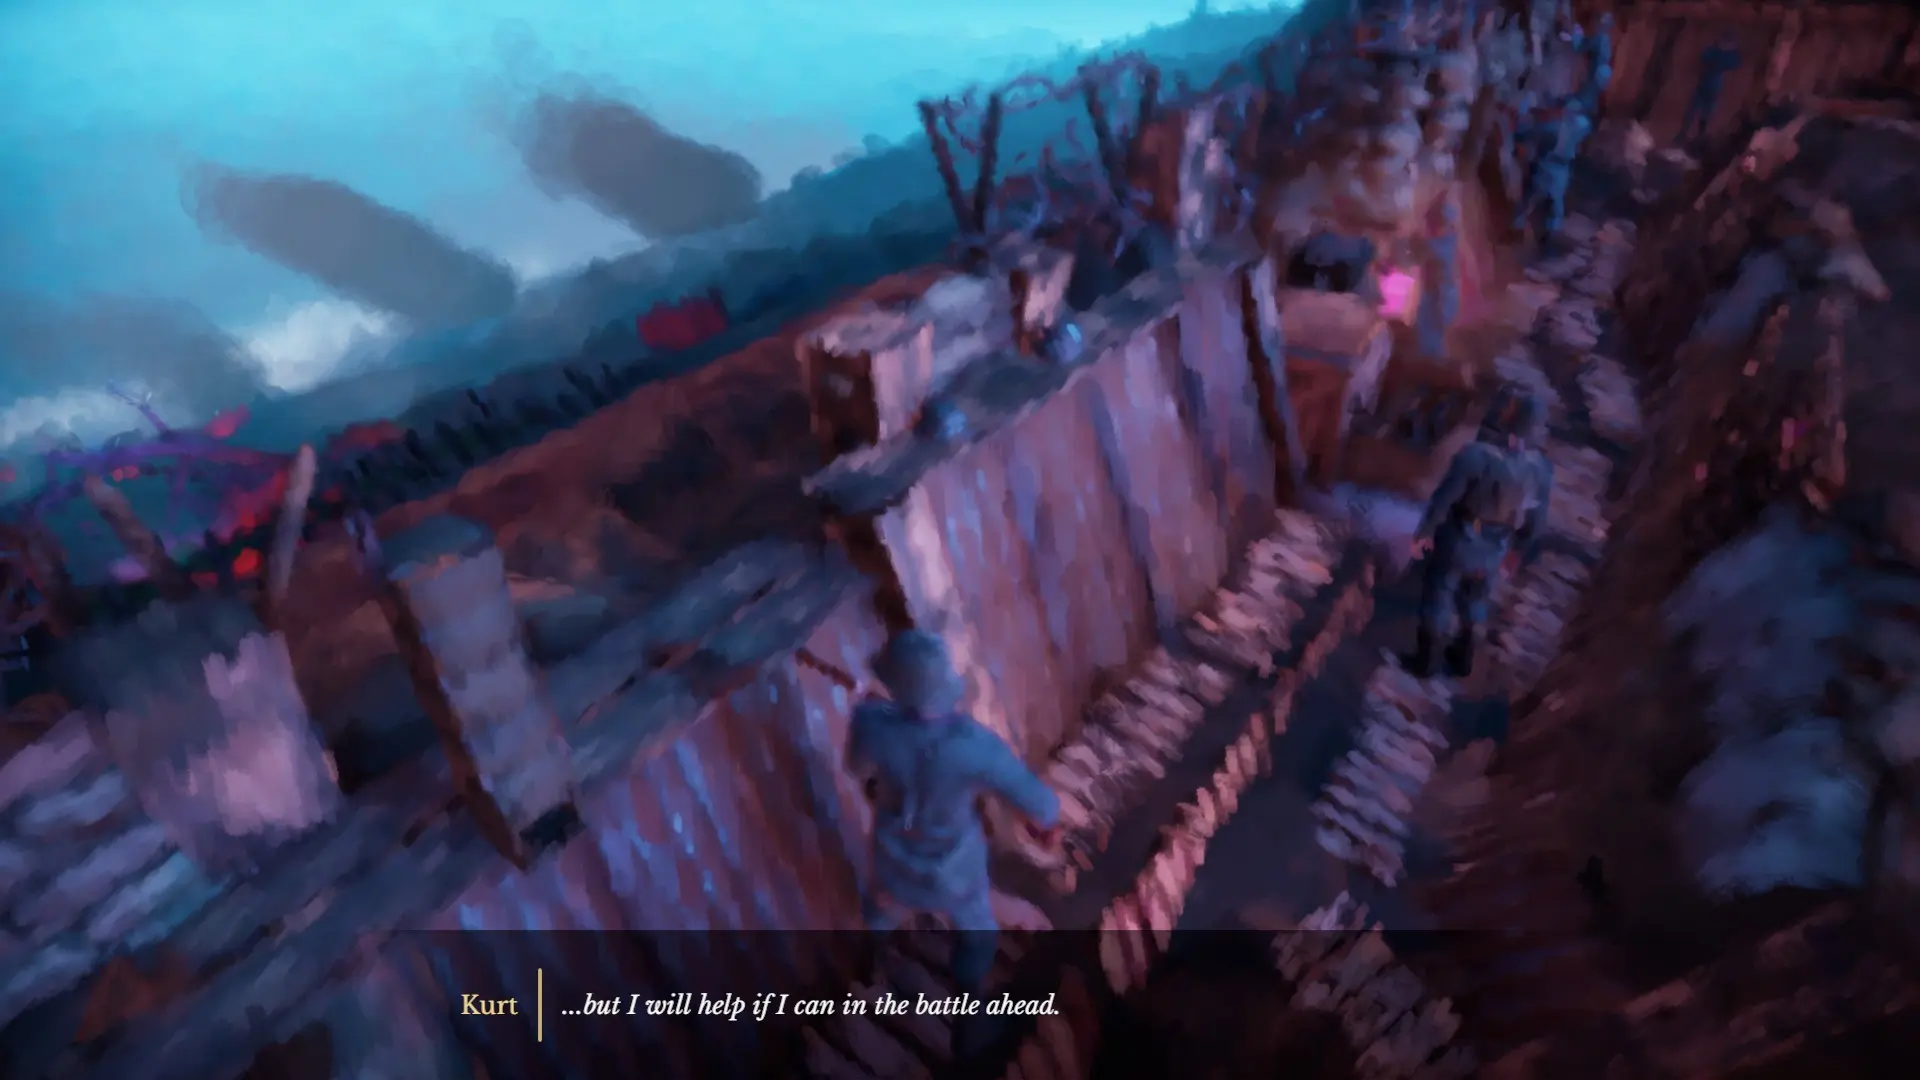
Franz tells us to use the periscope to see what the enemy are up to. We do so, and after looking around we find Barret ordering his troops over the top.
The camera pans over to Harry about to climb out of the trench. These transitions have replaced the earlier transitions that used fade-outs and fade-ins. Now these characters are in the same place, and the transitions help to solidify this in our minds.
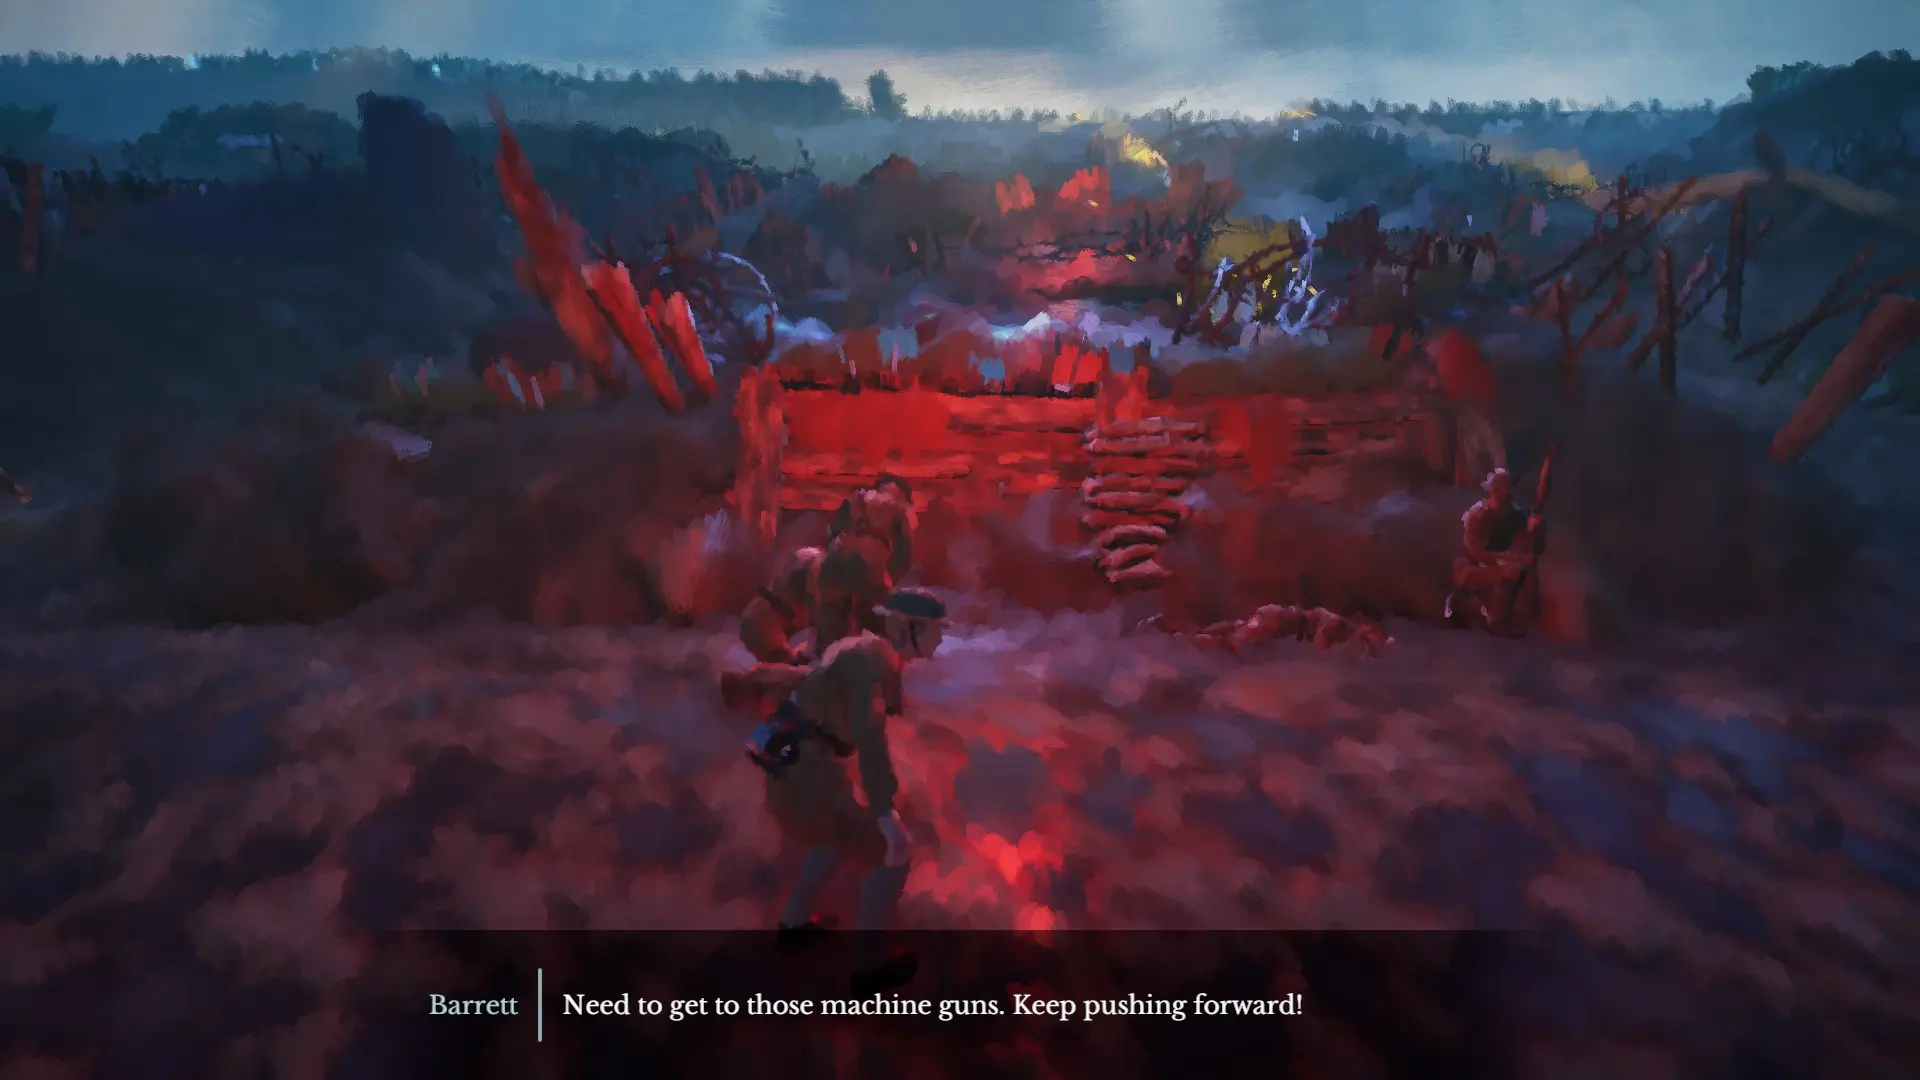
We climb the ladder and Barret shouts at us to follow him. Bombs explode left and right, bullets fly past us or hit the mud in front of us. This scene is absolute chaos. It’s hard to follow what’s happening, and hard to focus on what we need to do.

This is clearly intentional on the part of the game designers. Unlike previous chapters where we can be slow and take our time, this chapter is forcing us to panic and rush around. It’s giving us the true feeling of being in the trenches: lots of waiting around, and then suddenly…
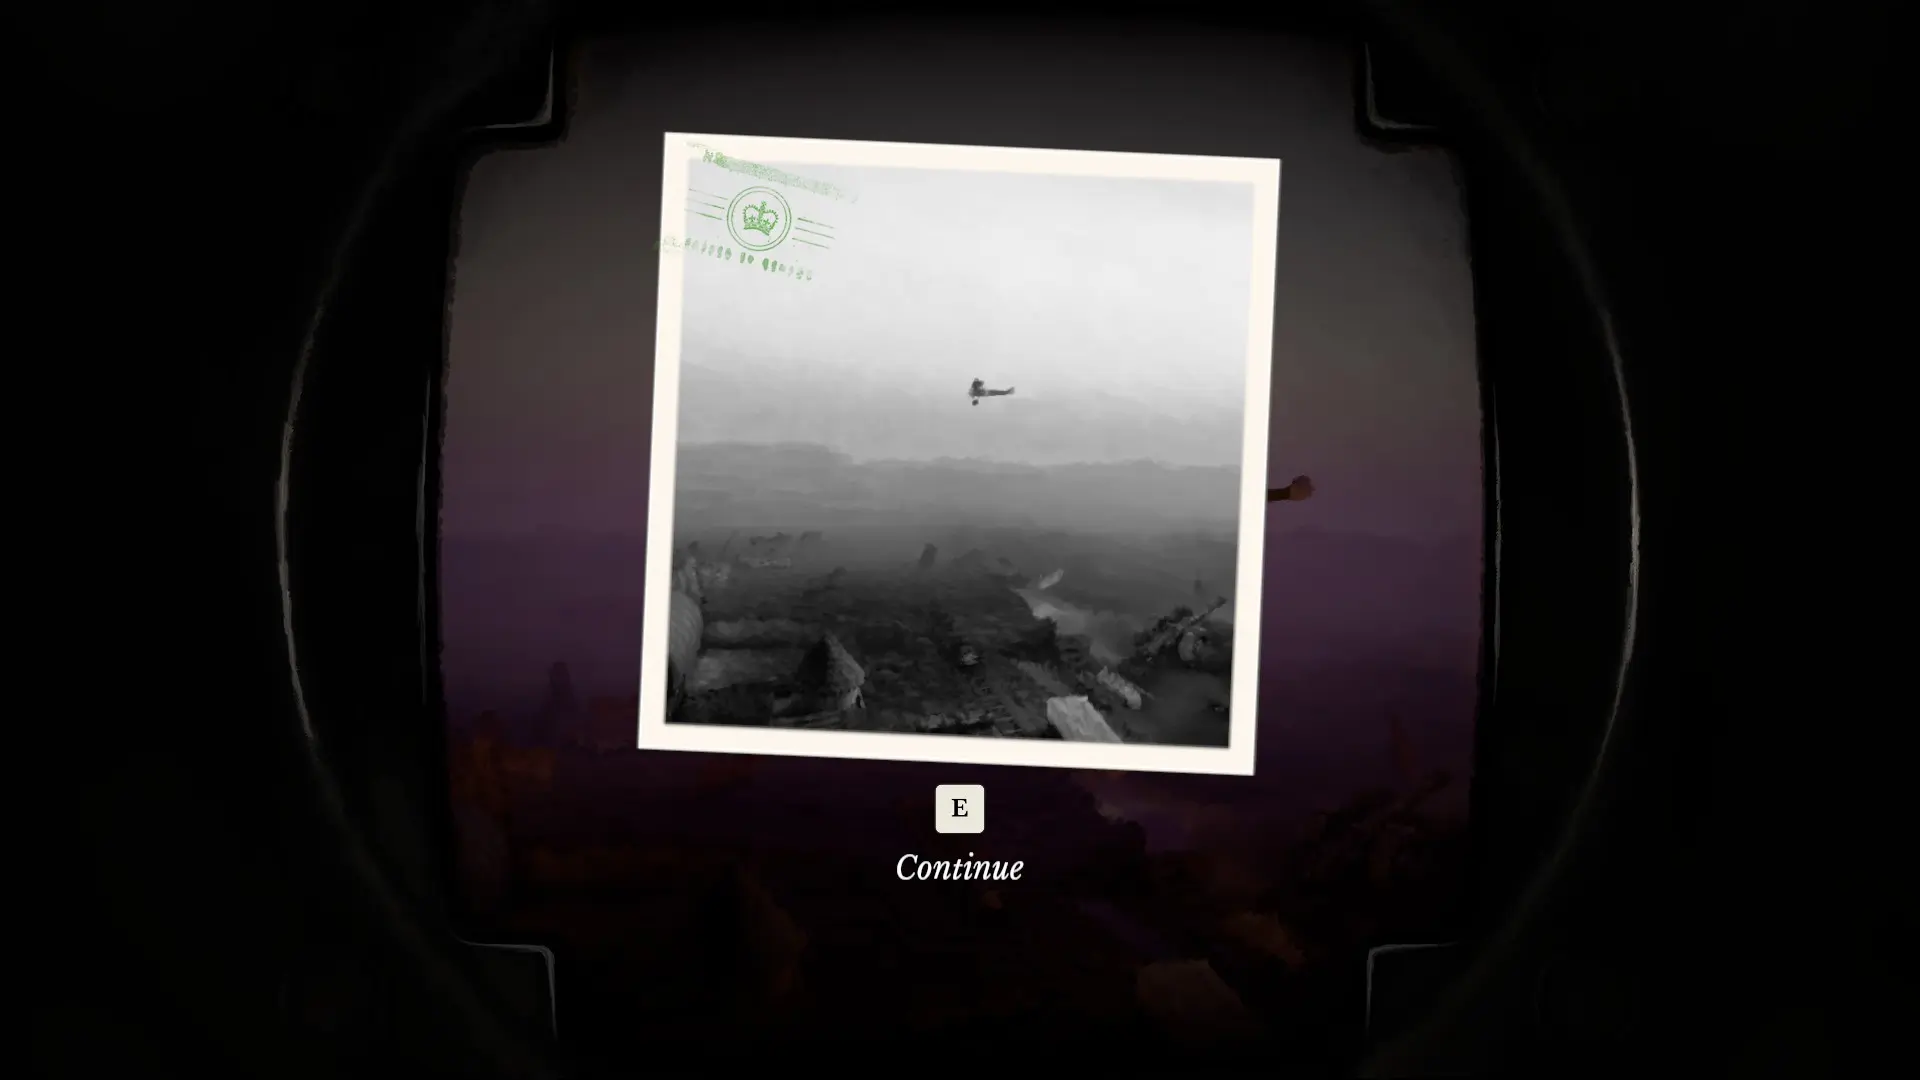
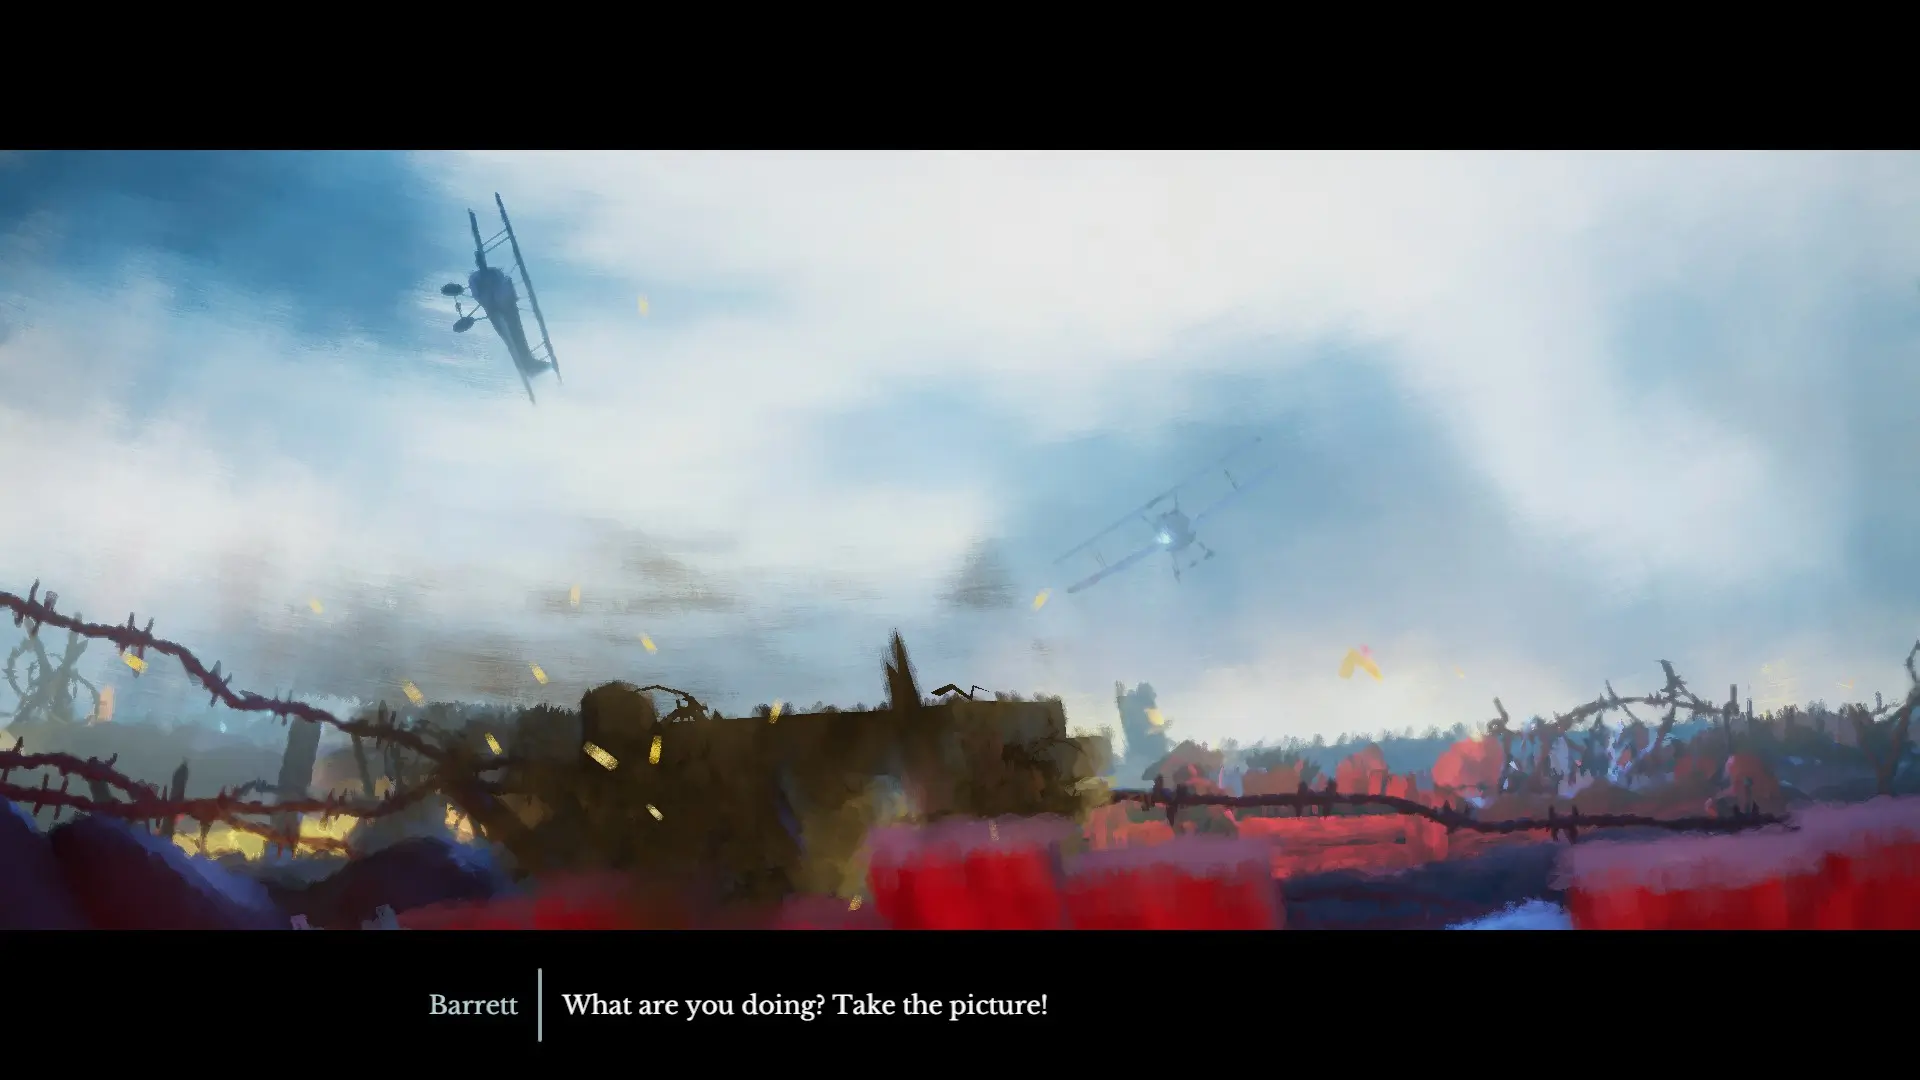
We get to a barricade, and then Barret asks us to take a picture? We have to move away from the barricade to get a good shot, risking Harry’s life for a photo-op. After we get the shot, bi-planes come in to support us.
We transition back to Kurt, and are told by Lothar his gun is overheating. We need to find water to help cool down his gun. We do so, and pour it over his machine gun.
Barret and Harry keep pushing forward. At this point Harry gets hit, but the game quickly respawns him and we get back into the action. Barret’s goal is the machinegunner now.
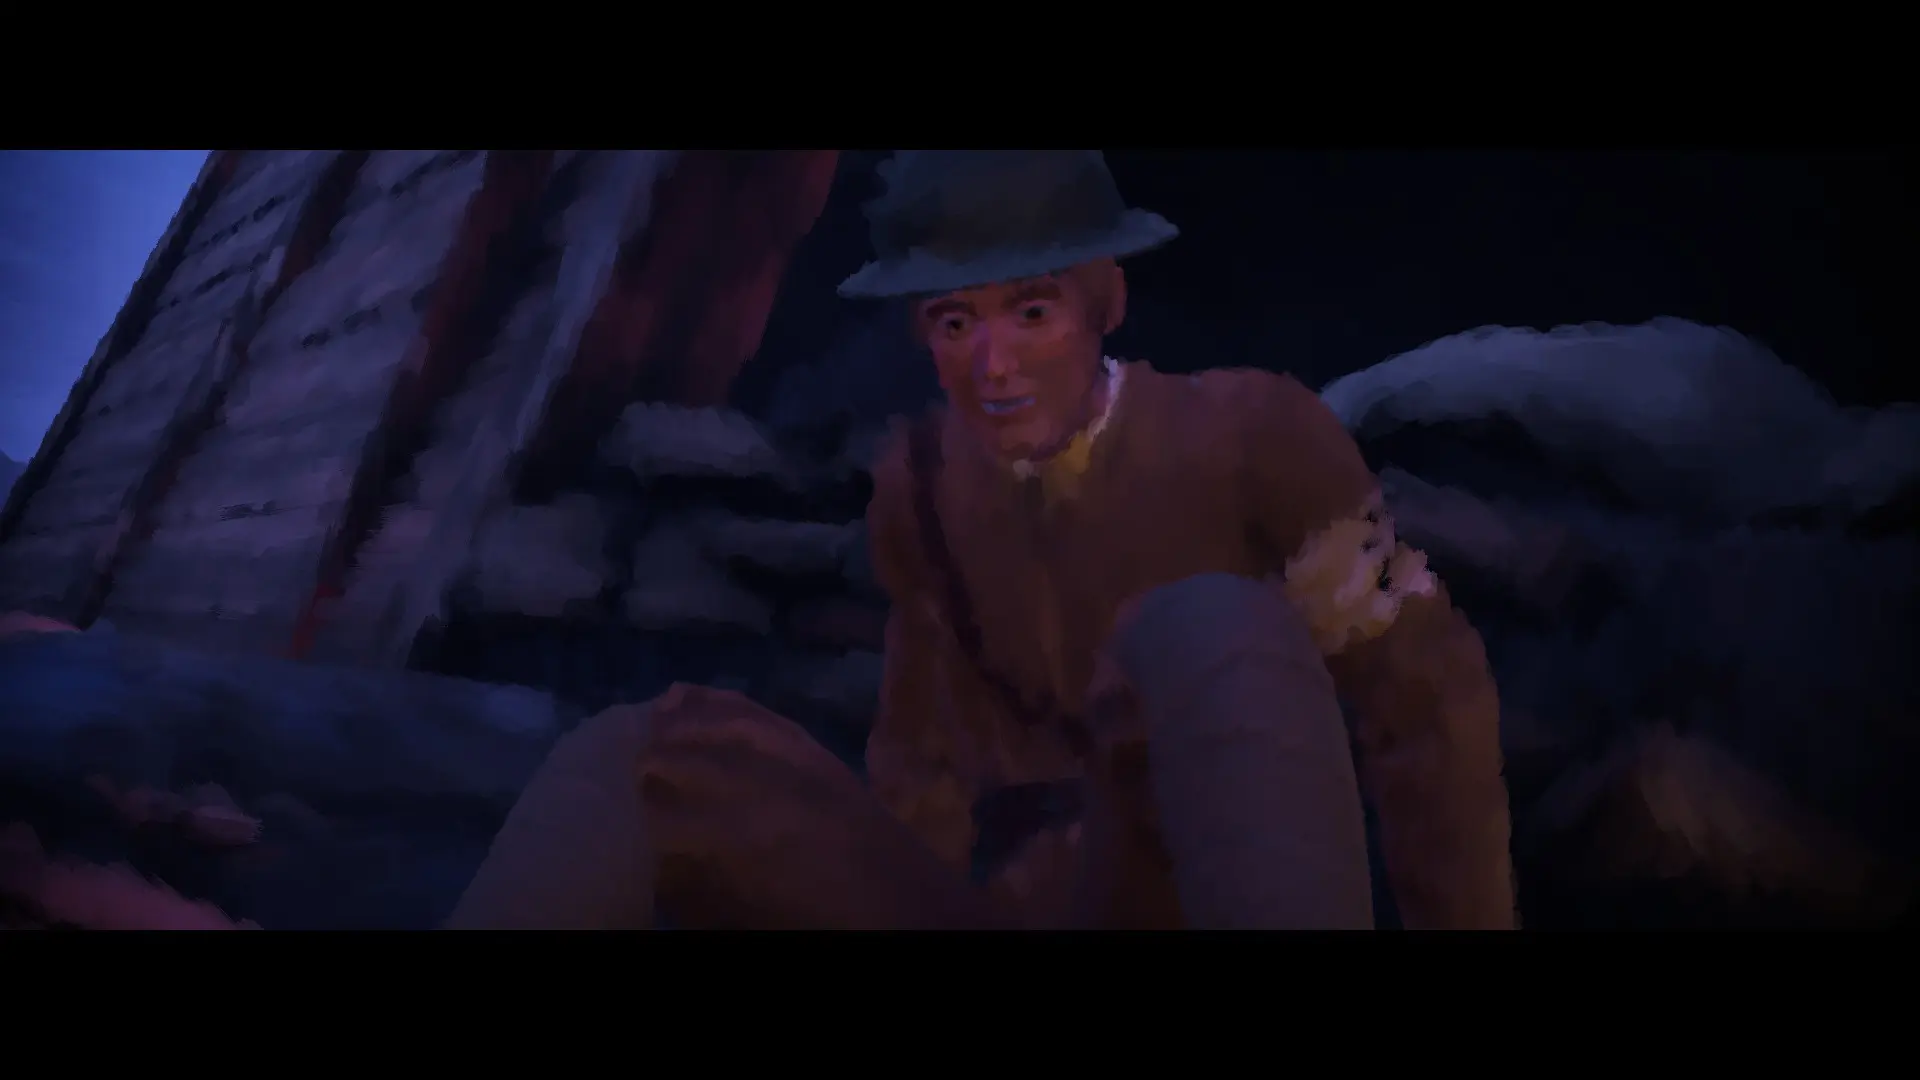
Lothar is running low on ammo. He asks Kurt to get more. But the elevator that supplies the ammo is broken, so we need to find Bruno for a replacement cable. We find him alive, but buried beneath rubble.
We pull him out and he gives us the cable we need. After a small puzzle we fix the elevator and the ammo is sent up. We grab it and give it to Lothar who starts gunning down soldiers again.
Barret wants the machinegunner for himself now. We follow him as he pushes forward. Harry is hit, but unhurt. Stunned by the explosion, Barret encourages him to keep moving, reminding him why he’s here, reminding him of Julia. It is short lived, as we are hit again, and Harry falls down a hole into a tunnel.
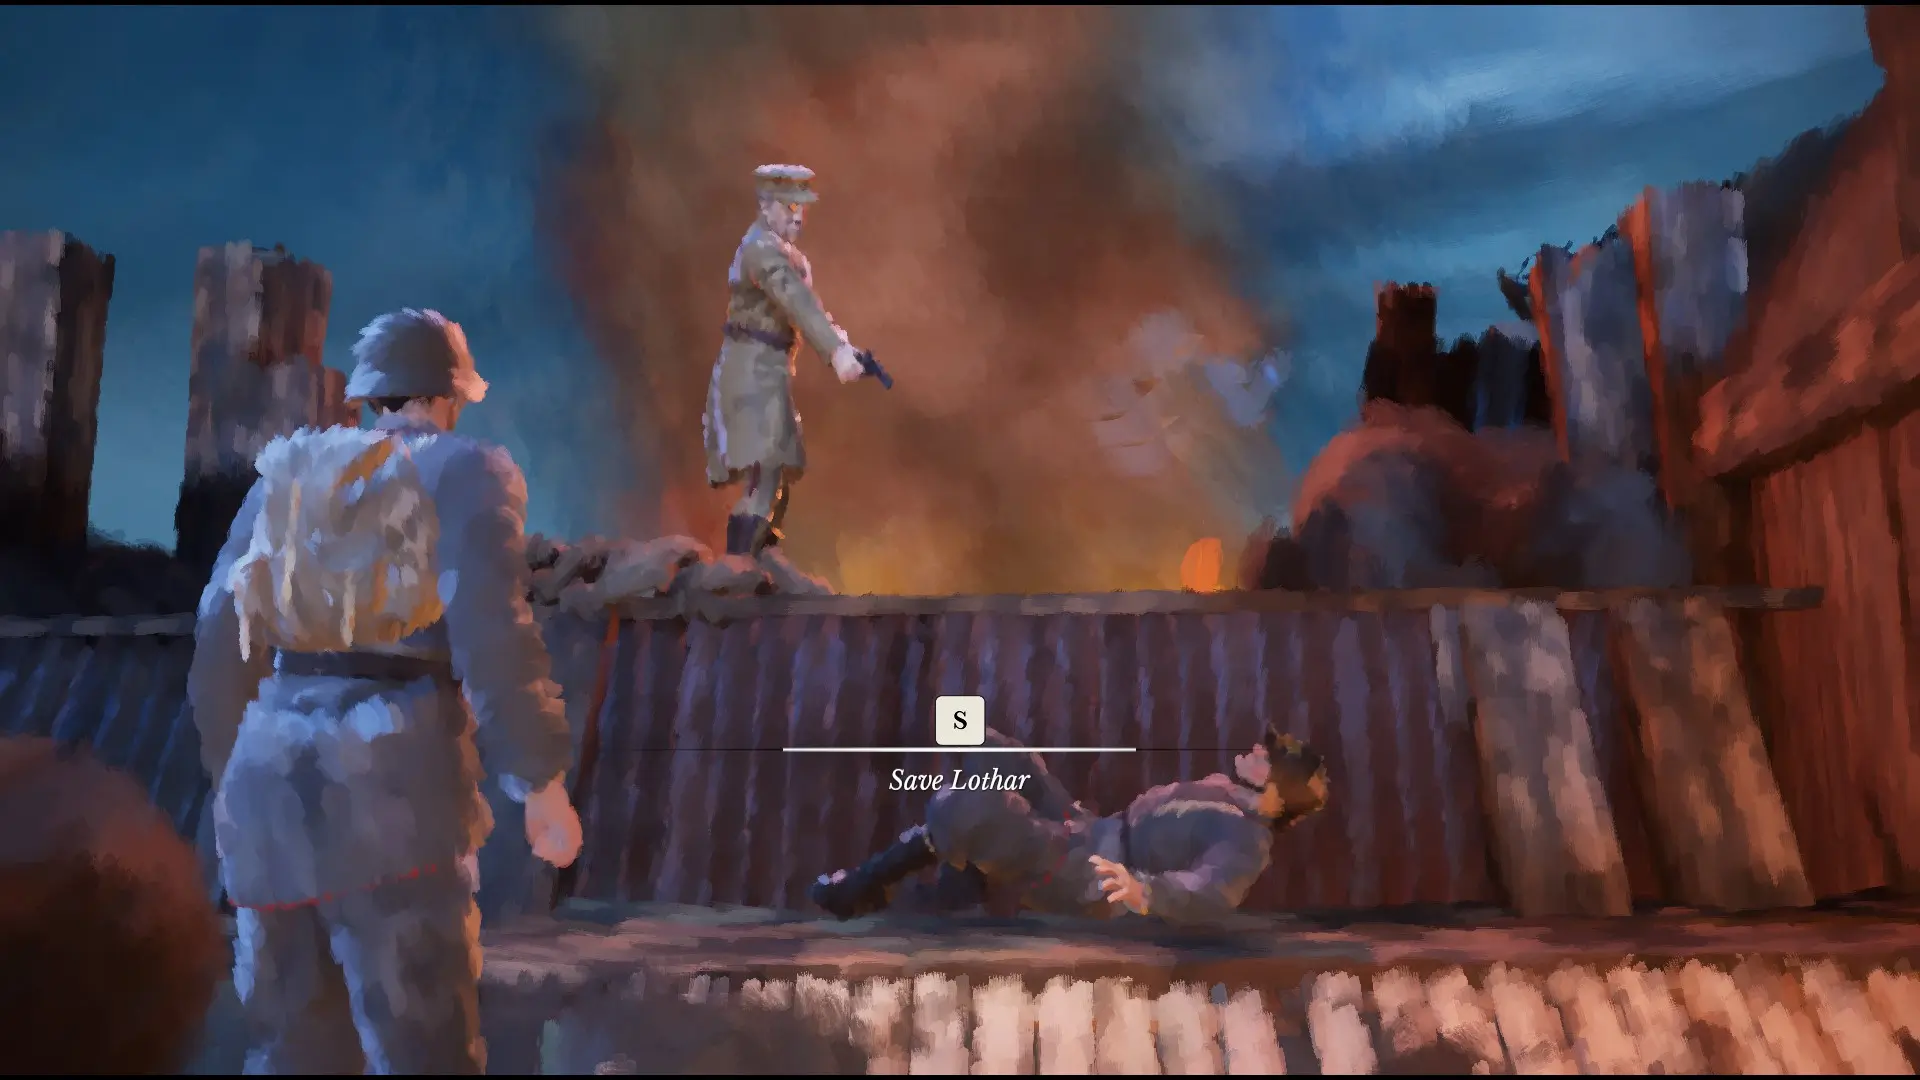
Barret makes it to the German trenches and holds a gun to Lothar. We are given a quick time event to save him, but we fail and Barret shoots him dead.
This doesn’t stop our story, however. With the machinegunner dead, the enemt have overrun the German trench. Kurt flees into the tunnels he used to spy on them and learn of the attack. As we expect, we come across Harry. On seeing the Allied soldier, Kurt immediately grabs a rifle.
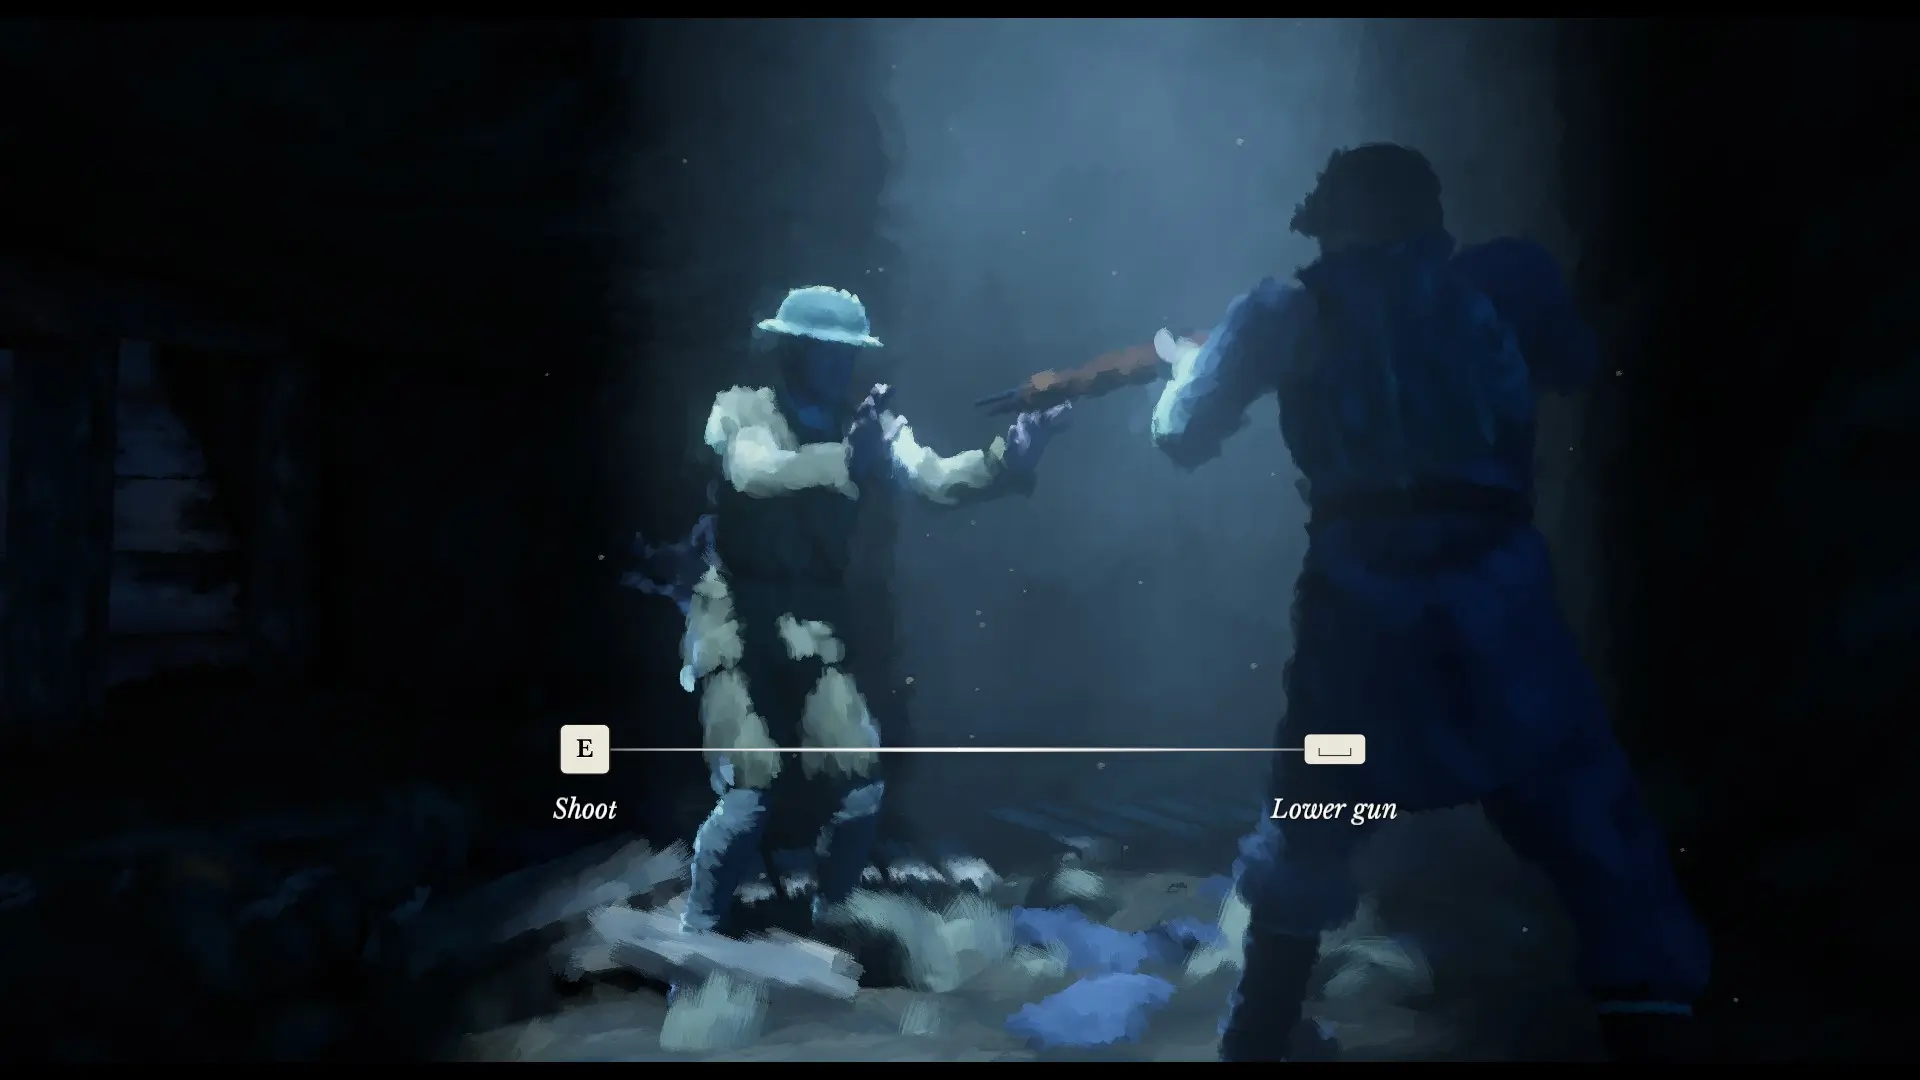
We choose to lower the gun. As the screen fades to black we hear Kurt drop the rifle and…
The Battle of Vimy Ridge, where this scene is set, is a real battle that was fought during the Great War. The attack started on Monday 9th April, during which the British-Canadian forces captured part of Vimy Ridge, and lasted until the 12th with a victory for the Entente.
The parallels between the two stories grow stronger, especially as our protagonists get physically closer to each other. They are both naïve initially – Harry believing he would just go on adventure and impress a girl, Kurt believing he can just transfer to the Somme and find his son. They both contemplate death as they slowly realise the reality of war. They start to have a direct affect on each other – Lothar killing Harry’s friend, Barret killing Kurt’s friend. Culminating in their first meeting.
For a game that is essentially a point and click adventure with no gunplay, it’s done surprisingly well at portraying the chaos of war. The last chapter is probably my favourite, it works well because of what came before.
We are introduced to Kurt and Harry, and things are relatively calm as we slowly progress through the stories of these two characters. Then, we are suddenly thrust into a battle and have to rush around, trying not to die. The last chapter is probably the shortest, which helps to reflect the reality that war is “months of boredom punctuated by moments of extreme terror.”


