In my Let’s Play of Baldur’s Gate I use a lot of cropped and edited images, and rely heavily on the in-game dialogue to tell the story. As I am a lazy programmer, you may wonder why I spend so much time editing these images. Well, the truth is: I don’t.
Instead, I use a script to do the cropping for me. I have four folders that I move my images into, then I run a script that will automatically crop them for me. The four folders are as follows:
Dialogue
I copy any images with dialogue into this folder so that text can be extracted from it.
Portraits
Any time I meet a new character, I copy the first dialogue screen with them into here. The script then crops the images for me.
Spells
This ones a misnomer as it was originally meant for spell descriptions, but I discovered it also works for item descriptions, character screens, and class descriptions. Any images that contain any of the above are copied into here. For item and spell descriptions I still have to stitch them together manually, but it saves me a lot of work.
Titles
I copy a save screen in here that contains a saved named for the title of the next chapter.
Config
To define how to crop the images I have a simple config file containing the following:
spells 379 60 2179 1539
titles 255 567 2216 872
portraits 421 800 648 1153
dialogue 660 795 2090 1450
This defines the four folders and the x/y coordinates for cropping. The first two numbers on each line define the top-left of crop, and the last two define the bottom-right.
To extract the configuration I use some python code to open the file and iterate over it line by line. I include a bunch of checks to ensure the settings are valid. Generally this should never fail, but it only takes a couple of extra lines of code and it keeps things future-proof:
    # Read all lines in the config
    with config_path.open('r') as config:
        lines = config.readlines()

    # Iterate over the paths in the config.
    for line in lines:

        # Split the parts based on whitespace
        parts = line.strip().split()
        if len(parts) < 5:
            logging.warning(f"Invalid config line (skipping): {line.strip()}")
            continue

        # Extract the folder name and the crop coordinates.
        folder_name = parts[0]
        try:
            crop_coordinates = tuple(map(int, parts[1:5]))
            if len(crop_coordinates) != 4:
                raise ValueError("Crop coordinates must have exactly 4 integers")
        except Exception as e:
            logging.error(f"Invalid crop coordinates in line '{line.strip()}': {e}")
            continue
While this simple config isn’t the best format to use in general, it does what I need it to do for this use case. If I ever start expanding this script and adding more features, it may be useful to use a better configuration format.
Having a config like this has already shown its usefulness after I moved my Let’s Play installation from one laptop to another. With different video settings, the resolution of all my screenshots change. All I needed to do was adjust the numbers in the config rather than adjusting hard coded values buried within the script.
Cropping
These config settings are used to crop the images so that they only contain the parts that I need for the Let’s Play. To do this we can use Python’s Pillow library which provides a lot of image manipulation features.
Within the loop above, I simply call a function with the output path and coordinates, and the image can be cropped using Pillow’s Image class:
def process_generic_images(folder: Path, crop_box: Tuple[int, int, int, int]) -> None:
    """
    Crop images based on the given bounding box.
    :param folder: The path to the folder containing the images.
    :param crop_box: The bounding box to crop the image.
    :return: None
    """

    # Ensure the target folder exists.
    out_folder = folder / 'out'
    out_folder.mkdir(exist_ok=True)

    # Get all images copied to the folder.
    for img_path in folder.glob('*.jpg'):
        try:

            # Open the image.
            with Image.open(img_path) as img:
                out_path = out_folder / img_path.name

                # Crop the image and save it to the out folder.
                img.crop(crop_box).save(out_path)
                logging.info(f"Saved cropped image: {out_path}")

            # Delete the image after processing.
            img_path.unlink()

        except Exception as e:
            logging.error(f"Error processing generic image {img_path}: {e}")
So instead of cropping each image manually, I can now just run this script and it will do everything for me.
The other advantage of using a script, other than saving time, is that each file will be cropped exactly the same, meaning all images will be exactly the same size. This means that (e.g.) the title images for each article will always be exactly right, with no risk of human error being introduced.
Extracting Dialogue
While cropping images helps with the screenshots I add to the Let’s Play, another time consuming task is transcribing the dialogue from the game into the main text. I wanted to make this go a bit faster, and since you can’t copy/paste text directly from images, I’d have to extract the text using some code.
Python’s Tesseract library provides the ability to extract text from images using OCR (Optical Character Recognition). Unfortunately it doesn’t work very well on images with lots of colour and details around and behind the text. My initial attempts to use it weren’t very successful.
If I wanted to use OCR, I’d first need to clean the image and make it easier for the machine to read it.
Preparing the Image
Here’s an example of a screenshot I took in the game recently:
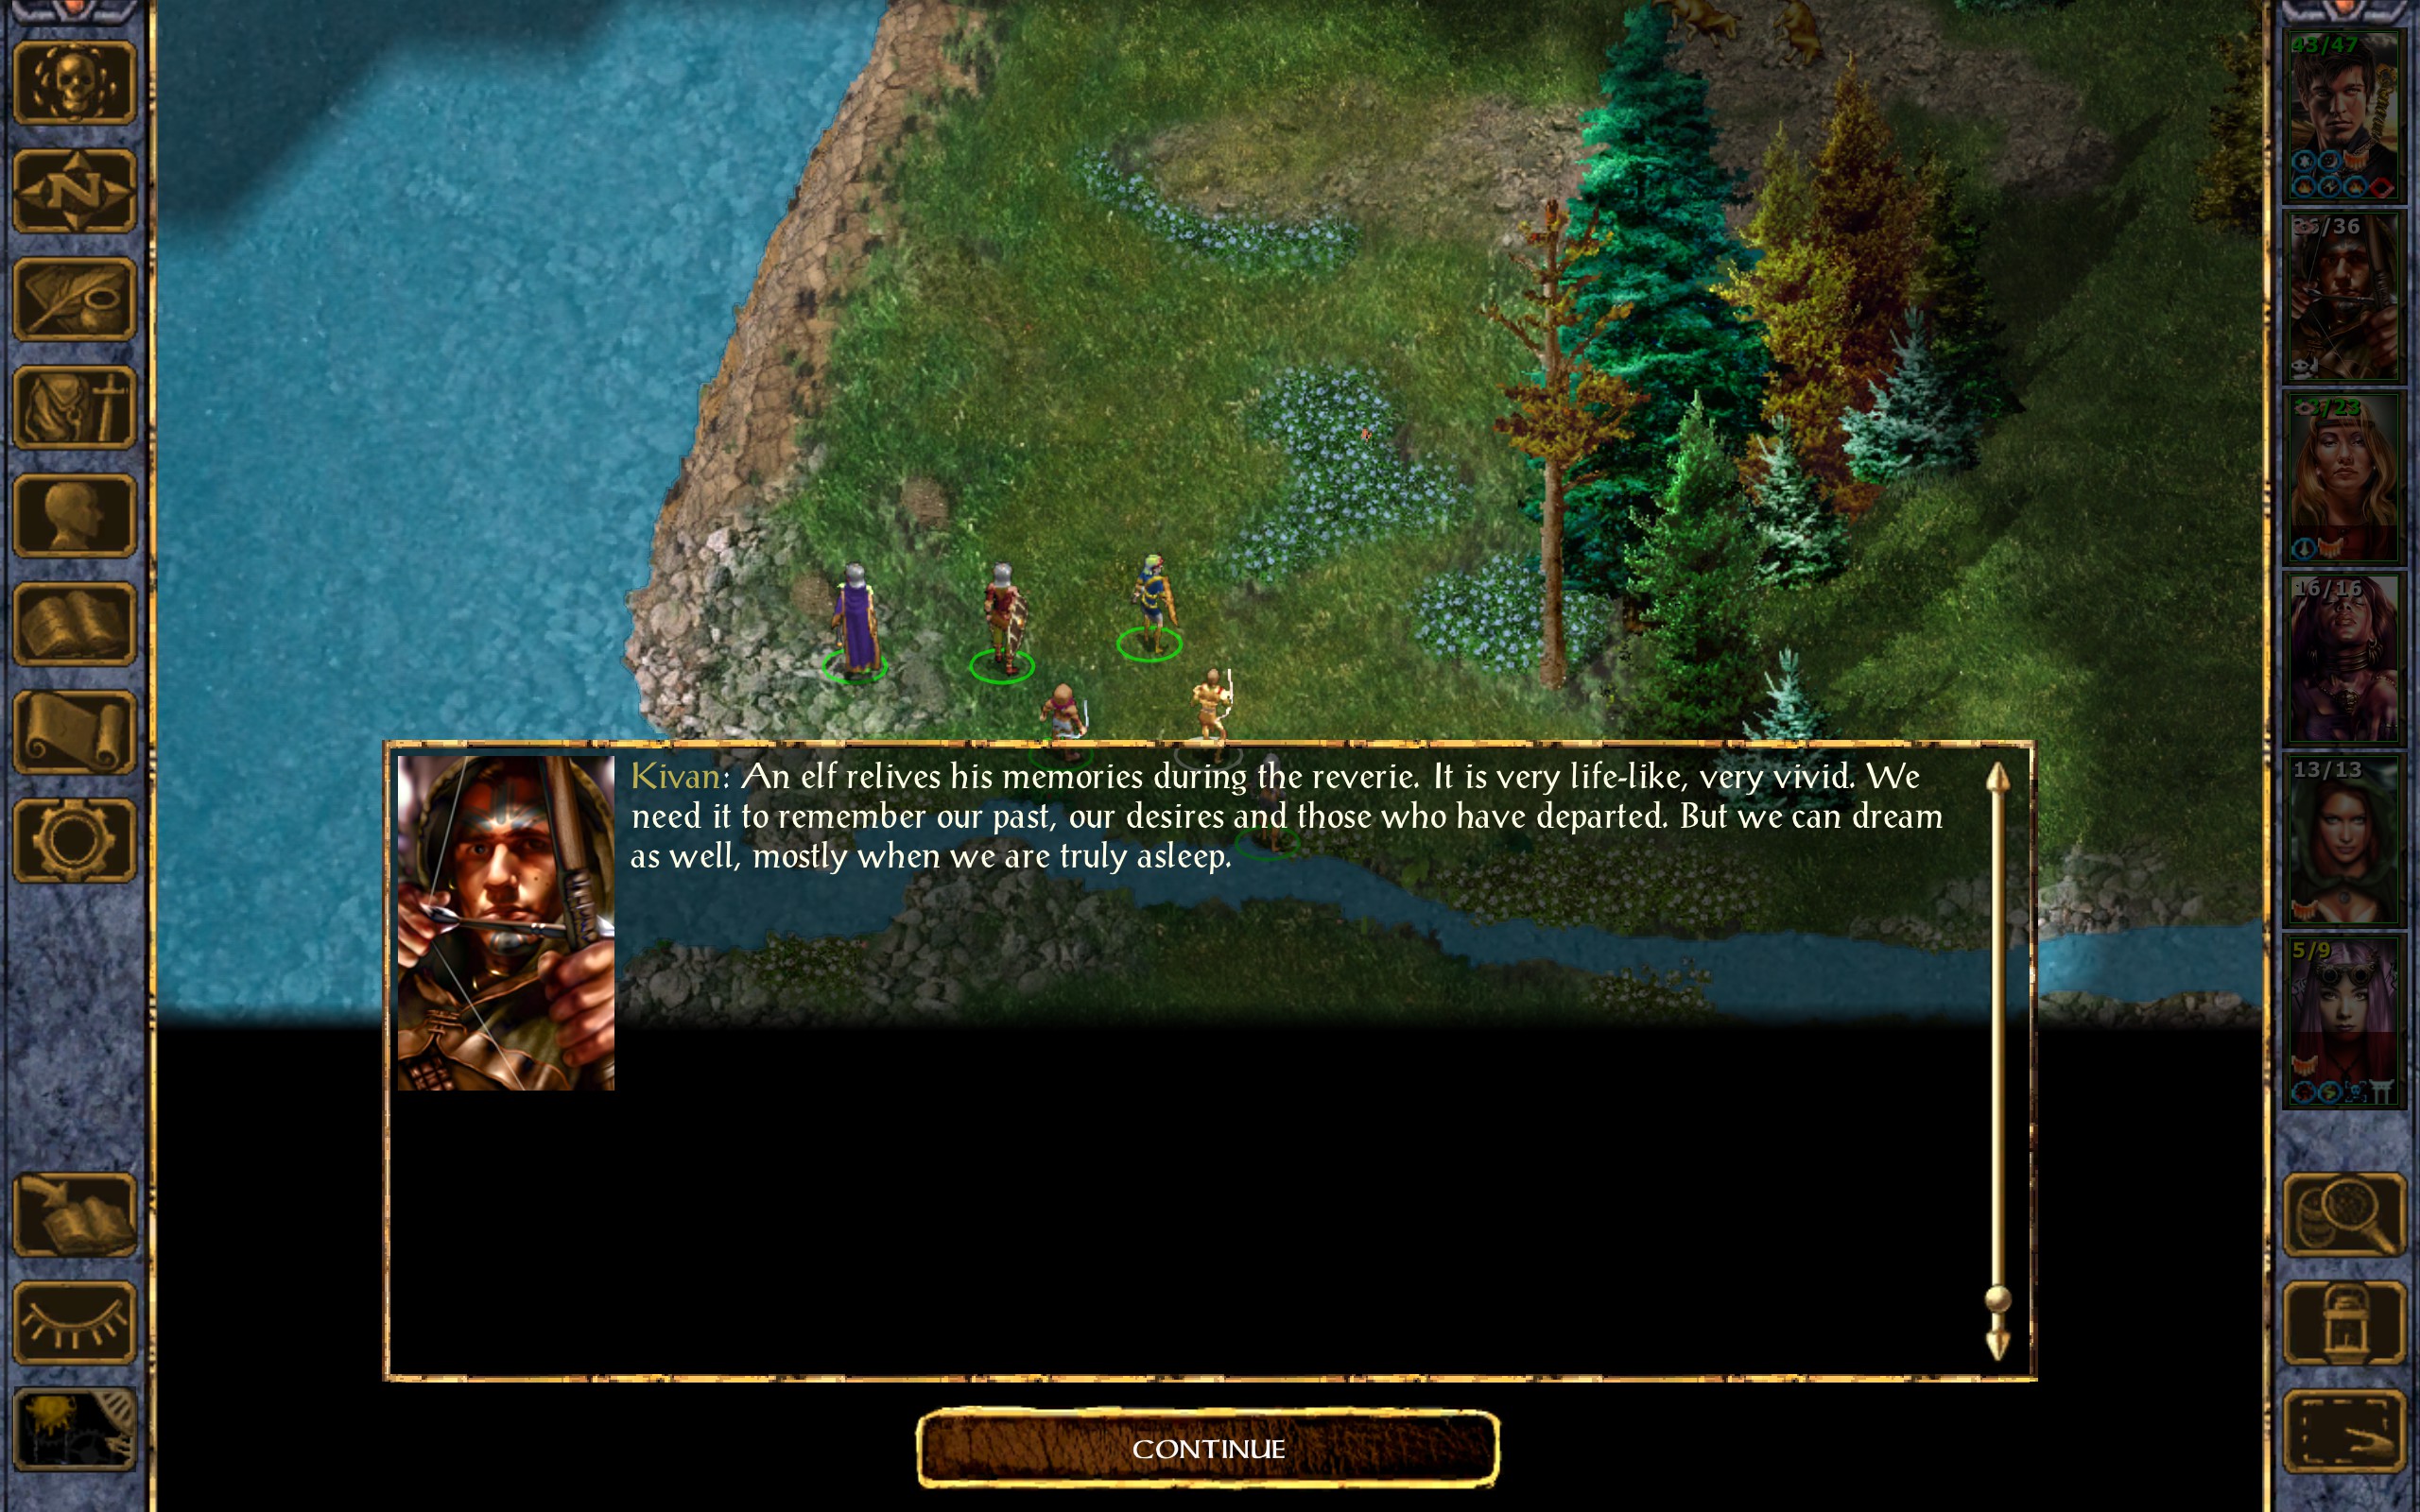
For a human it’s very easy to recognise where the text is and to read it. But to a machine all that background detail is just noise. It doesn’t have a context for what parts of the image are text, and what parts should be ignored.
So while we can sometimes see the text we want embedded in the output, OCR has interpreted parts of the UI, the water, the trees, and other things as text and tried to convert it as best as possible.
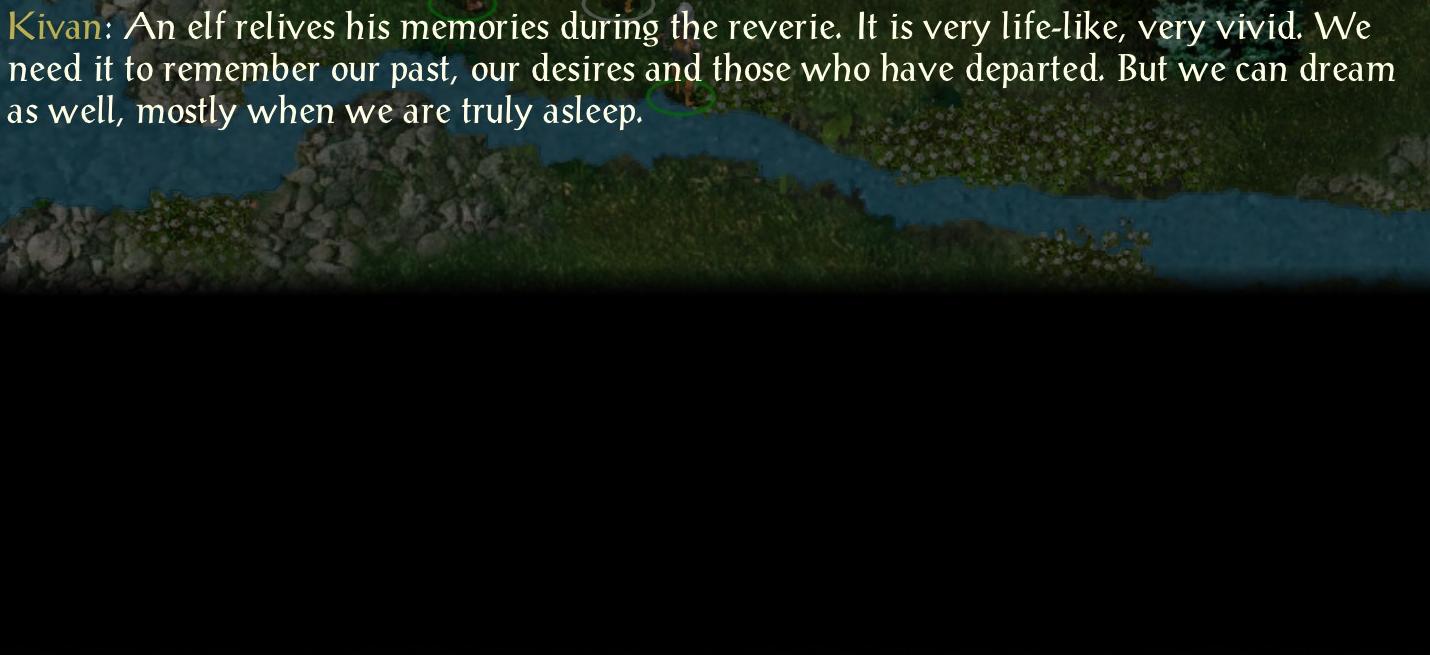
Step 1: Cropping
The first improvement we can make to the image is cropping out only the part we want the OCR to read. By doing this we are telling the function which part of the image we want it to look for text. This gives us better results, and sometimes this all we need, but there are still a lot of noise that generates extra text we don’t want in many images.
Step 2: Grayscale
By making the image grayscale, we remove a lot of that colourful noise. Even to humans, the text stands out a lot more than the rest of the image. This gives us better results, but we can do even better.

Step 4: Threshold
We can filter each pixel based on a threshold of how white it is. Having made the image grayscale this is much easier to do as we only need to rely on brightness rather than colour. By filtering out every pixel that is too dark, we can leave only the text behind. This works really well as you can see below, though there are the occasional few extra pixels left behind if a sprite behind the dialogue uses bright colours.

Step 4: Sharpening
This is the part where the machine starts doing better than the human. The image below has its edges sharpened to make the text clearer. This is barely noticable to us, but in my testing I found it leads to better results and less errors in the output text.

Putting It All Together
Doing all of this in Python is actually pretty simple once you know what steps you need. I have a simple function written that processes the image, then extracts the final text from it:
def extract_dialogue_text(img_path: Path, crop_box: Tuple[int, int, int, int], out_folder: Path) -> Optional[str]:
    """
    Extract dialogue text from an image.
    :param img_path: The path to the image to extract text from.
    :param crop_box: The bounding box to crop the image.
    :param out_folder: The path to save the extracted text.
    :return: The text extracted from the image.
    """
    try:
        with Image.open(img_path) as img:

            # Crop the image.
            cropped = img.crop(crop_box)

            # Convert to black and white.
            cropped = cropped.convert('L')

            # Apply a binary threshold
            threshold = 96
            cropped = cropped.point(lambda p: p > threshold and 255)

            # Sharpen the image
            cropped = cropped.filter(ImageFilter.SHARPEN)

            # Output the image for debugging
            output_image_path = out_folder / img_path.name
            cropped.save(output_image_path)

            # Extract the text
            return pytesseract.image_to_string(cropped, config='--psm 6')
    except pytesseract.TesseractError as e:
        logging.error(f"OCR failed: {e}")
    except Exception as e:
        logging.error(f"Error processing image {img_path}: {e}")
        return None
As you can see, every step in the image processing can be achieved with a single call to a function in the Pillow library, before using Tesseract to convert the image to a string. I’ve found that this method works with around 95% of screenshots, and those that it fails with just have a few extra characters that are easily removed.
Cleaning and Formatting
Even after all this cleanup, OCR does make some occasional errors. Some of them I can fix with a bit of extra code, others I’ll just fix as I go. For example, the letter I often gets mistaken for non-alphabetic characters, so I run a few find/replaces on the output to tidy things up a bit more:
        text = text.replace("|", "I")
        text = text.replace("{", "I")
        text = text.replace("[", "I")
But I also want to format the text so that I can copy/paste it directly into WordPress without having to format it myself. Up until now, this is the output we would get from the script:
Kivan: An elf relives his memories during the reverie. It is very life-like, very vivid. We
need it to remember our past, our desires and those who have departed. But we can dream
as well, mostly when we are truly asleep.
In case it’s not clear, there are newlines in this text that will need removing every time I copy/paste, and I’ll also have to manually apply the bold and italics to the text to fit in with the style of the Let’s Play. Wouldn’t it be great if I could get the script to do this work for me as well?
Well, it is great because you can! We iterate over the text line by line. If the line starts with a speaker (e.g. Kivan:), then we start collecting dialogue for that character into an array. If it starts with a dialogue option (1:, 2:, etc.) then we start collecting dialogue for Aegon.
When we encounter a new speaker or dialogue option, we flush the collected dialogue into a single line. We also wrap the speaker’s name with **, and the dialogue itself with *. By doing this, when we copy and paste the text into WordPress, the speaker’s name will be bold and the dialogue will be in italics, saving us from having to format it ourselves.
The full function is a little long, but should be easy enough to follow when you understand how it works:
def append_dialogue(speaker, dialogue_lines, output):
    """Helper to format and append dialogue to output list."""
    if speaker and dialogue_lines:
        output.append(f"**{speaker}:** *{' '.join(dialogue_lines).strip()}*")


def format_dialogue(text: str) -> str:
    """
    Format extracted dialogue so it can be copy/pasted into WordPress directly.
    Lines starting with numbers (e.g., "1:") are replaced with speaker "Aegon".
    Other lines with format "Speaker: dialogue" are formatted appropriately.

    :param text: The extracted dialogue.
    :return: The formatted dialogue.
    """

    # Split the text by newlines
    lines = text.strip().split('\n')

    formatted_lines = []    # The resulting formatted lines.
    current_speaker = None  # The name of the current speaker.
    current_dialogue = []   # The current lines of dialogue

    for line in lines:
        line = line.strip()
        if not line:
            continue

        # Check if line starts with non-alphabetic character followed by a
        # colon. This would be a dialogue option, and since Aegon is usually
        # choosing those we set the speaker to Aegon.
        match_num = re.match(r'^([^a-zA-Z]+):\s*(.+)', line, re.DOTALL)
        if match_num:

            # Append any current dialogue before switching speaker
            append_dialogue(current_speaker, current_dialogue, formatted_lines)
            current_speaker = None
            current_dialogue = []

            # Start collecting new dialogue for Aegon.
            _, dialogue = match_num.groups()
            formatted_lines.append(f"**Aegon:** *{dialogue.strip()}*")
            continue

        # Check if line starts with a speaker name. In other words, the start
        # of an NPC talking.
        match_name = re.match(r'^(.*?):\s*(.+)', line)
        if match_name:

            # Append any current dialogue before switching speaker
            append_dialogue(current_speaker, current_dialogue, formatted_lines)

            # Start collecting a new dialogue for an NPC.
            current_speaker, dialogue = match_name.groups()
            current_dialogue = [dialogue.strip()]
        else:
            # This line is just pure dialogue, so add it to the current
            # dialogue array.
            if current_dialogue is not None:
                current_dialogue.append(line)

    # Append any remaining dialogue.
    append_dialogue(current_speaker, current_dialogue, formatted_lines)

    return '\n\n'.join(formatted_lines)
As an example of what this does, here’s text extracted from a conversation with Aura without any formatting applied:
Aura: I got caught before I could cast a single spell, but my uncle was delighted at seeing
how quickly I picked up on the skill, just by observing. So he taught me how to do it
properly, and it's been a skill I've been developing since.

1: Would you be interested in becoming a proper mage?

9: Let's talk about something else.

3: That's all I wanted to ask.
By running it through the formatting function, and the text we get output instead looks like this:
**Aura:** *I got caught before I could cast a single spell, but my uncle was delighted at seeing how quickly I picked up on the skill, just by observing. So he taught me how to do it properly, and it's been a skill I've been developing since.*

**Aegon:** *Would you be interested in becoming a proper mage?*

**Aegon:** *Let's talk about something else.*

**Aegon:** *That's all I wanted to ask.*
Now, when I’m writing up a chapter in Aegon’s journey, I can just copy lines from this directly into WordPress and I don’t need to worry about formatting. It isn’t quite perfect, as there are still one or two lines here or there that have some small errors and need fixing, but it still saves me a lot of time.
Conclusion
Believe it or not, the script has a lot more to it than I’ve gone into in this article, including a multi-threading solution that makes it run lightning fast by processing multiple images at once while still maintaining the correct sequence.
I’ve uploaded the full script to GitHub if you’re interested in taking a look at it. I don’t plan on making any more changes to it, but if I can think of something else that will save me time in the future, you’ll see the changes in this repository.
This kind of stuff is why I love Python. I’ve worked on large scale projects in Python and I’ve found that they become unweildy. But for small scripts involving image or text manipulation, Python is king. Every time I have an idea for a simple script, I can usually throw it together in a couple of hours.
What do you use Python for? I’m curious to hear what other little projects other people have, so leave a comment if you’re inclined to share!