

Recently I’ve been working on adding my own flavour of ropes to Minecraft, only to hit a road block. There was no easy way to link my implementation to Minecraft’s native climbing code, and this meant that I would have to write a lot of complex code just so players could climb my ropes. Then I discovered a technique I had never heard of before.
The Problem With Climbing Ropes
I’ve been working on adding ropes to Minecraft for a couple of weeks now. I had a general vision of how they would work, and in an early design phase I decided they would be entities. This way I would be able to attach ropes to blocks like fences, have them on the side of walls, or have them hanging in the air. Versatility was the key here.
This came back to bite me in the arse when I came around to implementing the climbing mechanic. You may not have noticed it before, but everything you can climb is a block. Ladders, scaffolding, vines, even open trapdoors. They are all blocks. The way Minecraft checks if a player can climb, is by checking the block state at the player’s position. Essentially, it asks the block if the player can climb it.
The short version is: Minecraft entities aren’t climbable. So I set about working on a way around it.
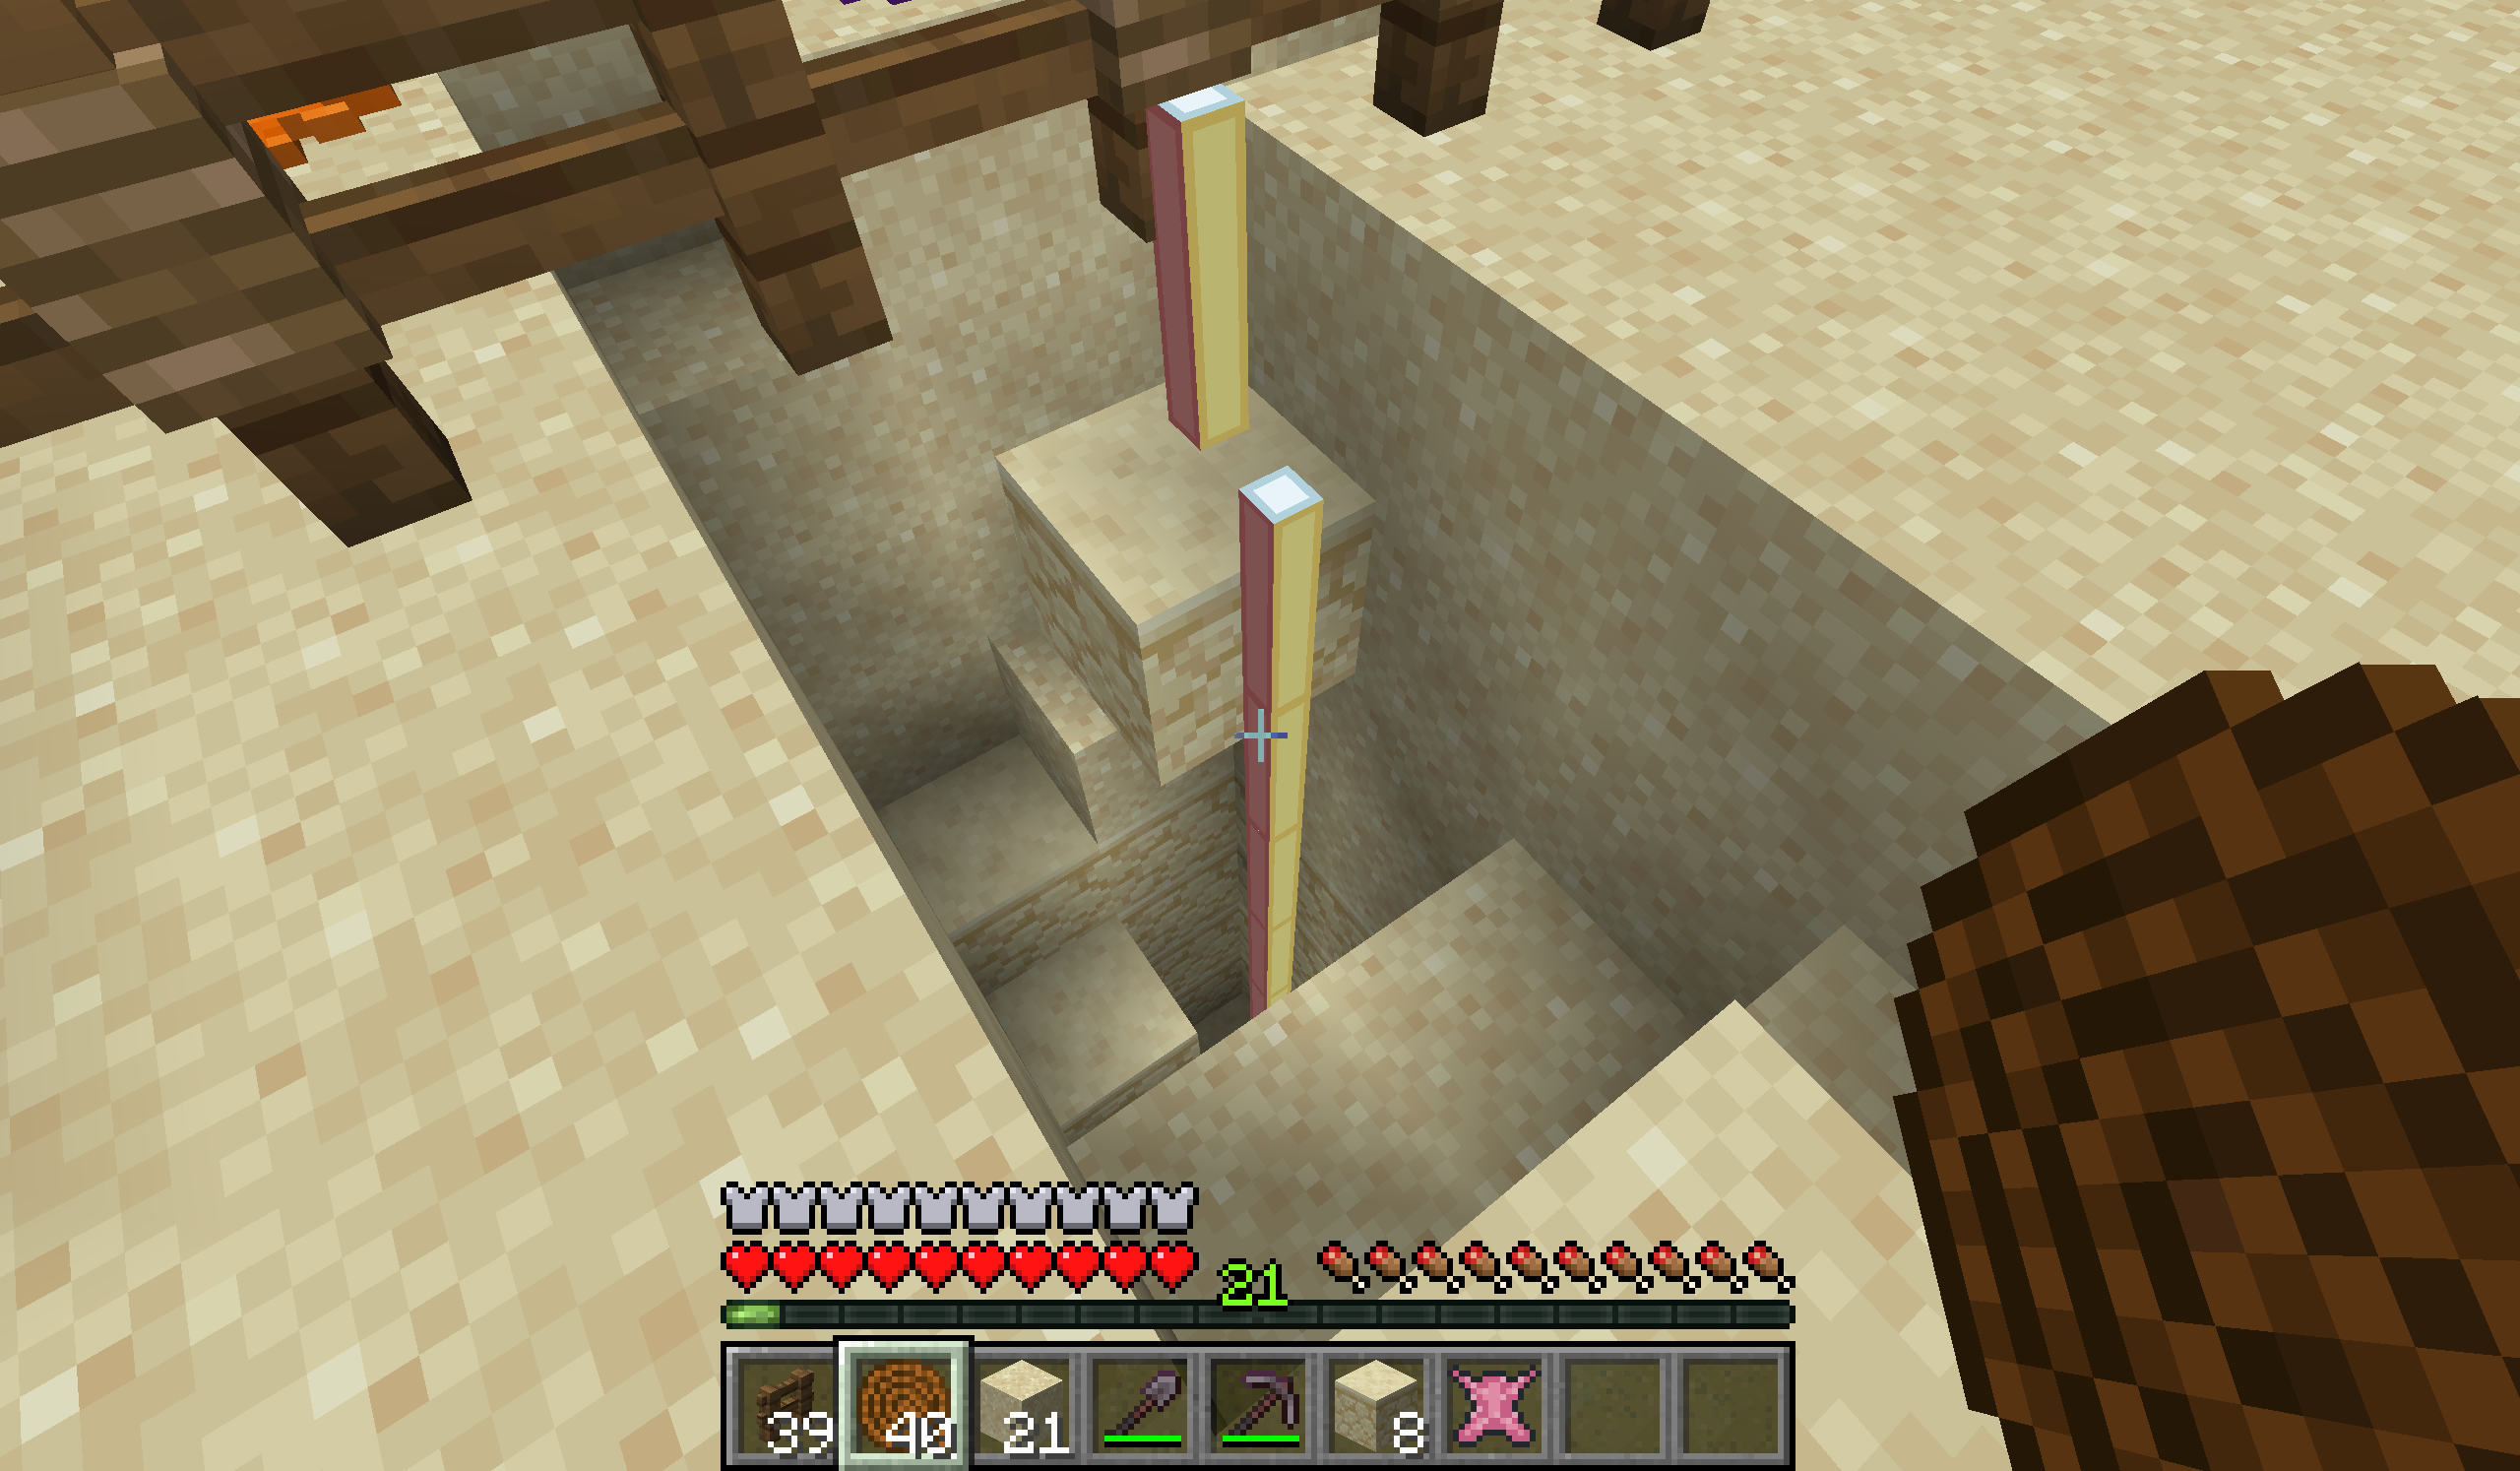
So: First I would have to detect if the player presses jump on the client. Then I would have to send a message to the server. But I needed to detect if space was being held down. So I needed a static variable to keep track of the button’s state, and send state changes to the server. Then on the server I would have to check if the player was colliding with a rope. Then I would have to implement some custom movement code that would override the normal movement of the player. But wait, should I send the messages if the player isn’t near a rope? That would mean another collision test on the client side. Okay, I need to implement a network handling class, a custom network message, collision detection, an event handler to override movement, oh wait, I also need to track UUIDs of players so that the correct player would be able to…
Fuuuuuuuck. There has to be a simpler way than this.
I decided to see if anyone else had tried anything similar, so I searched GitHub for isLivingOnLadder, the method used to detect if a player is on a climbable block. Then I saw a single line of code that led me to a much easier way to do this. One that would only need a single class and less than 100 lines of code. They were using something I’d only ever heard of, but never understood.
They were using something called a Mixin.
Mixins in Forge
I’d heard of Mixins when I looked at Fabric modding. From what I know at the moment, Fabric uses them a lot whereas Forge (and NeoForge) prefers to use event handlers. Unfortunately Forge doesn’t provide an event handler for isLivingOnLadder, at least not in 1.20.2 which is the version I start implementing all my new features.
A Mixin is basically a way of injecting code into an already existing method. Using mixins you can have a function run extra code, or even override the function completely. They are a way of approaching code that I’m not too familiar with, but they are useful in situations like this.
Mixins aren’t supported by Forge out of the box, but you can enable them by updating your build.gradle to include the needed libraries. I found some tutorials online, but each one left out key details to get the code running. So I’ve decided to create a new tutorial, which I will also add as a Checklist that will hopefully help other modders in the future.
Tutorial Time
This section gets technical, so feel free to skip this if you’re not interested in making your own Minecraft mods. The steps to enable mixins are as follows:
1. Update build.gradle
Your build.gradle will need to be updated to include spongepowered which is what Forge uses to allow mixins. You will need to add five new sections to the file. The first is to include the Maven repository so that Gradle knows where to look for it:
buildscript {
    repositories {
        // These repositories are only for Gradle plugins, put any other repositories in the repository block further below
        maven { url = 'https://repo.spongepowered.org/repository/maven-public/' }
        mavenCentral()
    }
    dependencies {
        classpath 'org.spongepowered:mixingradle:0.7-SNAPSHOT'
    }
}

...

repositories {
    maven {
        url = 'https://repo.spongepowered.org/repository/maven-public/'
        content { includeGroup "org.spongepowered" }
    }
}
You also need to include the actual plugin that adds the features to Forge:
apply plugin: 'org.spongepowered.mixin'
You need to add the dependencies for the plugin:
dependencies {
    annotationProcessor 'org.spongepowered:mixin:0.8.5:processor'
}
And then you need to add a new mixin section that defines the JSON files you want to use. If you are using the mod_id variable as I have here, make sure that you use double quotes (“) and not single quotes (‘) as the latter doesn’t support variables.
mixin {
    add sourceSets.main, "mixins.${mod_id}.refmap.json"
    config "mixins.${mod_id}.json"
}
Seeing it laid out like this can be a bit confusing, so I suggest you look at the actual commit in my GitHub repo so you can see how it all fits together.
2. Regenerate Runs
This is a really important step that you mustn’t skip. After any change to your build.gradle you should always reload Gradle’s dependencies and run the genEclipseRuns/genIntelliJRuns/getVSCodeRuns task so that the new dependency is included in the project. The exact steps to do this will depend on your choice of IDE, but the most important thing is:
DO NOT SKIP THIS STEP.
3. Create/Update mixins.json
This file tells spongepowered what mixins your mod is using. The exact name of the file depends on your Mod ID and should match what you specifed next to config in your build.gradle; mine is called mixins.butterflies.json for example.
The bare bones implementation of this file should look as follows:
{
  "required": true,
  "minVersion": "0.8",
  "package": "com.bokmcdok.butterflies.mixin",
  "compatibilityLevel": "JAVA_17",
  "refmap": "mixins.butterflies.refmap.json",
  "mixins": [
    "ClimbRopeMixin"
  ],
  "client": [
  ],
  "injectors": {
    "defaultRequire": 1
  }
}
The package indicates which package in your project your mixins will live inside of. The refmap also needs to match what is in your mixin section of your build.gradle. This file is auto generated on build so you don’t need create that one yourself.
If you add any new mixins later you will need to come back to this file and add them to the relevant array, mixins by default, client for client-only mixins, and server for server-only mixins.
4. Implement Mixins
Now we can just write some code! However mixins require a few extra annotations in order to work properly. Firstly, you need to use the @Mixin annotation to specify which class you want to inject code into. In my case I want to inject into ForgeHooks so I define my class like so:
@Mixin(value = ForgeHooks.class, priority = 888)
public class ClimbRopeMixin {
}
To actually inject code I you need to use the @Inject annotation on a method. The method parameters should be exactly the same as the original method, with the addition of a CallbackInfoReturnable that can be used to override the return value:
    @Inject(remap = false, method = "isLivingOnLadder", at = @At("HEAD"), cancellable = true)
    private static void isLivingOnLadder(@NotNull BlockState state,
                                         @NotNull Level level,
                                         @NotNull BlockPos pos,
                                         @NotNull LivingEntity entity,
                                         CallbackInfoReturnable<Optional<BlockPos>> returnable) {

        if (entity instanceof Player player &&
                player.isSpectator()) {
            returnable.setReturnValue(Optional.empty());
            return;
        }

        if (butterflies$findClimbableRope(entity)) {
            returnable.setReturnValue(Optional.of(pos));
        }
    }
When you implement methods be sure to include remap=false. None of the tutorials I found included this, and my code didn’t work until I found this in other people’s code in GitHub and added it myself.
The @At annotation describes where the code should be injected. I’ve specified HEAD which means the start of the method, but there are other places you can inject code as well:
- HEAD: The start of the method.
- RETURN: A specific return statement.
- TAIL: The last return statement.
- INVOKE: After a specific number of invocations, but before the method runs.
- INVOKE_ASSIGN: After a specific number of invocations, but after the method runs.
- FIELD: When a specific field is accessed.
- NEW: When a new object is created.
- INVOKE_STRING: Same as INVOKE, except only for functions that accept a String and return void.
- JUMP: A point where the code branches (e.g. if statements, switches, etc.).
- CONSTANT: At a point where a constant is defined within the method.
The last thing to note is the use of setReturnValue to return a value from the method. Here I use it to override the normal return value if an entity is close enough to a rope to climb it. You can see the full code for my first ever mixin on my GitHib repo if you’re interested.
Conclusion
Mixins are extremely useful to change behaviour in a base project without having to rewrite the original code. However, in Forge modding it is still recommended that you use event handlers if they are available. While mixins saved me a lot of time and allowed me to use less code, I will continue to use Forge’s event hooks as much as I can.
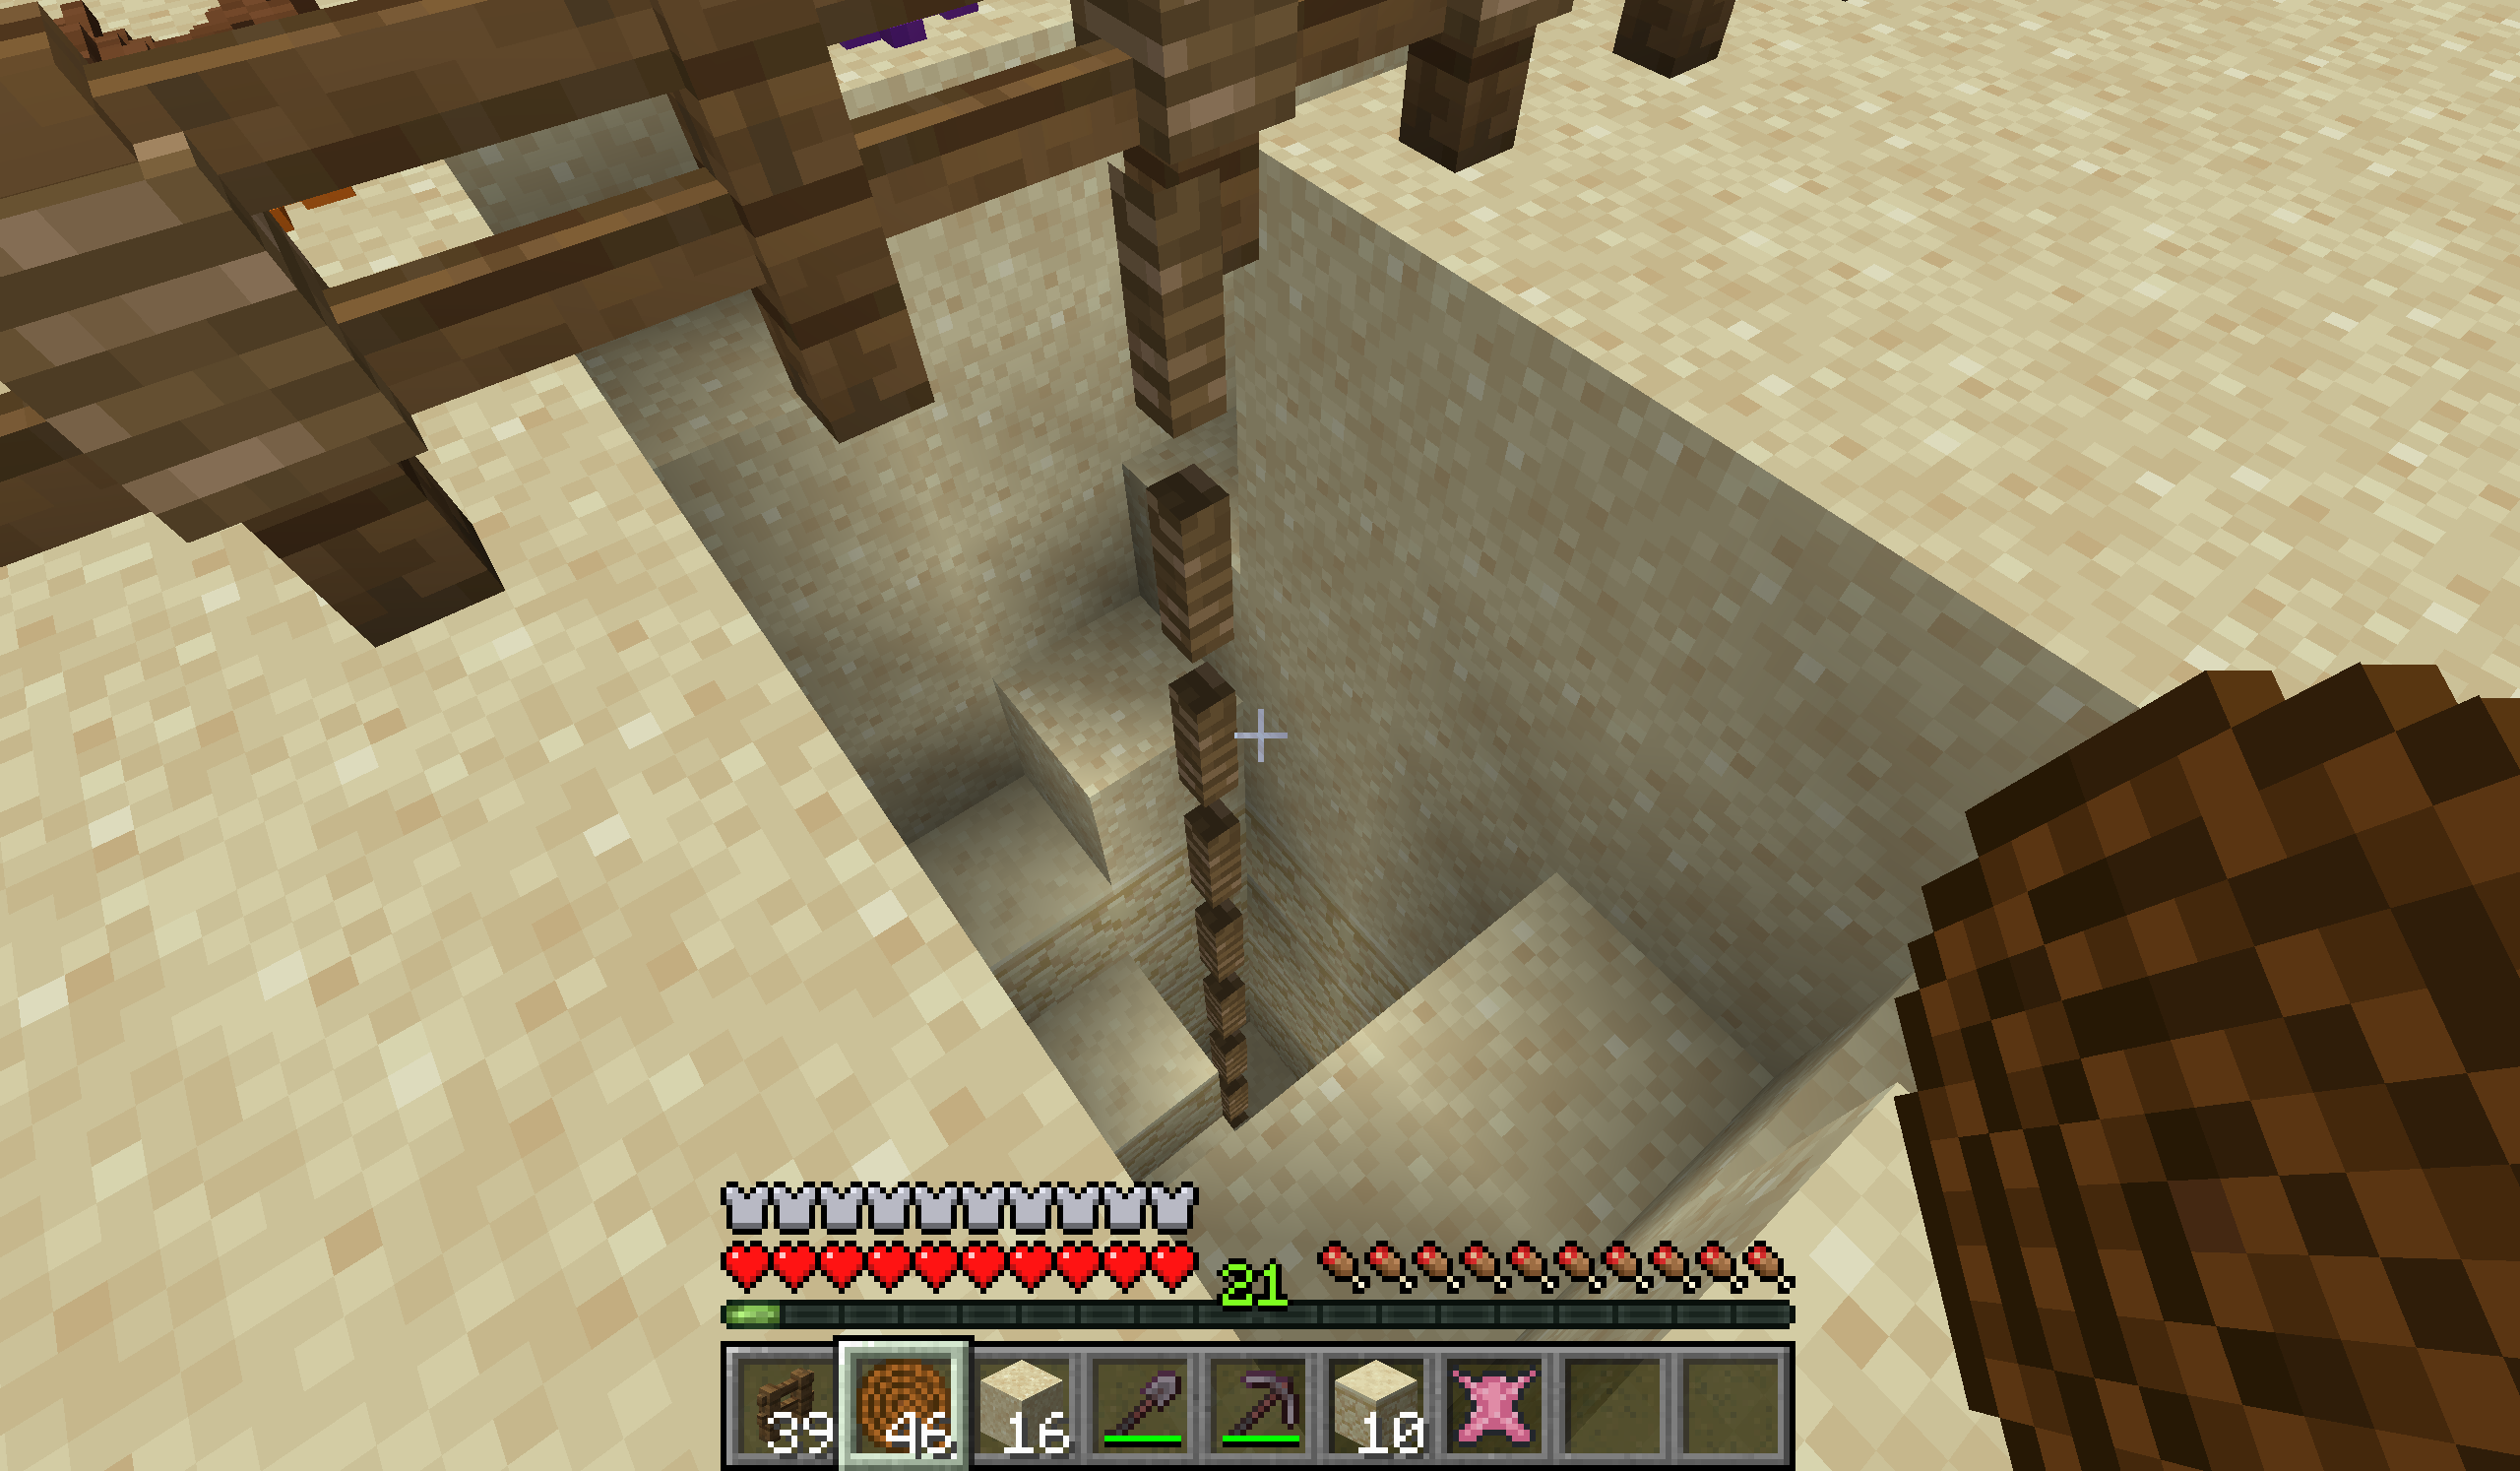
I haven’t released ropes yet as I still have some work to do on them. While they are now functional, there are still some visual improvements to be made to the model and the texture. I also want to add a sound that plays when people climb them, something that feels more rope-like than the clunky sound of ladders.
As always, if you have any suggestions or spot a bug, feel free to open a ticket.